
This is the first in a three-part series showing you how to make an iOSTableView control for use in a Xojo web projects using the WebSDK.
(This post is taken from my Introduction to the Web SDK session at XDC 2014)
We get lots of requests for controls that are designed specifically for mobile devices. Over the next 3 posts I’m going to walk you through the process of building a clone of the iOSTableView control using the Web Control SDK.
Today we will focus on the design. If you think about how an iOSTableView looks:
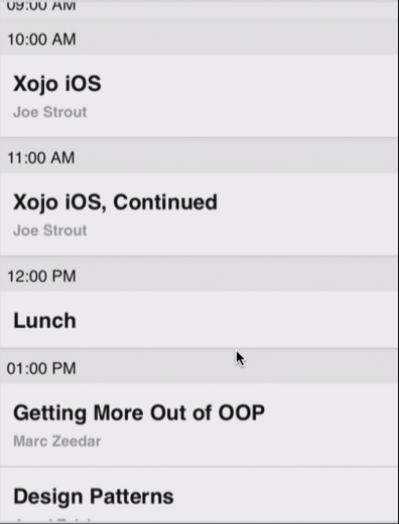
It is essentially a series of groups which contain individual rows. The easiest html structure to use for representing a control like this is an unordered list like this:
<div id="abcdefgh">
<div>
<div>3/19/14</div>
<ul>
<li>Item 1â¤/li>
<li>Item 2</li>
<li>Item 3</li>
</ulâ¥
</divâ¥
<div>
<div>3/18/14</div>
<ul>
<li>Item 1</li>
<li<Item 2>/li>
<li>Item 3</li>
</ul>
</div>
</div>
So we’re going to break this down into three different classes:
- iOSTableView as WebControlWrapper – To hold the actual Web Control
- iOSTableViewGroup as Object – To hold the data specific to each group
- iOSTableViewItem as Object – To hold the data specific to each item within a group
We’re going to design this control from the bottom up because it will be easier to assemble the containing controls if we do that first. The two classes that represent the structure will basically be properties, a constructor and some code to render the HTML for the object.
class iOSTableViewItem
PROPERTIES
Caption as String
Tag as Variant
METHODS
Constructor (Caption as String, Tag as Variant)
  self.Caption = Caption
  self.tag = tag
End Sub
Function Render() As String
  dim sa() as string
  sa.Append "<li>"
  sa.Append self.Caption
  sa.Append "</li>"
  return join(sa,"")
End Function
class iOSTableViewGroup
PROPERTIES
Caption as String
Items() as iOSTableViewItem
METHODS
Constructor (Caption as String)
  self.Caption = Caption
End Sub

Append(item as iOSTableViewItem)
  items.Append item
End Sub
Function Render() As String
  Dim sa() as String
  sa.Append "<div>" + self.Caption + "</div>"
  sa.Append "<ul>"
  for i as integer = 0 to ubound(items)
   sa.Append items(i).Render()
  next i
  sa.Append "</ul>"
  Return Join(sa, EndOfLine)
End Function
The actual control iOSTableView brings it all together…
class iOSTableView
CONSTANTS
JavascriptNamespace as String = example.iosTableView
PROPERTIES
Groups() as iOSTableViewGroup
METHODS
Append(group as iOSTableViewGroup)
  groups.append group
End Sub
EVENTS
Function SetupHTML() as String
  dim sa() as string
  sa.append "<div id=""" + self.controlid + """>" //Outer Div
  for i as integer = 0 to ubound(groups)
    sa.append groups(i).Render() // Ask the group to render itself
  next i
  sa.append "</div>"
  Return Join(sa,EndOfLine)
End Function

Sub SetupCSS(Styles() as WebControlCSS)
  styles(0).value("visibility") = "visible" // Every WebSDK control needs this
  styles(0).value("background-color") = "#FFFFFF" // Give the control a background so we can see it
End Sub
Now that this work is done, you should be able to put one on a WebPage and write a little code:
- Select WebPage1.
- Drag iOSTableView from the Navigator to the WebPage layout editor.
- Double-click the iOSTableView instance and select the Open event.
- Enter the following code:
dim d as new date

dim grp as iOSTableViewGroup
dim num as integer = 1 // 30 Groups
for i as integer = 0 to 30
  // create a group
  grp = new iOSTableViewGroup(d.ShortDate)

  //add items to the group
  for j as integer = 1 to 3
    num = num + 1
    grp.Append(new iOSTableViewItem("Item " + str(num),num))
  next

  // add the group to the table
  me.Append grp

  d.Day = d.Day - 1
next
That’s it for the design and assembly. Next time we’ll work on making the control actually look right with some CSS styling.