
The web framework has a new control available in the Library, WebUserAuthentication. Now that Passkeys have arrived, let’s explore this feature!
Passkeys Demo
In this demo, we will be creating a new account using just our email. Using a platform authenticator, like Apple Passkeys or Windows Hello will make this pretty easy. They are integrated in the operating system and synced across devices. I will be using macOS with the integrated Passwords app, but this is supported in Windows through Windows Hello, or you could store, sync and use Passkeys using a Google Chrome Profile.
As you can see, there is no intermediate step. No need to use a separate app to store your passwords securely. A Passkey will be generated and stored in the authenticator in one simple step. This Passkey will be automatically synced across devices and available on my iPhone.
Opening the Password application, I already can confirm my new Passkey has been stored for “localhost”. Notice the user name is also there, meaning you won’t need to fill it during the login process.
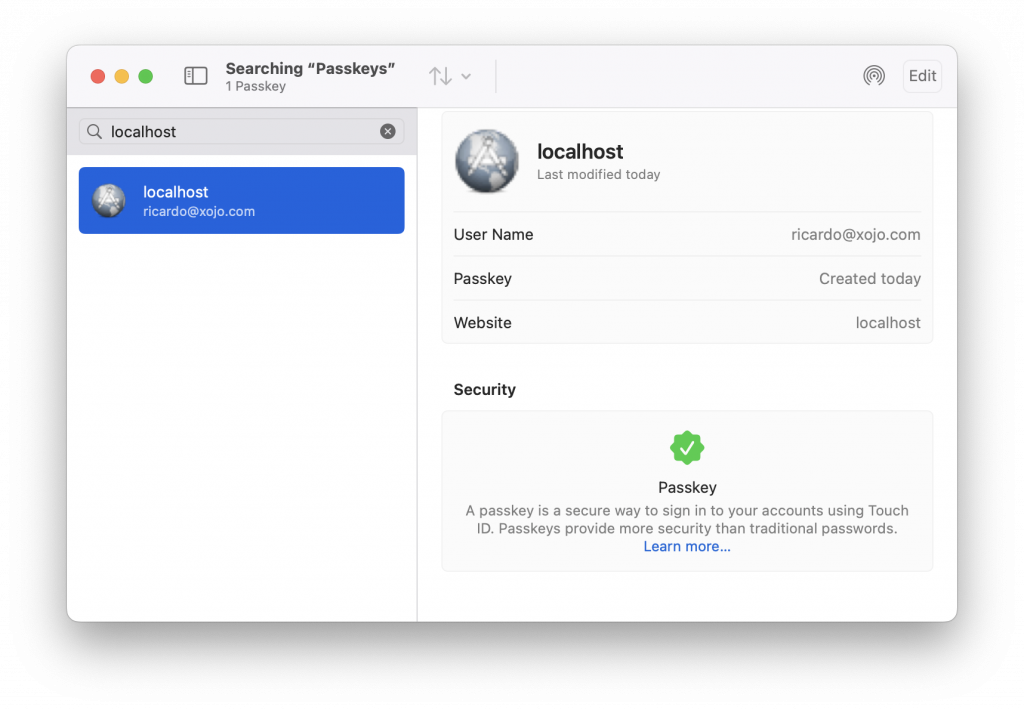
The username isn’t important or even required, it’s just to display a friendly name for this user. A Passkey will include the user ID, which can be any arbitrary String you want. In my example, I’ve used the new Random.UUID method, but this is completely up to you. And this is transparent for the end user.
Now, let’s try to login:
That’s it!
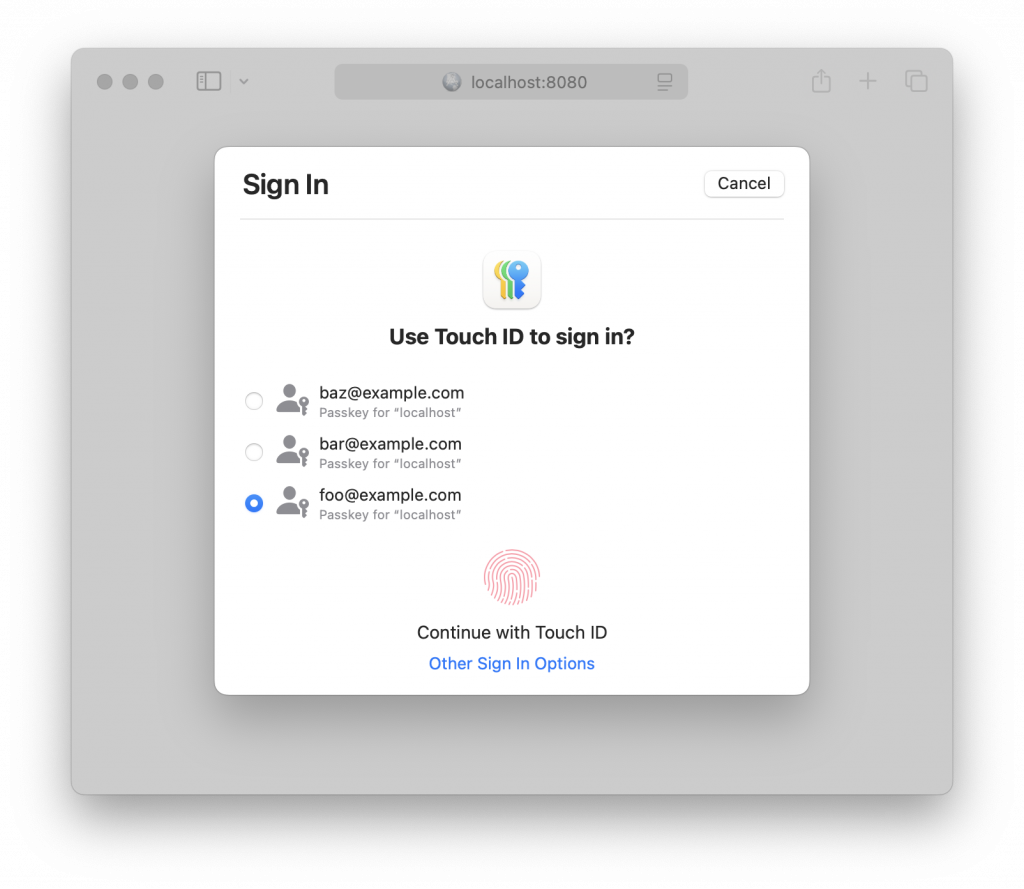
Another thing to notice is, while I have several Passkeys for different websites, only the relevant Passkey can be used. This makes Phishing attacks useless. End users won’t be able to use a Passkey anywhere else, just on the website where it has been created. And also, users won’t be able to send their password by mistake to an attacker because … they can’t!
For web application developers, another interesting thing to note is that you won’t be able to store a Passkey insecurely. Even if your database gets compromised, a hacker won’t be able to use the stored public keys to authenticate those users with another service. To make it easier to understand, you will be storing a lock, not the key used to open it.
Other User Journeys
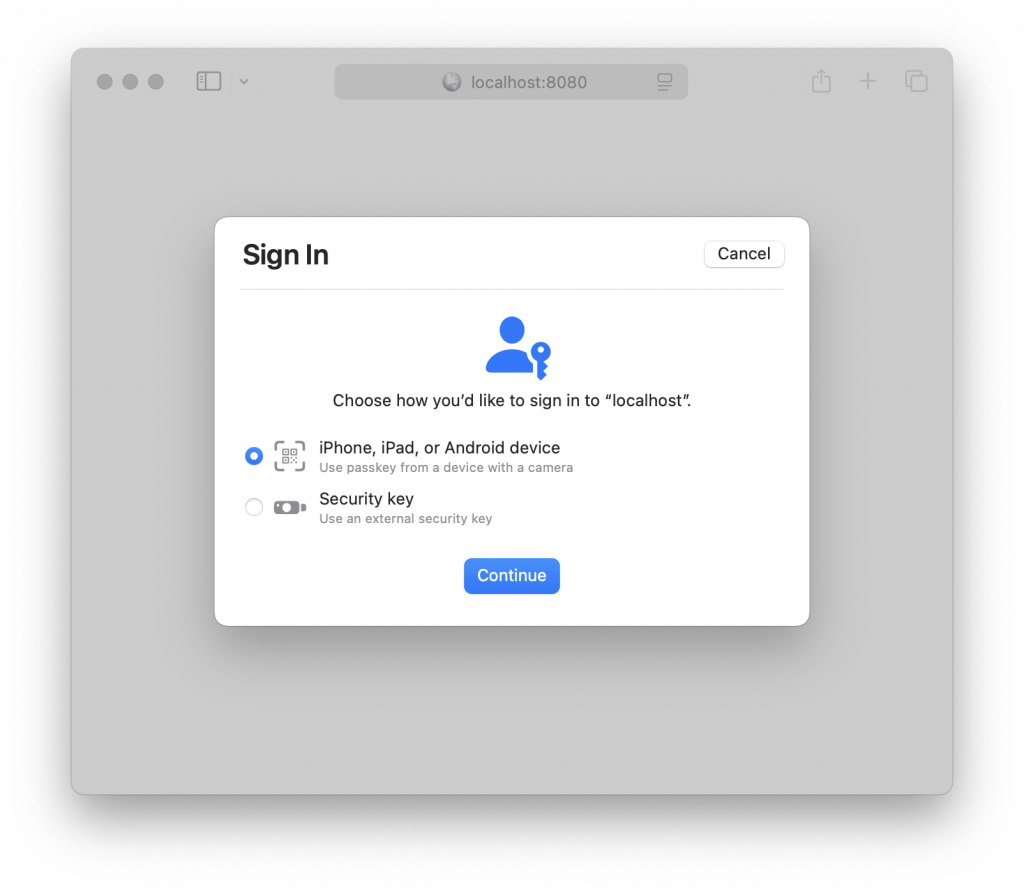
My demo is just the classic email / password sign up / sign in workflow, but without using a password. Passkeys is based on WebAuthn (part of FIDO2) and there are several ways you can use this technology in your web application. For example, you could use a shared computer and still be able to securely log in using your mobile. The platform will display a QR code you can read with your phone camera, and grant the access from your personal device.
In my example application, the user can sign up using different emails. If the Passwords app encounters more than one for my domain it will allow the user to specify the Passkey to use:
Xojo will take care of preparing the WebAuthn steps, verifying signatures and doing the common busy work for you. You will have to decide which workflow makes sense for your application and perform any further verifications, like sending a verification email on register, to ensure this user owns that account.
Multi-Factor Authentication
If you already require your users to authenticate with a username (or email) and a password, you could use WebUserAuthentication as a second factor. That means the user will need to provide something this person knows (a username and password combination) in addition to something the user has (the authenticator device)
Other common multi-factor authentication schemes are email magic links and time-based one-time passwords, “TOTP”.
More factors equal better security, of course. But as usual when it comes to security, you’ll have to find the sweet spot between secure and comfortable.
Usernameless + Passwordless Authentication … Wait, What?!?
“How can I authenticate without providing my username or email?”. This is where real new possibilities arise. When you use a username with a password that only Chuck Norris and you know, this becomes a “proof of identity” (at least in theory, in practice a hacker could compromise an account using a weak password)
When using an authenticator without a username or password, it becomes a “proof of possession” of the authenticator device.
Again, think about it as a locker’s lock and a key. Everyone can see the lock, but only people with the correct key can open it. The public key would be the door’s lock, while the authenticator device would be the key. You can share the key with another person you trust to grant this person access to the contents behind that door. The difference with a real-life lock is that we will be using a really secure one, with a security key.
As long as you can proof you have a valid “key” to authenticate, you are granted to continue.
Consider the following scenario. The company could have a web application that uses a traditional username + password authentication but, for really special activities, the user needs to authenticate with a physical USB key authenticator device that is shared by everyone in the office.
Other use cases are obviously when privacy is involved. A private journal, or a private blogging service, voting. The inconvenience in this case is the user won’t be able to recover the account if they lose access to the authenticator. In this case, you might want to offer a different recovery solution, like printing a very long recovery code. If they also lose the recovery code, they will permanently lose the account.
How To Use The New Control
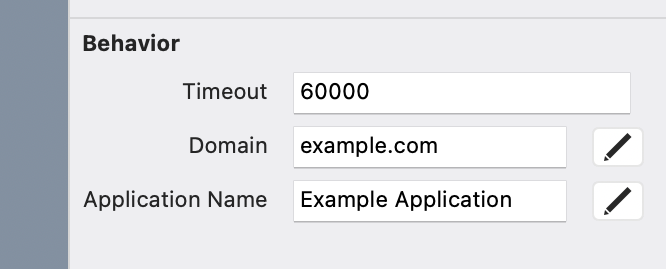
As you do with any other non-visual control, like a WebTimer, you can just drop the new WebUserAuthentication control into your WebPage.
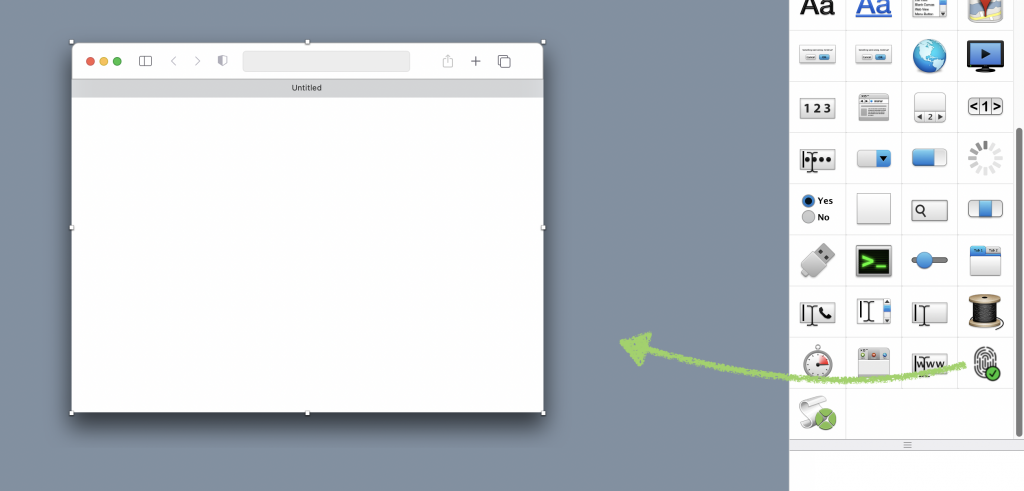
Then configure its properties. The most important one is the Domain field. It must match the domain name where your application will be deployed. If you want to test it locally without using HTTPS, it must be “localhost” (“127.0.0.1” won’t work)
There are four events available:
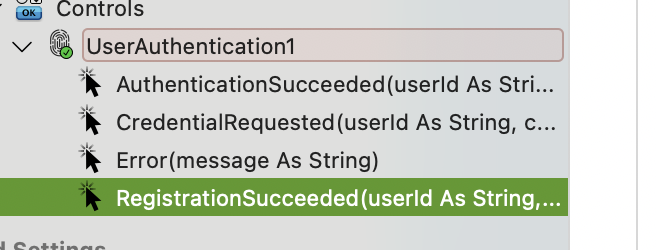
You can use RegistrationSucceeded and AuthenticationSucceeded to interact with your Database, store the details and redirect the user to their dashboard.
In RegistrationSucceeded, a WebAuthenticationCredential will be given to you. This is a data transfer object with the following properties you need to store in your database:
- ID
- PublicKey
- AuthenticationAttempts
- DisplayName
Error will be fired when something goes wrong. A message will also show with the details about what happened, but it isn’t meant to be shared with the end user. During the sign up and sign in processes, you should display generic messages for security, to avoid letting bad actors know what’s going on. If you need to inform the user something related to these messages, you can send them an automated email instead.
CredentialRequested will be fired during the authentication ceremony. A userId and a credentialId will be given to you, and you should return a new WebAuthenticationCredential instance with the details coming from the RegistrationSucceededEvent.
Also, when AuthenticationSucceeded happens, the event will come with an authenticationAttempts parameter. This will be an incremental value used to update your credentials. This is part of the WebAuthn protocol sign in ceremony used to detect cloned authenticators, which is supported by Xojo. Please notice this value might come always as “0” when using Safari, for example, but Google Chrome will increase its value each time.
You can initiate a Registration or Authentication ceremony by calling Register or Authenticate, respectively.
- Register(userId As String, username As String = “”, displayName As String = “”)
The parameter userId is required, the new credential will be built specifically for it. It can be anything that makes sense in your application, like an auto-incremental number or a random UUID . The other parameters are meant for giving the credential a friendly name. The username could be a nickname, or an email. In workflows where you allow the user to store more than one passkey, the displayName could be something like “Backup key”. - Authenticate(Optional allowCredentials() As String)
This will initiate the authentication ceremony. You can optionally pass an array of credential IDs, allowed for the user trying to get access to the protected resource.
Adoption and Compatibility
Not every user may know they even exist, what they are, how they work or if they will be more secure than using their pet’s name and birthdate. This can cause some friction. Other users that adopted the usage from day one might have at least two physical USB keys. They expect your application to allow them to enter more than one, just in case they lose their main USB key.
Passkeys are here to stay and their adoption will continue growing on web services. That said, depending on the combination of operating system and browser, there are some gotchas. Google Chrome or Firefox should work on every operating system. Apple users will probably obtain the best user experience if they’re tied to this ecosystem. Linux users using alternative browsers could experience some challenges.
If compatibility is a must for your application, you should still offer an alternative to Passkeys. For example, legacy passwords, or “magic login links” sent by email.
Wrapping Up
We are sure Passkeys will be the norm in the coming years. Read more in the Xojo Docs. Xojo is ready to embrace them and you can start adopting them in your Xojo Web application today!
Ricardo has always been curious about how things work. Growing up surrounded by computers he became interested in web technologies in the dial-up connections era. Xojo has been his secret weapon and language of preference since 2018. When he’s not online, chances are he will be scuba diving … or crocheting amigurumis. Find Ricardo on Twitter @piradoiv.