
There are just a few steps to get puTTY to connect to your Xojo Cloud database. You might want to note that while Windows 10 now includes a SSH client, it doesn’t support SSH tunnels very well due to always executing a connection command.
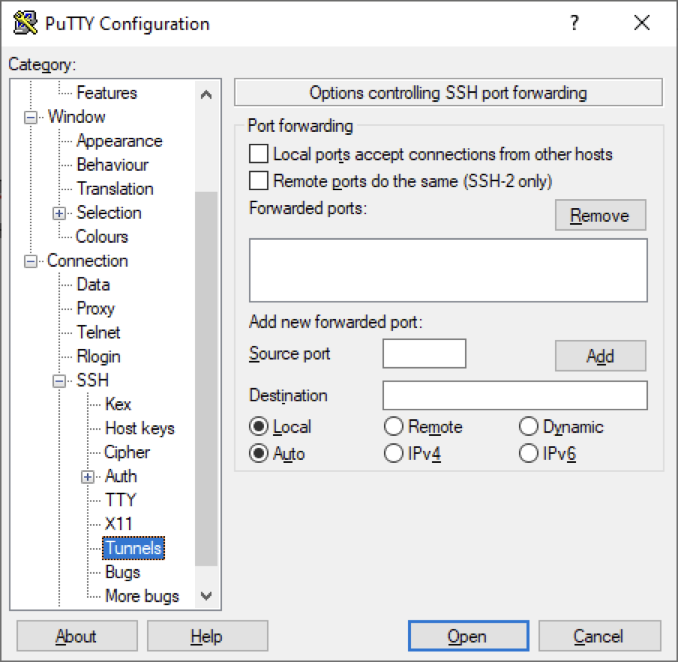
First, expand the SSH tree in the categories list and select tunnels.
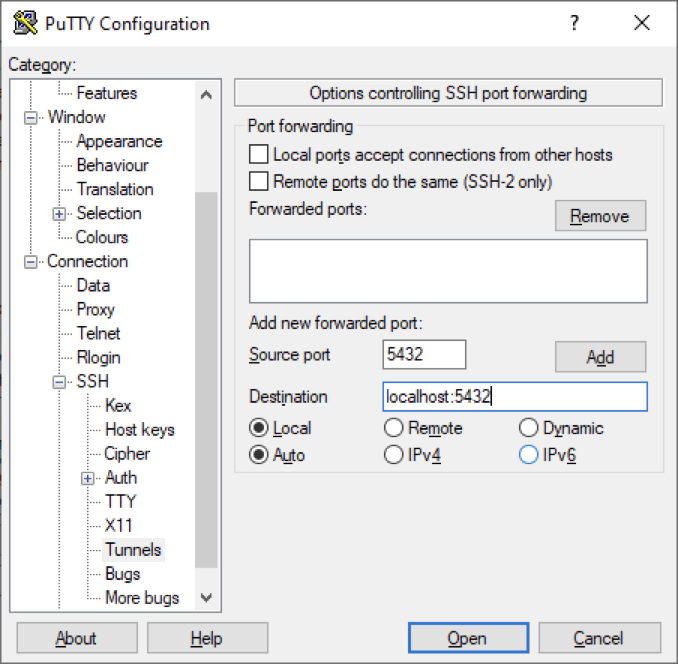
Add a new forwarded port, here we are using port 5432 for Postgres, but you could also use 3306 for mySQL.
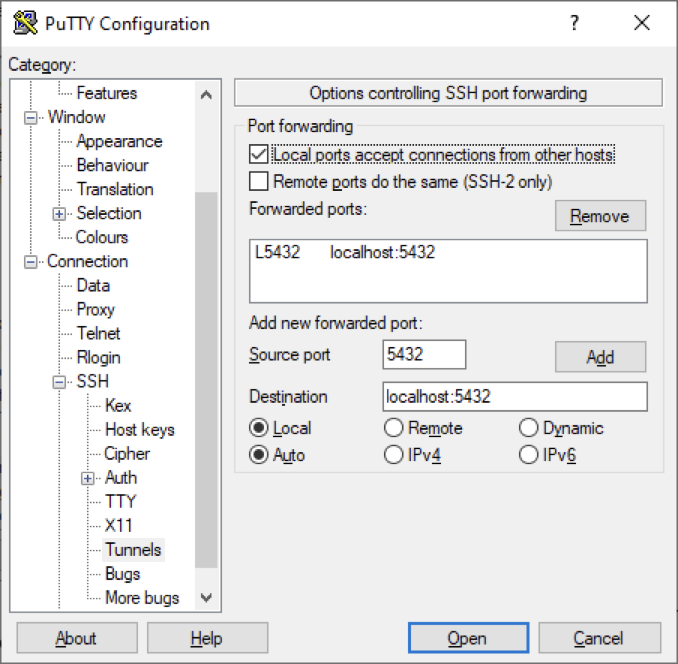
Press the “Add” button to save the forward and tick the “Local ports accept connections from other hosts” checkbox.
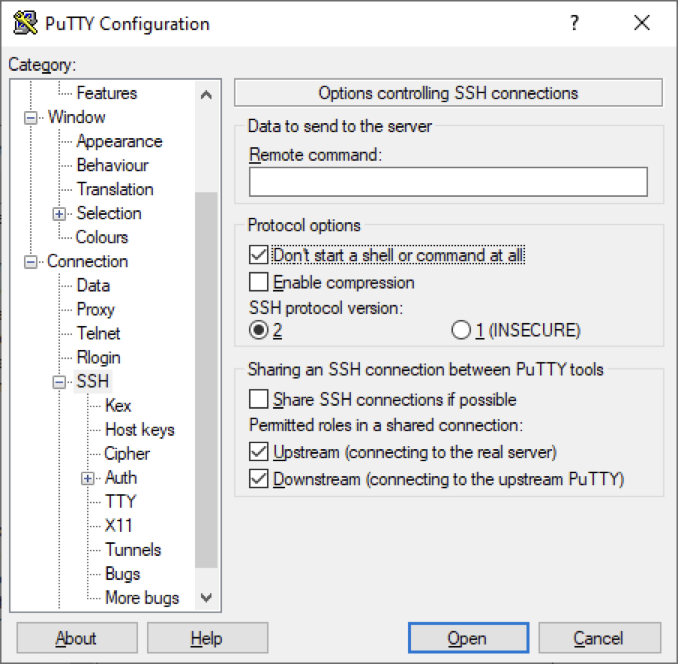
Select the SSH tree and tick the “Don’t start a shell or command at all” checkbox. This is the bit missing from the Windows native SSH client.
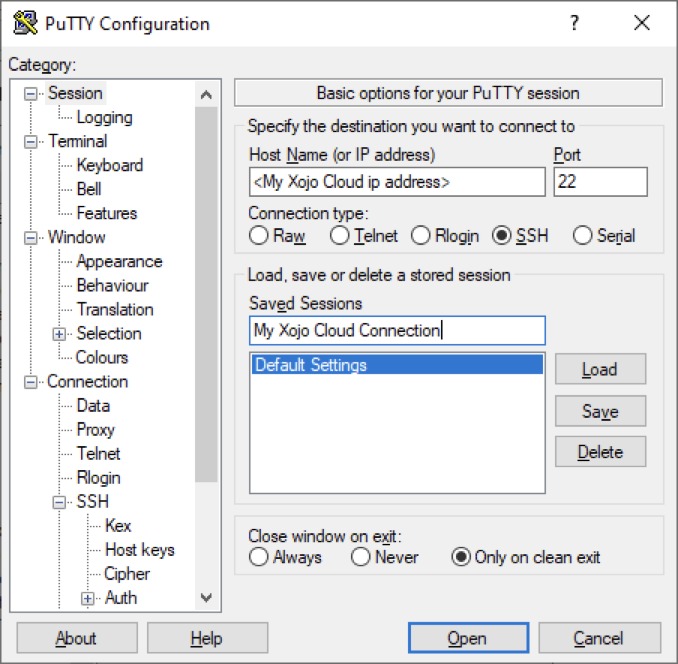
Select “Session” at the very top of the categories list and enter your Xojo Cloud IP address along with a session name and Save so you’ll have this configuration available to you next time.
Now you can open the connection where you will be prompted for your SSH Username (dbadmin) & password. If this is successful, you will be left with a terminal window that appears to do nothing – leave it open until you want to disconnect.
Once the tunnel is established you can use localhost as the host address of your Postgres or MySQL database.
Wayne Golding has been a Xojo developer since 2005 and is a Xojo MVP. He operates the IT Company Axis Direct Ltd which primarily develops applications using Xojo that integrate with Xero www.xero.com. Wayne’s hobby is robotics where he uses Xojo to build applications for his Raspberry Pi, often implementing IoT for remote control.