
One of the new features added to PDFDocument in Xojo 2021r3 is the ability to create PDF Forms (also known as AcroForms) in your PDF documents. This means that it is possible to add the following Form controls to a PDF document:
- PDFButton
- PDFTextField
- PDFTextArea
- PDFCheckBox
- PDFRadioButton
- PDFPopupMenu
- PDFComboBox
- PDFListBox
As defined by the PDF Standard, it is only possible to add one Form to a PDF document. Also, when any of these controls are added to a PDF document they won’t provide any visual cue in the actionable area itself. This means that it is up to you to “draw” any desired visual cues, for example a rectangle or rounded rectangle surrounding a Button, TextField or TexArea control, or the text labels you want to associate with CheckBoxes or RadioButtons.
For example, this is how a TextField would appear when added to a page:
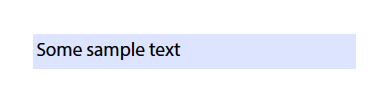
As you can see, it only displays the actionable area plus the text assigned as the default value set to this PDFTextField instance.
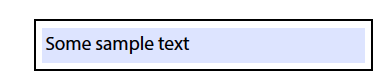
And this is how it looks with a rectangle added using the Graphics.DrawRectangle method:
The way to add any of these Form controls to a PDFDocument instance is quite simple; call the AddControl method in the PDFDocument instance passing along any of the supported PDF control instances.
About the behavior of these controls, it is worth mentioning the following cases.
PDFButton
You can add new instances to the Form based on this class to get the following Actions:
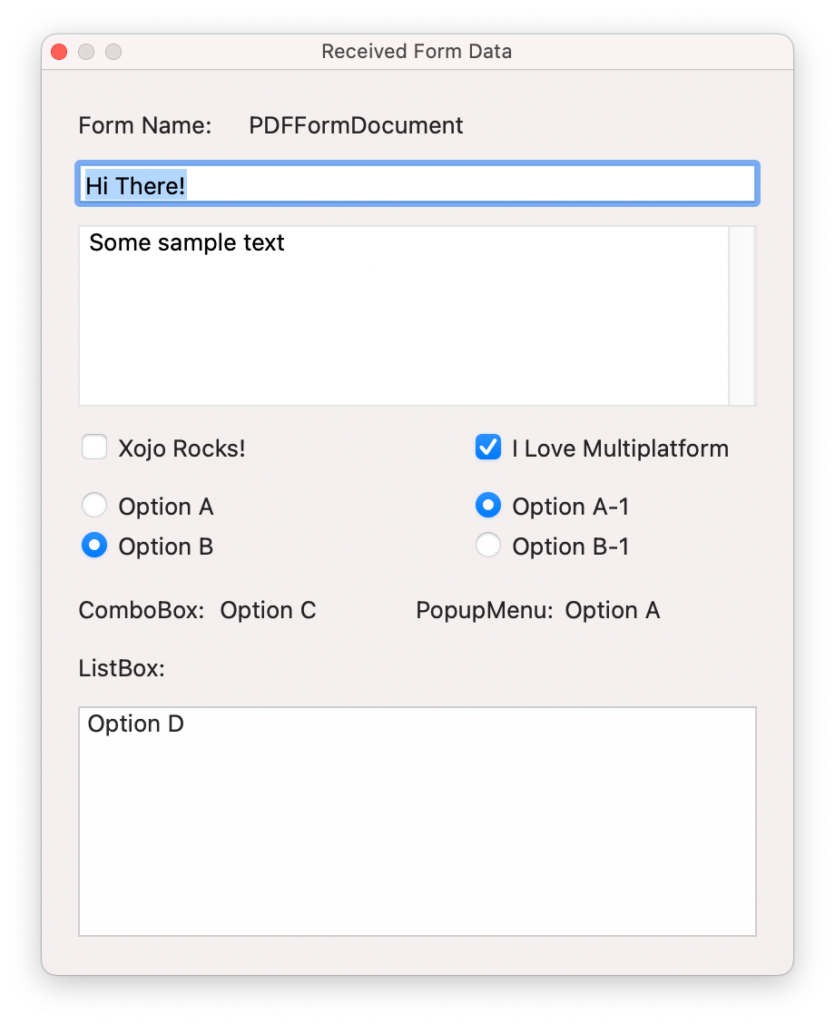
PDFButton.Actions.ResetActionresets the controls added to the form to their default values (if any)PDFButton.Actions.SendFormsends the values entered/selected by the user in the Form controls as a series of Key/Value pairs, where the Key is the name of the control, and the value sent is the entered/selected value. This data will be sent to the URL endpoint set to the URL property of thePDFButtoninstance. For example, a valid URL could be “http://127.0.0.1:8080”, “https://myDomain.com/WebService” or “mailto://someEmailAddress@here.com”. If the URL is a “mailto:”, then the receiver will get these values as a text file attached to the email message itself.PDFButton.Actions.SendPDFFilethe endpoint url will receive the PDF file itself both when using a “mailto:” or “http(s)//” protocol.
It is very important to note that not all the PDF viewer apps support these actions. For example, the Preview app on macOS doesn’t support them. So it is advisable to use the free Adobe Acrobat Reader DC available on every operating system.
PDFRadioButton
You can add PDFRadio button to the PDF form as an individual button or as a group. When it is added as an individual RadioButton it is only possible to select/deselect it, while when used as a RadioButton group, the activation of any of the RadioButtons will disable the other RadioButtons in the group.

The way to configure a RadioButton instance as a member of a group is by using the same name. For example, the following code:
Var rBtn1GroupA As New PDFRadioButton(1, 200, 450, 15,15,"GroupA","OptionA")
Var rBtn2GroupA As New PDFRadioButton(1, 200, 470, 15, 15,"GroupA", "OptionB")
rBtn2GroupA.Value = True
d.AddControl(rBtn1GroupA)
d.AddControl(rBtn2GroupA)
This will create two PDFRadioButton instances named rBtn1GroupA and rBtn2Group2 sharing the same name “GroupA” but using different values: “OptionA” and “OptionB”. Also, the rBtn2GroupA instance is set as the default RadioButton:
rBtn2GroupA.Value = True
Because it is only possible to create one Form per PDF document, it doesn’t matter that the RadioButton instances pertaining to a same group are in all the PDF document pages; they will continue behaving as members of the same group.
PDFPopupMenu and PDFComboBox
These controls behave similar to what you expect in any Xojo project. You can populate them with a series of default options and set one of them as the selected option displayed by default. The main difference is that a PDFComboBox lets the user type text that is not available among the assigned options.
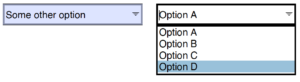
For example, the following fragment of code will create a PDFPopupMenu instance:
Var cPopup As New PDFPopupMenu(1,210,540,100,15,"List","Option A", "Option B", "Option C", "Option D")
d.AddControl(cPopup)
Here “List” is the name of the control itself and “Option A”, “Option B”, “Option C” and “Option D” are the values that will be presented as the menu options to the user.
Of course you can also pass along the PDFPopupMenu options as a String Array to the Constructor if you want:
Var r() As String = Array("Option A", "Option B", "Option C", "Option D")
Var cPopup As New PDFPopupMenu(1,210,540,100,15,"List",r)
d.AddControl(cPopup)
Creating a PDFComboBox instance is similar. For example:
Var cCombo As New PDFComboBox(1,100,540,100,15,"ListC","Option A", "Option B", "Option C", "Option D")
cCombo.SelectedRowValue = "Option C"
d.AddControl(cCombo)
In this case, “Option C” will be the value selected by default.
PDFListBox
There is not much difference about how the PDFListBox instances are created, when compared with a PDFPopupMenu or PDFComboBox:
Var options() As String = Array("Option A", "Option B", "Option C", "Option D")
Var cListBox As New PDFListBox(1,320,540,100,90,"ListB", options)
cListBox.RowSelectionType = PDFListBox.RowSelectionTypes.Multiple
cListBox.SelectedRowValue = "Option D"
d.AddControl(cListBox)
As you can see, in this case the value selected by default will be “Option D”. The main difference is that a PDFListBox allows you to set the RowSelectionType between “Multiple” and “Single” as is the case when using the DesktopListBox in a regular Xojo project. So, in this case, you can tell the cListBox instance to allow the user to select multiple entries in the control:
cListBox.RowSelectionType = PDFListBox.RowSelectionTypes.Multiple

One thing to note is that when the PDF is sent to an endpoint URL using the SendForm kind of Action, multiple options will be represented as a repeated series of Key/Value pairs with the same Key name. For example, let’s say that the user selects the “Option B”, “Option C” and “Option D” values. Then, the endpoint webservice will receive:
ListB=Option+B&ListB=Option+C&ListB=Option+D
Notice how in all these cases “ListB” is the same name given to our PDFListBox instance.
PDFTextField and PDFTextArea
There are a couple of interesting properties you can set on the instances created from these classes:
ReadOnly: Set this property toTrueso the user can’t type on the control.MaximumCharactersAllowed: Set this property to the maximum number of characters that the user is allowed to type in the control.
This fragment of code will create a PDFTextField instance:
Var tf As New PDFTextField(1, 100, 50, 200, 22, "TextField", "Some sample text")
d.AddControl(tf)
“TextField” is the name of the control instance, and “Some sample Text” is the displayed default value.
And this is how we can create a PDFTextArea instance setting the maximum of allowed characters to 100:
Var ta As New PDFTextArea(1, 100, 100, 200, 300, "TextArea", "Hi There!")
ta.MaximumCharactersAllowed = 100
d.AddControl(ta)
“TextArea” is the name of the control instance and “Hi There!” is the displayed by default value.
Summary
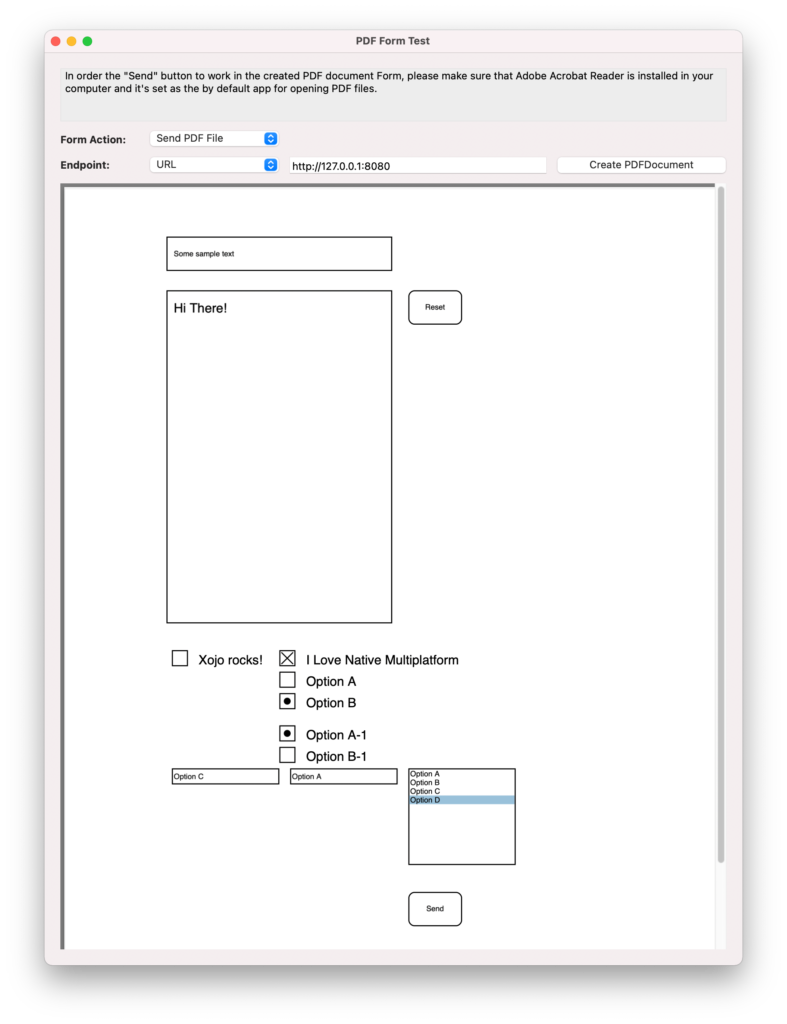
Now you can see how easy it is to add Forms to your PDF documents created with Xojo! If you want to learn more about how these work and also play with the different Action modes, you can run the PDFFormTest-Desktop Xojo project found in the Example Projects > PDF folder and see the Xojo Documentation.
Paul learned to program in BASIC at age 13 and has programmed in more languages than he remembers, with Xojo being an obvious favorite. When not working on Xojo, you can find him talking about retrocomputing at Goto 10 and on Mastodon @lefebvre@hachyderm.io.