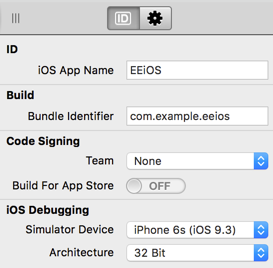
When you run your iOS projects from Xojo, they launch in the iOS Simulator. You can change which simulator starts by going to the Shared Build Settings and changing the value in the Simulator Device property (in the iOS Debugging group). By default you’ll probably only see the versions of the simulator for the most recent iOS (currently 9.3).
So how do you test in the iOS Simulator using an older version of iOS? It’s easy if you know how. You just have to download the older iOS Simulator from with Xcode Preferences. To do this start Xcode, open its preferences and switch to the “Components” panel. Click the Simulators tab to see the list of available iOS Simulators. Just click the download icon next to the one you want and it will get installed (Xcode will likely prompt for your password). Here you can see I’ve downloaded and installed the iOS 8.4 Simulator:

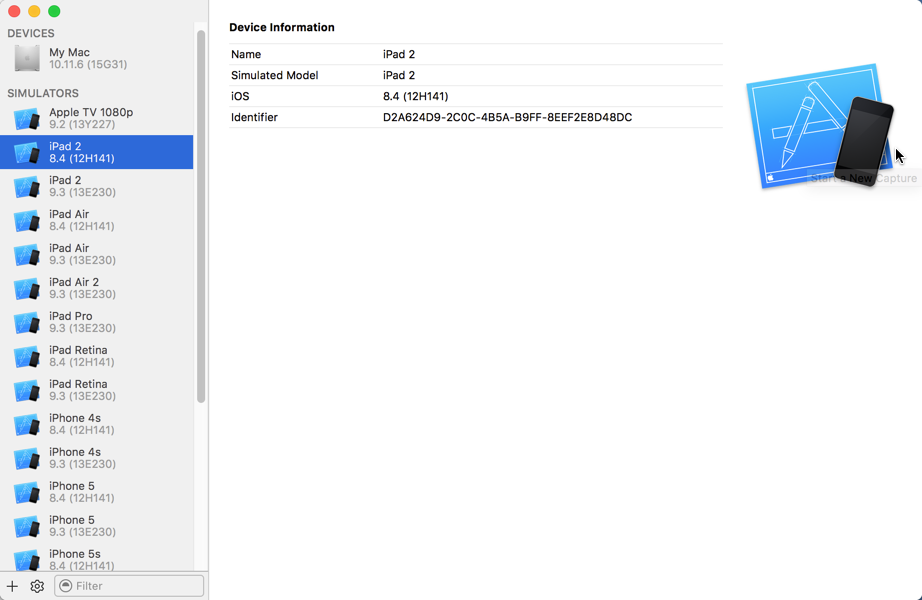
Once the install is finished you can quit Xcode and restart Xojo so it picks up the new values. Now when you view the values in the Xojo Simulator Device property, you’ll see the newly added iOS Simulators that are available. Select the one you want to use just as you did before.
Remember, starting with Xojo 2016 Release 2, only iOS 8 and higher is supported so you won’t need older iOS Simulators. To remove iOS Simulators that you no longer need, you’ll need to go back to Xcode and open the Devices window (in the Window menu). There you can click on individual simulators and right-click to delete the ones you don’t want.