
With the new UserAuthentication class available in Xojo 2021 Release 1, you can now easily ask an iOS user to authenticate themselves using Face ID, Touch ID or with their password/passcode. In an iOS project, add a UserAuthentication object to your screen and change its name to Authenticator. It will appear in the tray area at the bottom. Also add a Button, a Label and a TextArea.
On Authenticator, add the AuthenticationSucceeded and Error events. The AuthenticationSucceeded event is called when the authentication request succeeds due to a valid touch, face or password. Put this code in the event to indicate that:
Label1.Text = "Local Authentication"
TextArea1.Text = "Success!"
The Error event is called should the touch, face or password not be valid. Put this code in the Error event to indicate the failure:
Label1.Text = "Local Authentication"
If error <> Nil Then
  TextArea1.Text = "Error:" + EndOfLine.iOS + error.Message + EndOfLine + _
    error.ErrorNumber.ToString
Else
  TextArea1.Text = "Unknown error"
End If
The button will be used to ask for authentication. Add this code to its Pressed event:
Authenticator.Request("Please verify yourself.", _
  Authenticator.SensorType = UserAuthentication.SensorTypes.None)
For devices with Face ID, you’ll also want to go to the Capabilities Editor (click on iOS Build Settings and choose the Advanced tab in the Inspector) to enable User Authentication and click Options to enter a custom message prompt.
You can now run this in the Simulator which actually has a way for you to test authentication. In the Features menu you’ll see an option for Face ID or Touch ID, depending on the type of Simulator you are running. In that menu, choose Enrolled to activate the appropriate sensor.
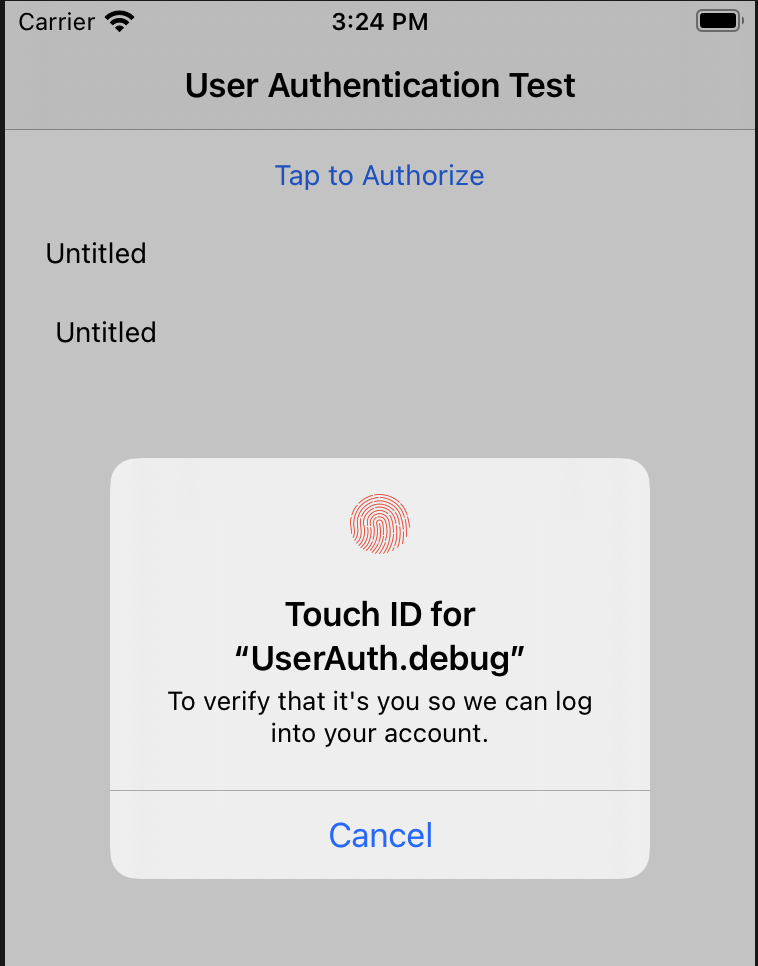
In the app, tap the button to request authentication. On a device with Touch ID or Face ID you will get a prompt to authenticate. The prompt will be slightly different the first time you request authentication for the app. For example, this dialog appears the first time you try to authenticate on a Touch ID device:
Go back to the Features menu in the Simulator and choose Matching Touch. You’ll then see the “Success!” text in the label. If you choose Non-matching Touch, iOS will prompt you to try again or enter password (the Simulator accepts anything as the password). Failing too many times or pressing Cancel displays an error in the TextArea.