
Xojo 2022r1 brings a bunch of font handling improvements plus new features to the creation of PDF documents.
As you probably know, the best way to stay in the “safe zone” when using fonts in your PDF files is to use only the Standard 14 fonts: Helvetica, Times, Courier, Zapf Dingbats and Symbol. As part of the PDF standard, these fonts are as close to a “guarantee” that the operating system will display the text correctly without needing to embed any fonts as part of the PDF file. As result, the PDF files are smaller when you use on the Standard 14.
But, of course, there are times you need to include more visually captivating fonts in your PDF documents. In these cases, you can use fonts that are already available (installed) in the Fonts folder on the OS. But if you want to use fonts that aren’t available by default to the Operating System, PDFDocument has improved in this regard in Xojo 2022r1.
First, the fonts cache manager has been improved for speed, decreasing the time required to access and get the font data even when it’s the first time to be used in text drawing on the PDF document. But not all Operating Systems include the fonts required by the PDF Standard 14, and PDFDocument requires that any font you want to use be installed in the computer/device (or added using AddFonts). Follow these tips:
- macOS includes by default all the fonts required by the PDF Standard 14, except Monterrey. Where Times is not installed you can use Times New Roman.
- Windows doesn’t includes Helvetica, Times, Courier or ZapfDingbats. You can use Arial, Times New Roman, Courier New and install ZapfDingbats or any similar font you want to use.
- Linux doesn’t includes any of the Standard 14 fonts, but you can use some that are equivalent and are installed by default in most of the Linux distributions: Liberation Sans instead of Helvetica, Liberation Serif instead of Times and Liberation Mono instead of Courier. You can install the Symbol and ZapfDingabts font files or any that is equivalent to these.
In addition, it is typical for Linux based servers not to have many fonts installed; make sure to install all the font files you intend to use in the creation of your PDF documents.
Embedding the Fonts in the PDF
On the other hand, and because this was a feature requested by several users, we have brought back the EmbeddedFonts property (set by default to False). This way, when you use any font not included among the Standard 14 ones, the data of that fonts won’t be included either as part of the PDF contents, resulting, thus, in smaller PDF files.
This feature is especially useful for sharing PDFs with people that have the same set of fonts installed in their OSs, as it is the case in many companies. Additionally, using EmbeddedFonts can considerably reduce the size of the PDFs.
But if the PDF documents created this way are distributed for public or general use, then the end user won’t have the exact same set of fonts used during the creation of the PDF and, as result, those not available fonts will be substituted and the text won’t render as expected or was initially designed to (including fonts metrics and styles).
If, on the contrary, the EmbeddedFonts is set to True, then the PDF document will include all the required font information (excluding the data for those in the Standard 14 set) in order to render properly the text, both if the user has those fonts installed or not.
Using Fonts Not Installed in the Operating System
The PDFDocument.AddFonts method has been generally improved and now includes the ability to use fonts not installed when creating PDF Documents in iOS apps created with Xojo.
In this example, I recommend setting the PDFDocument.AddFonts property to True in order to guarantee that the required font data is included as part of the PDF document itself.
Take into consideration the following:
- While using external fonts on Windows– Provide AddFonts with a FolderItem pointing to the directory containing the font files.
- While using external fonts on macOS– macOS requires copying to the Resources > Fonts folder, inside the app bundle, for any font you want to use that is not among those available in the Fonts folder. To do this, add a “Copy Files” compilation step to your Xojo project, copying all the fonts you are going to use inside the “Fonts” subdirectory and select “Resources” as the option in the “Destination” entry form the Inspector Panel. In addition, add a text file to the project in the Xojo Navigator (for example named “ExtraKeys.plist”) with the following text:
<?xml version="1.0" encoding="UTF-8"?> <!DOCTYPE plist SYSTEM "file://localhost/System/Library/DTDs/PropertyList.dtd"> <plist version="0.9"> <dict> <key>ATSApplicationFontsPath</key> <string>Fonts</string> </dict> </plist>
- While using external fonts on iOS– As it is the case with macOS, iOS requires copying any fonts you want to use in your PDF and that aren’t already installed to the “App Parent Folder”. To do this, add a “Copy Files” compilation step to your Xojo project, copying all the font files inside the “Fonts” subdirectory, and selecting “App Parent Folder” as the Destination in the associated Inspector Panel. In addition, add a text file to your Xojo project (for example named “iOSKeys.plist”) whose content will be similar to this:
<?xml version="1.0" encoding="UTF-8"?> <!DOCTYPE plist PUBLIC "-//Apple//DTD PLIST 1.0//EN" "http://www.apple.com/DTDs/PropertyList-1.0.dtd"> <plist version="1.0"> <dict> <key>UIAppFonts</key> <array> <string>Honey.ttf</string> <string>Montserrat-Regular.otf</string> <string>Gypsum.ttf</string> </array> </dict> </plist>Notice how, in this example, the "Honey.ttf", "Montserrat-Regular.otf" and "Gypsum.ttf" entries are the name of the font files that will be added to the iOS app using the Copy Files compilation step. You'll need to change that names for the font files you're going to use (including the file extension) and make sure that the ".plist" file has as many of these entries as the amount of fonts added to the project using the Copy files compilation step.

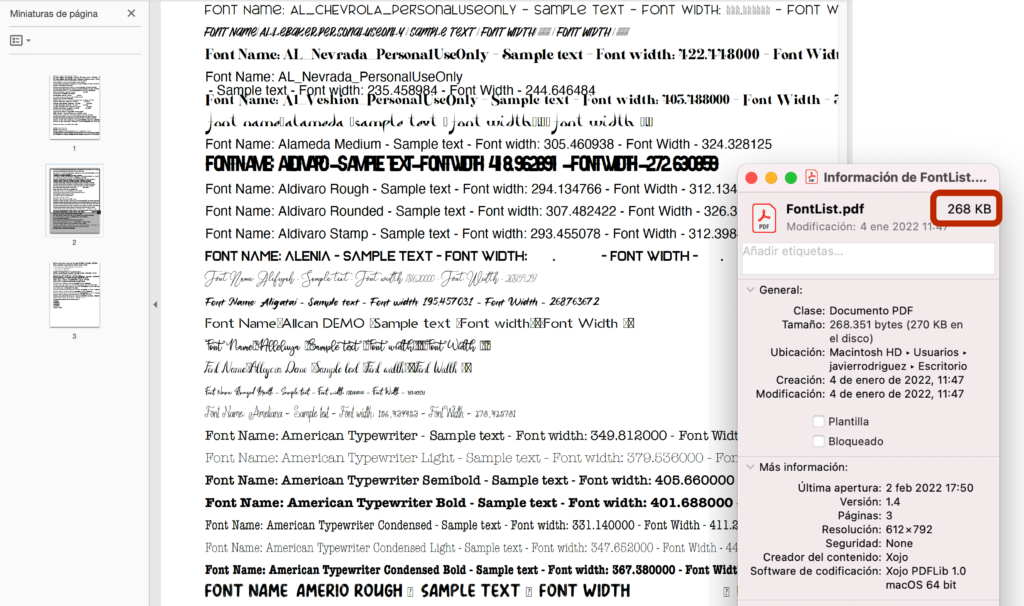
For example, this screenshot shows a PDF created on iOS that uses the fonts named in the previous “.plist” file.
Javier Menendez is an engineer at Xojo and has been using Xojo since 1998. He lives in Castellón, Spain and hosts regular Xojo hangouts en español. Ask Javier questions on Twitter at @XojoES or on the Xojo Forum.