
Sam Rowlands has been developing Xojo apps since 1997. He and his wife, Joy Sha, make up Ohanaware and they have been building award winning apps since 2008, notably Funtastic Photos, HDRtist and Shine. Sam is an active Xojo developer and he also offers App Wrapper, which simplifies the process of preparing applications for submission to the Mac App Store and deploying on web sites, in the Xojo Third Party Store.
I’d like to introduce you to Ohanaware’s latest Made With Xojo application we’ve created for us Xojo developers. It’s called “Iconographer” and it is designed to simplify the process of creating stunning and platform-consistent icons for Mac, Windows & iOS.
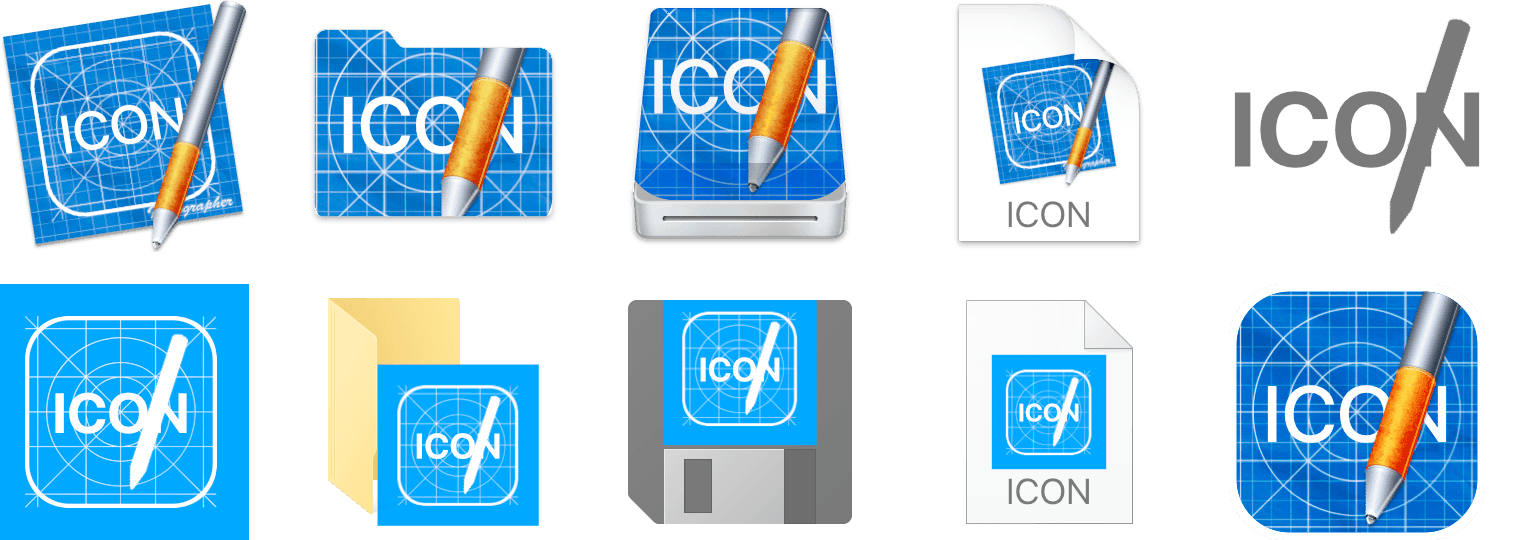
The idea behind Iconographer, is to be able to take the same set of elements and produce app icons, document icons, folder icons, disk icons and web icons that are all consistent with their intended target, while retaining the application identity.
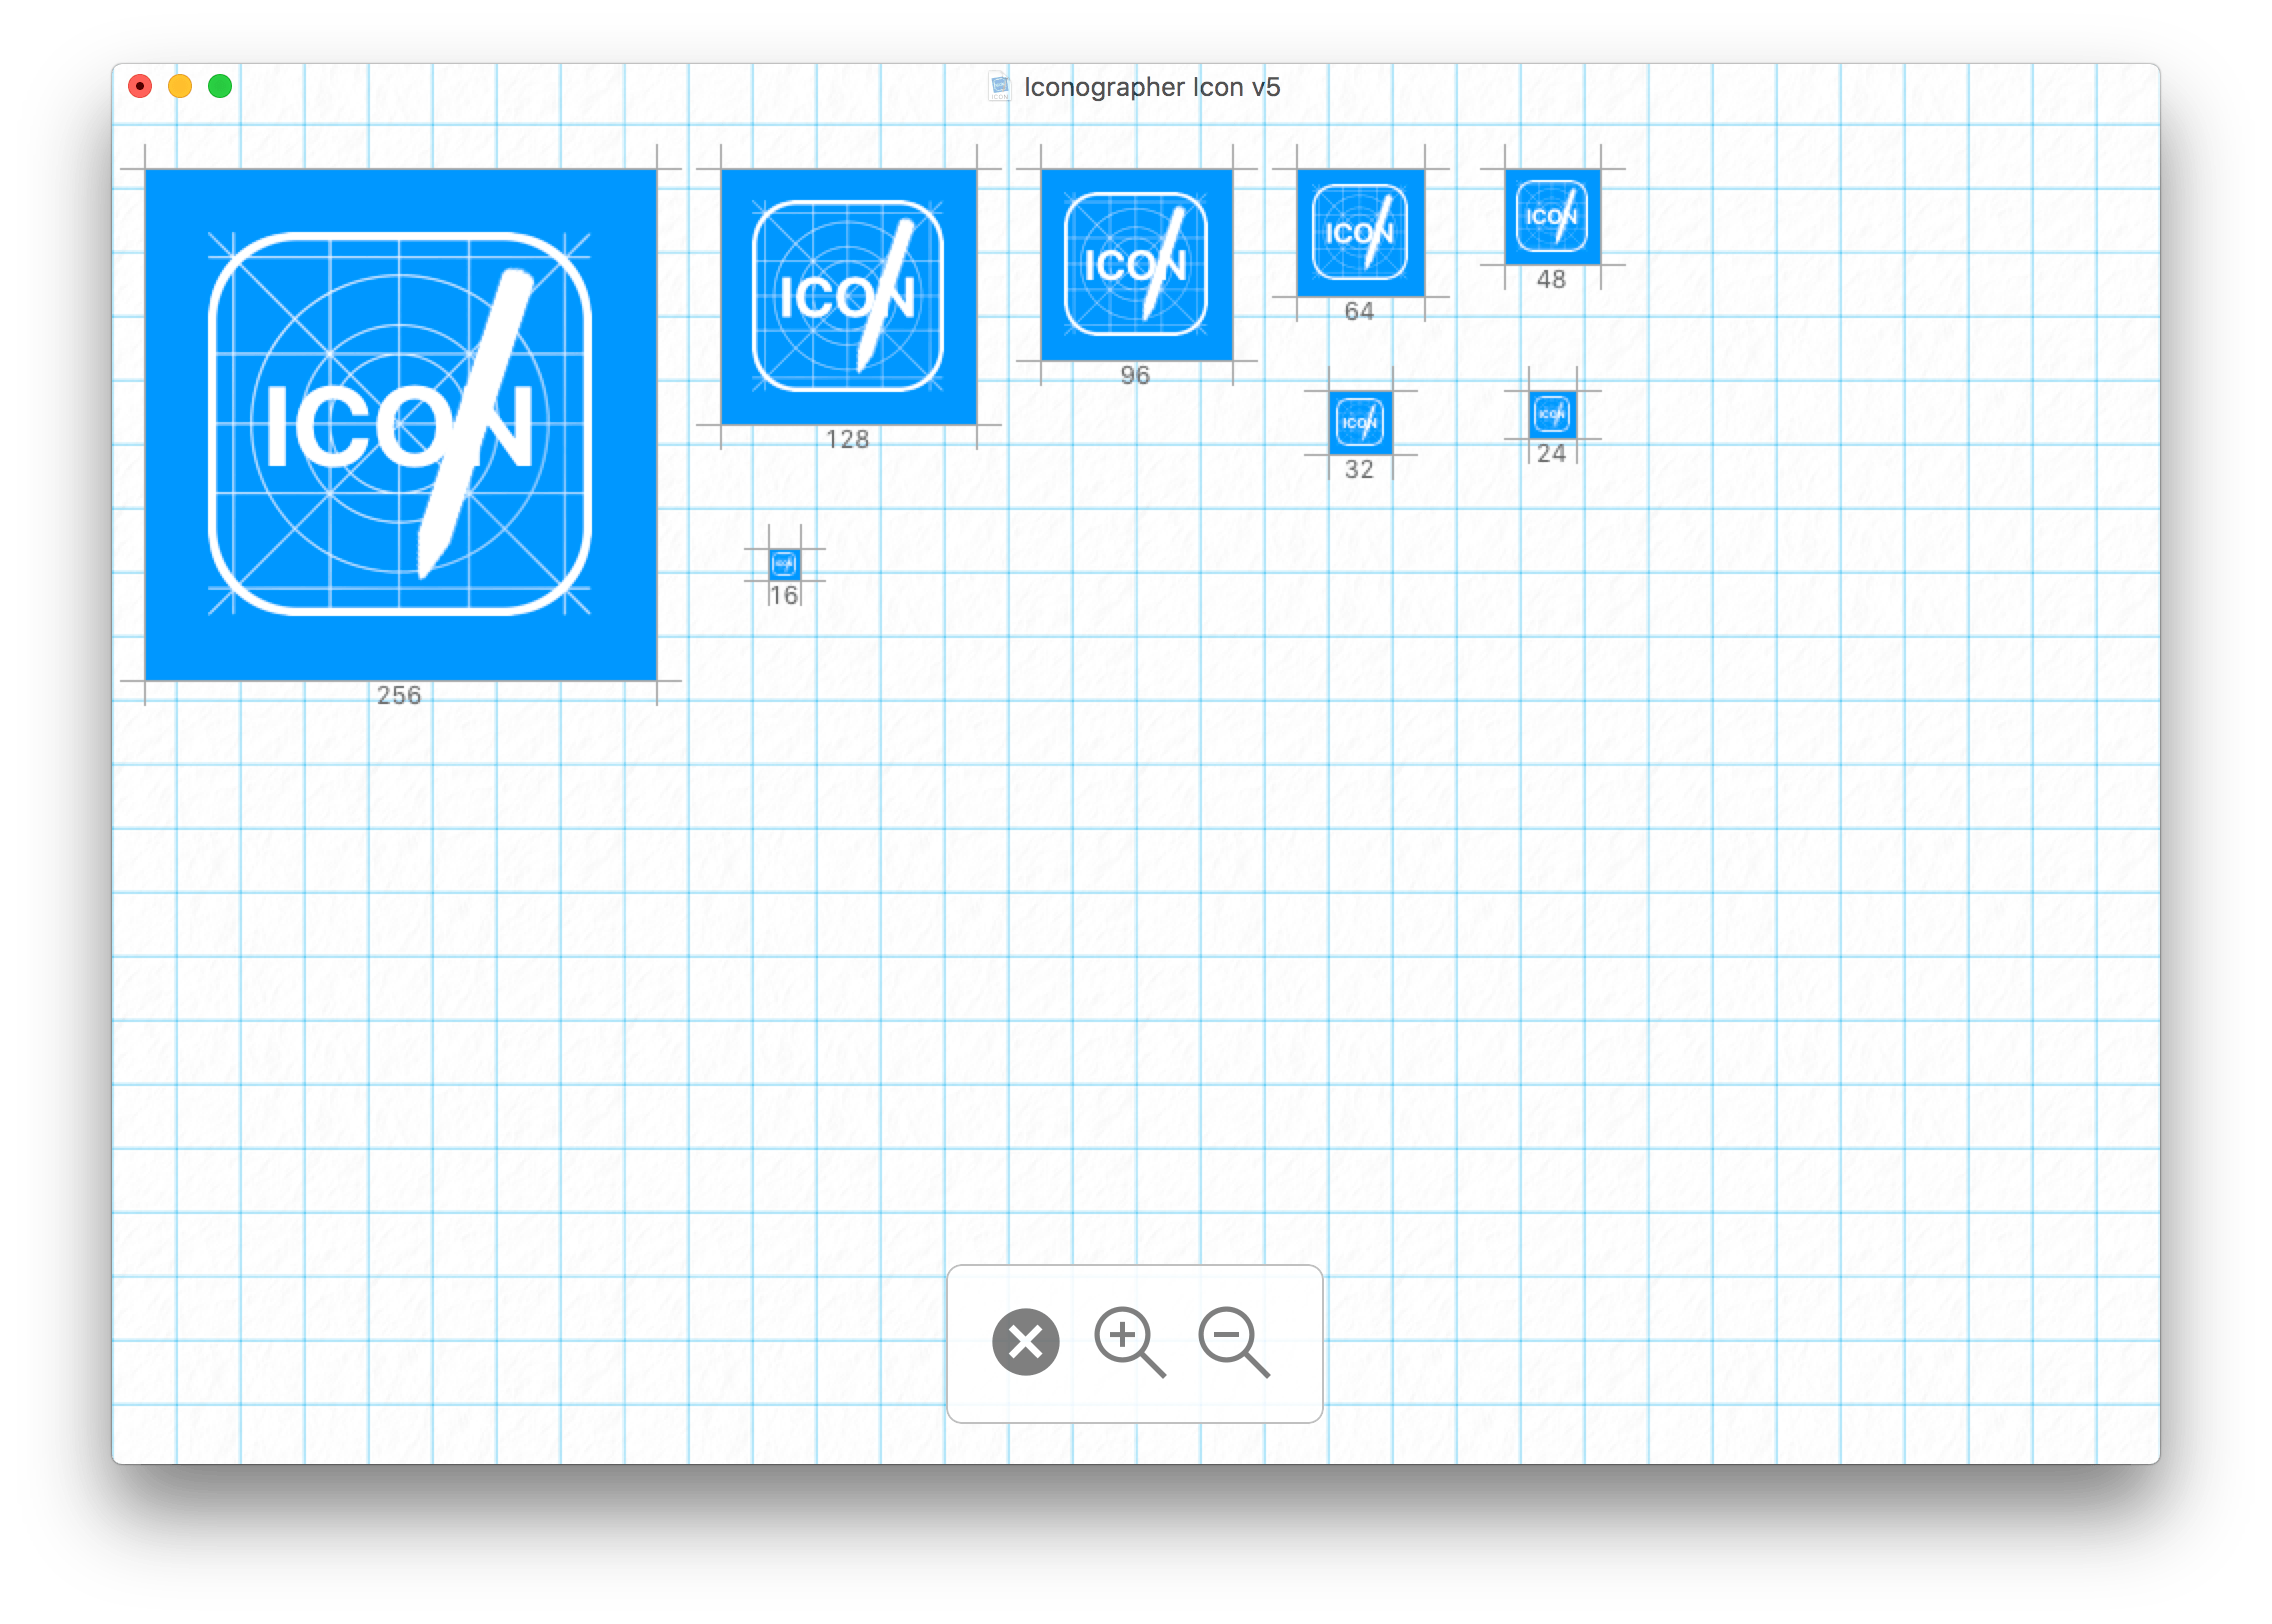
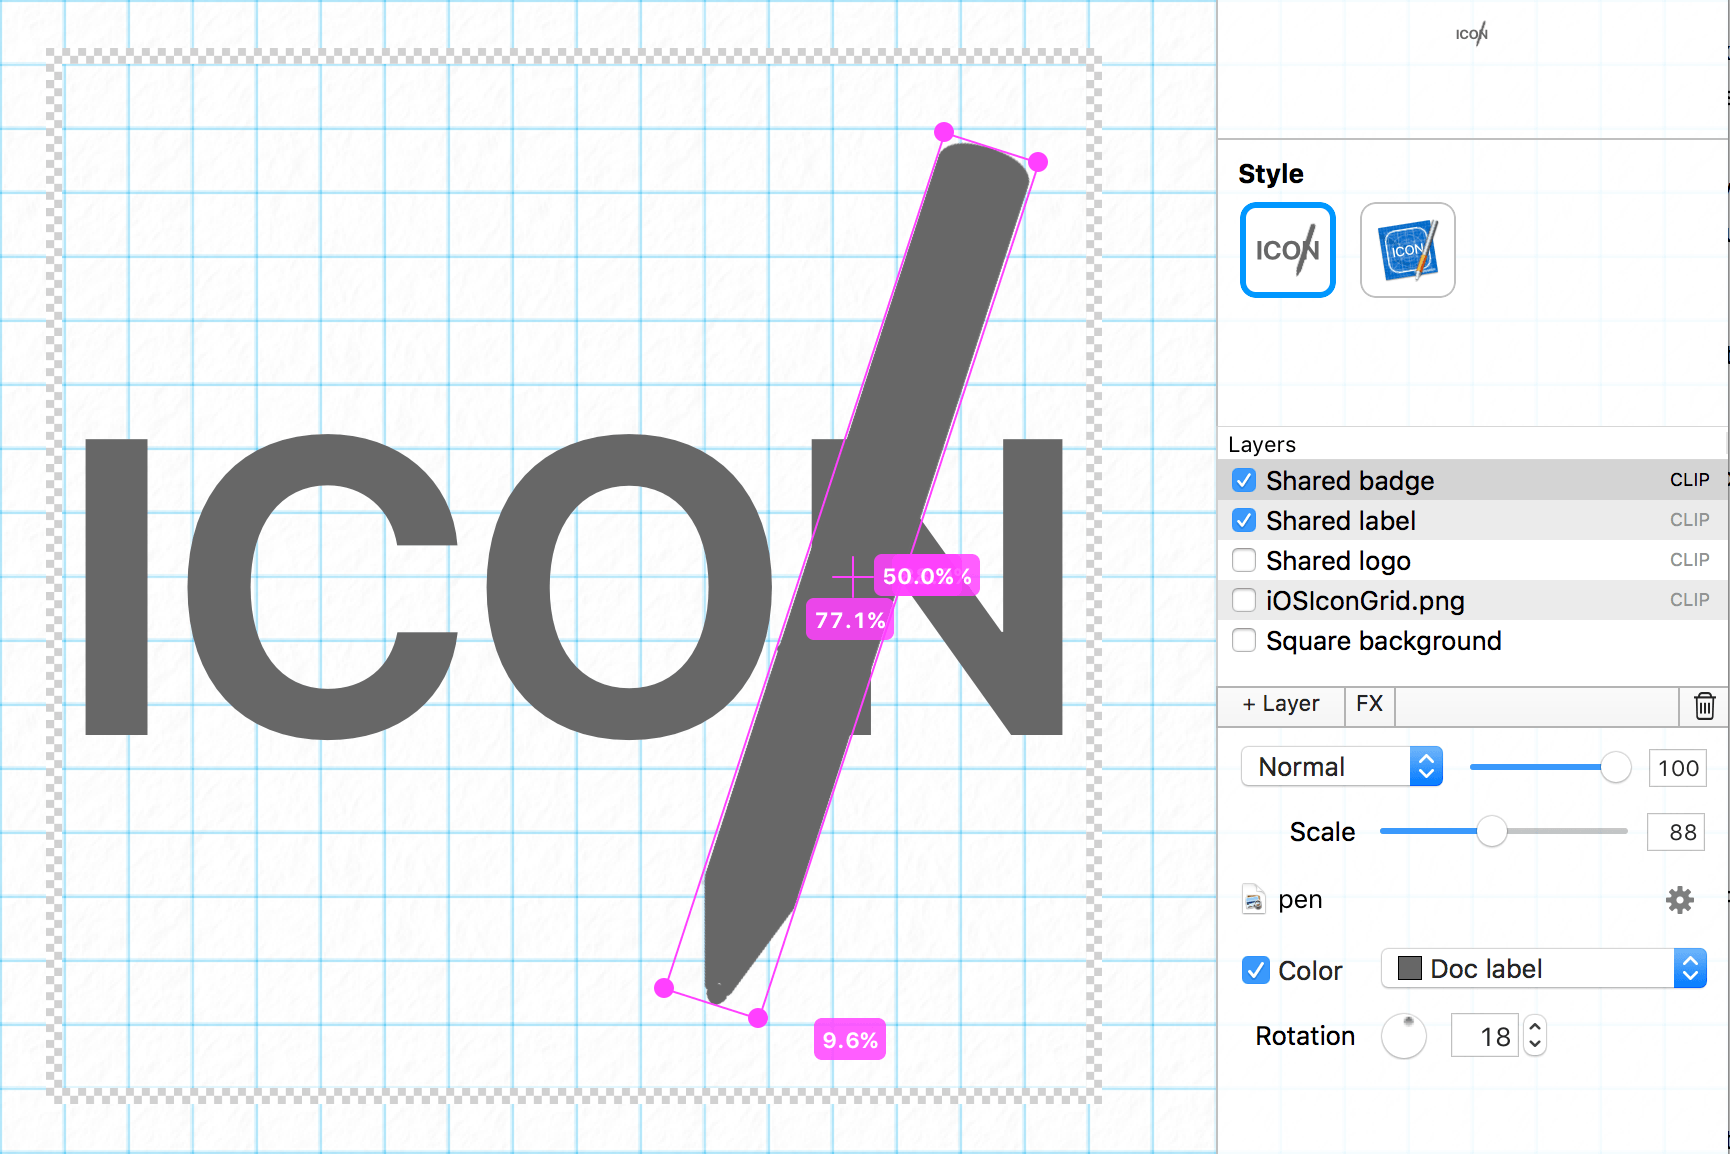
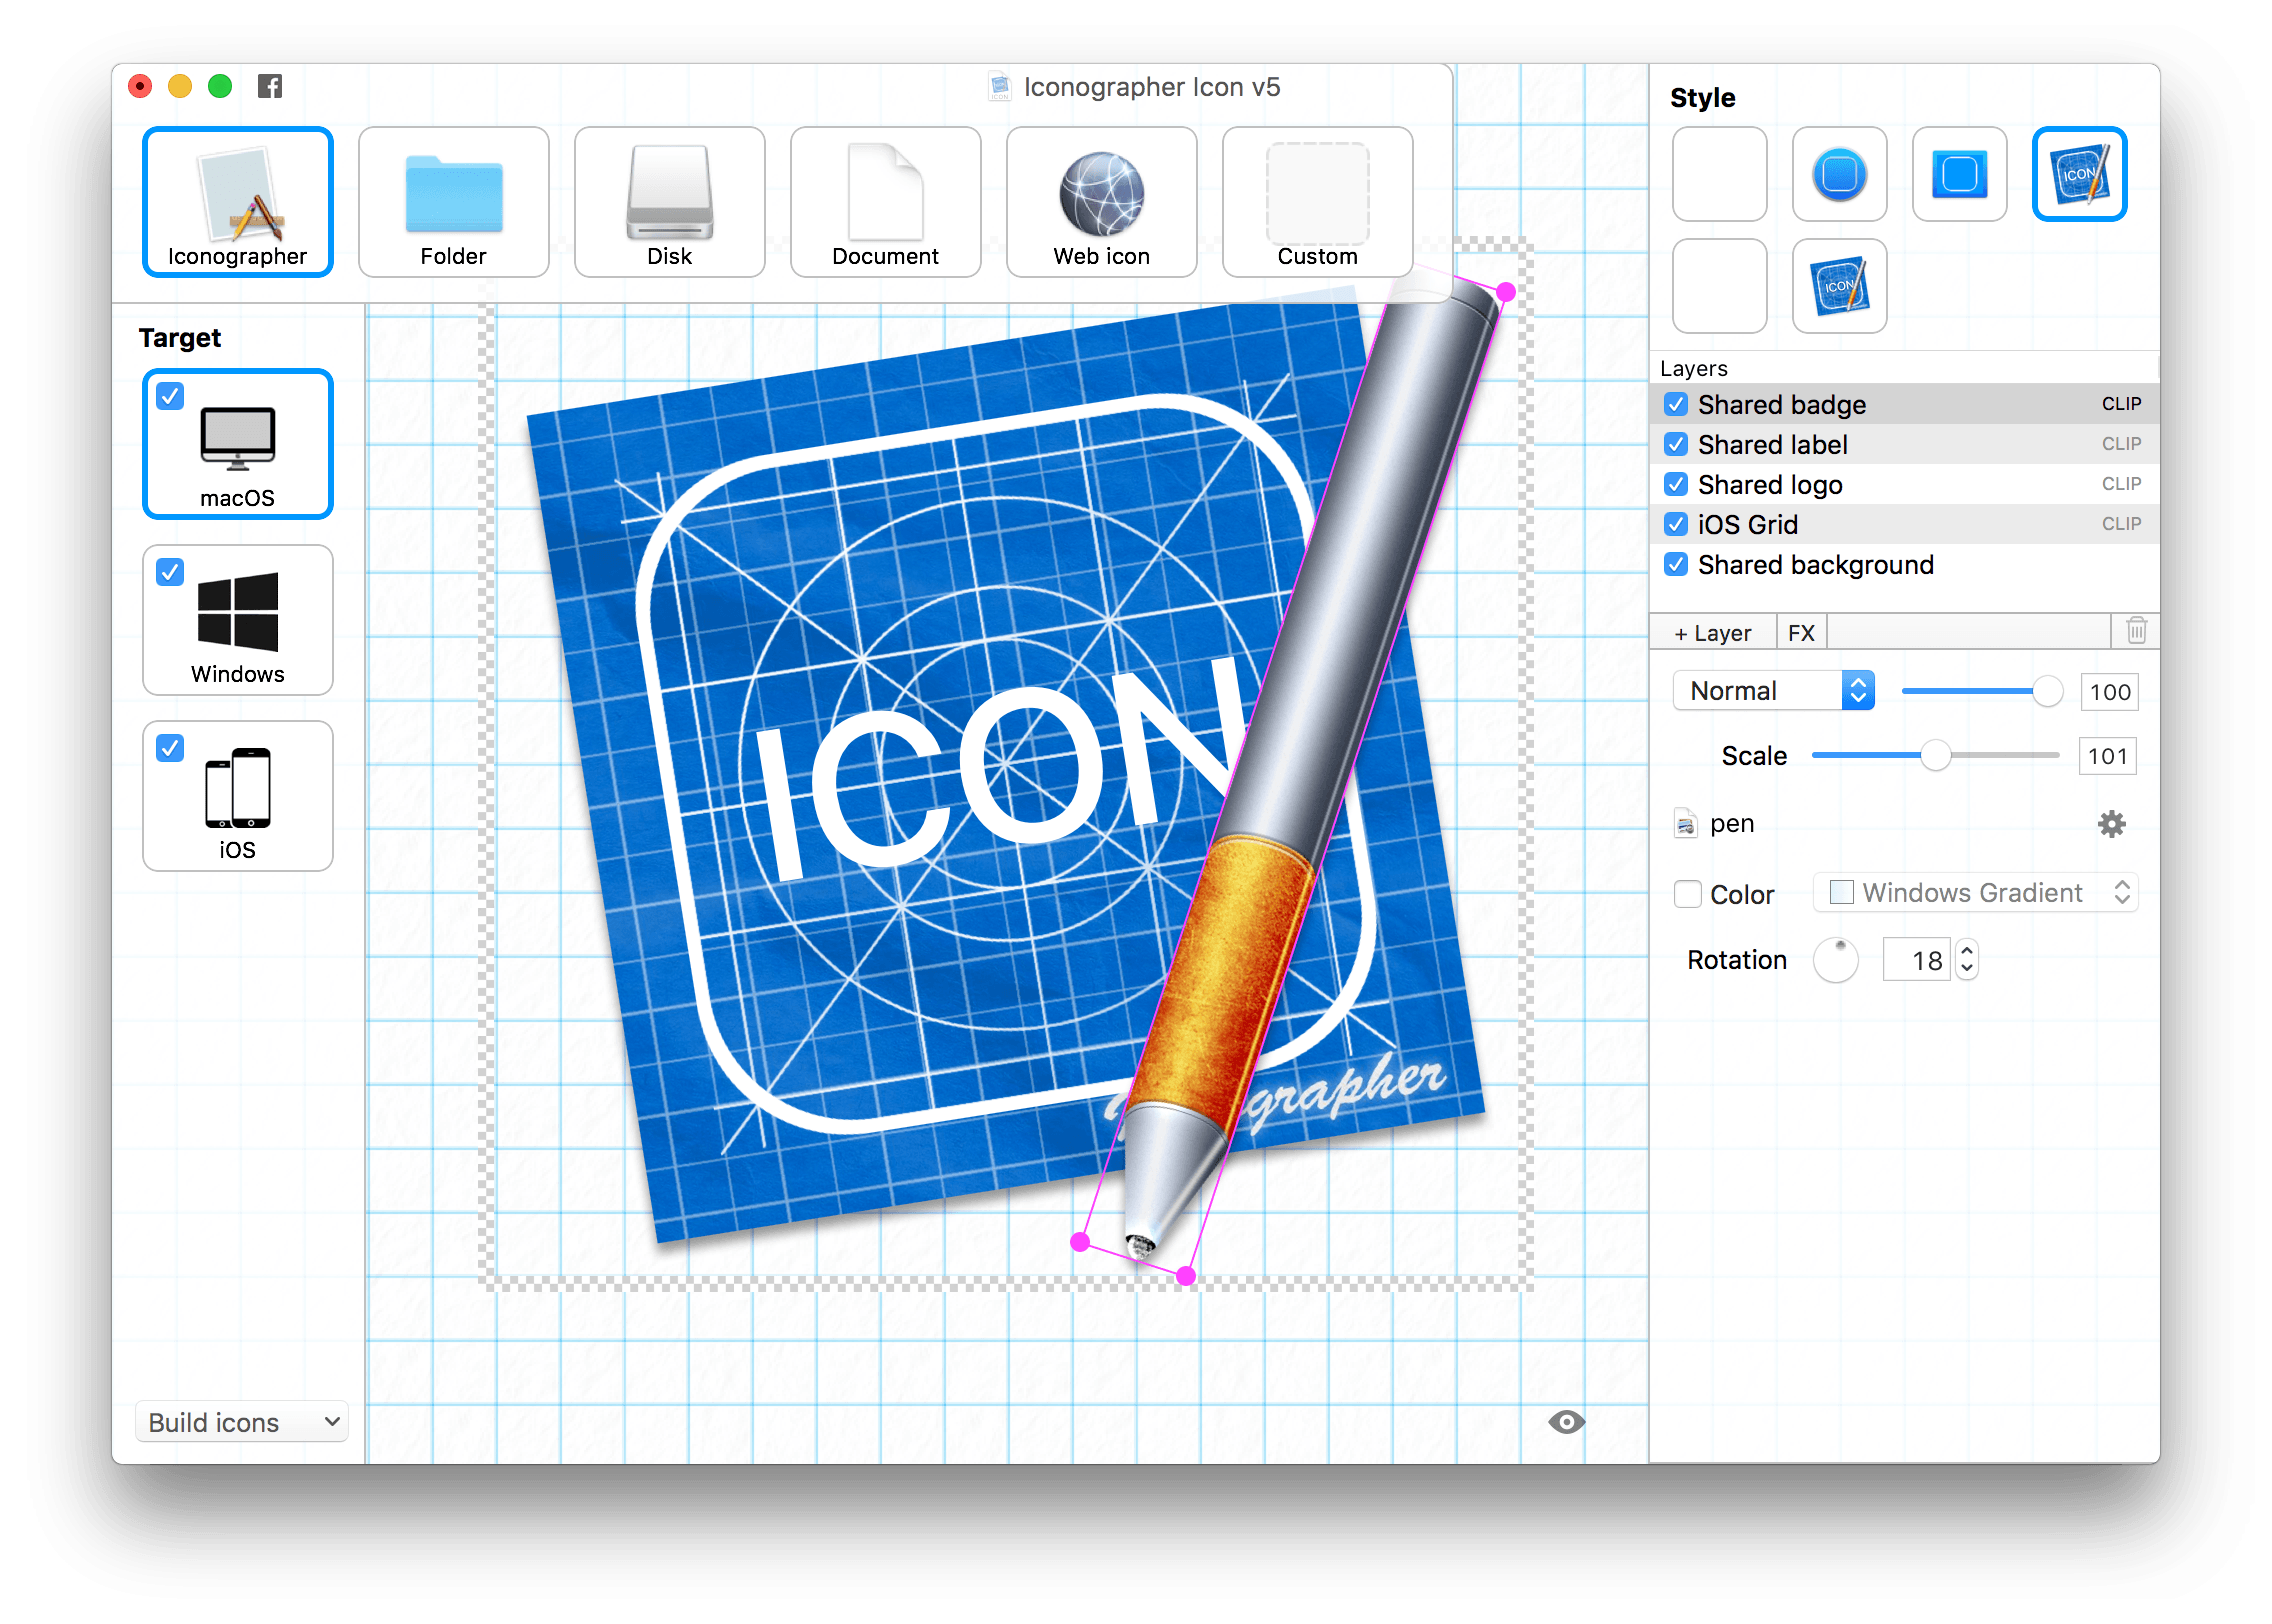 Here we have our Iconographer icon in the Iconographer editor, a quick look at the interface and you’ll notice that we have an “Icon” selector, a “Target” selector, a “Style” selector, Layers and then layer properties.
I’m not going to show you how I made the Iconographer icon, instead I’ll demonstrate how to take this fine work of art and create all the other icons that we may need.
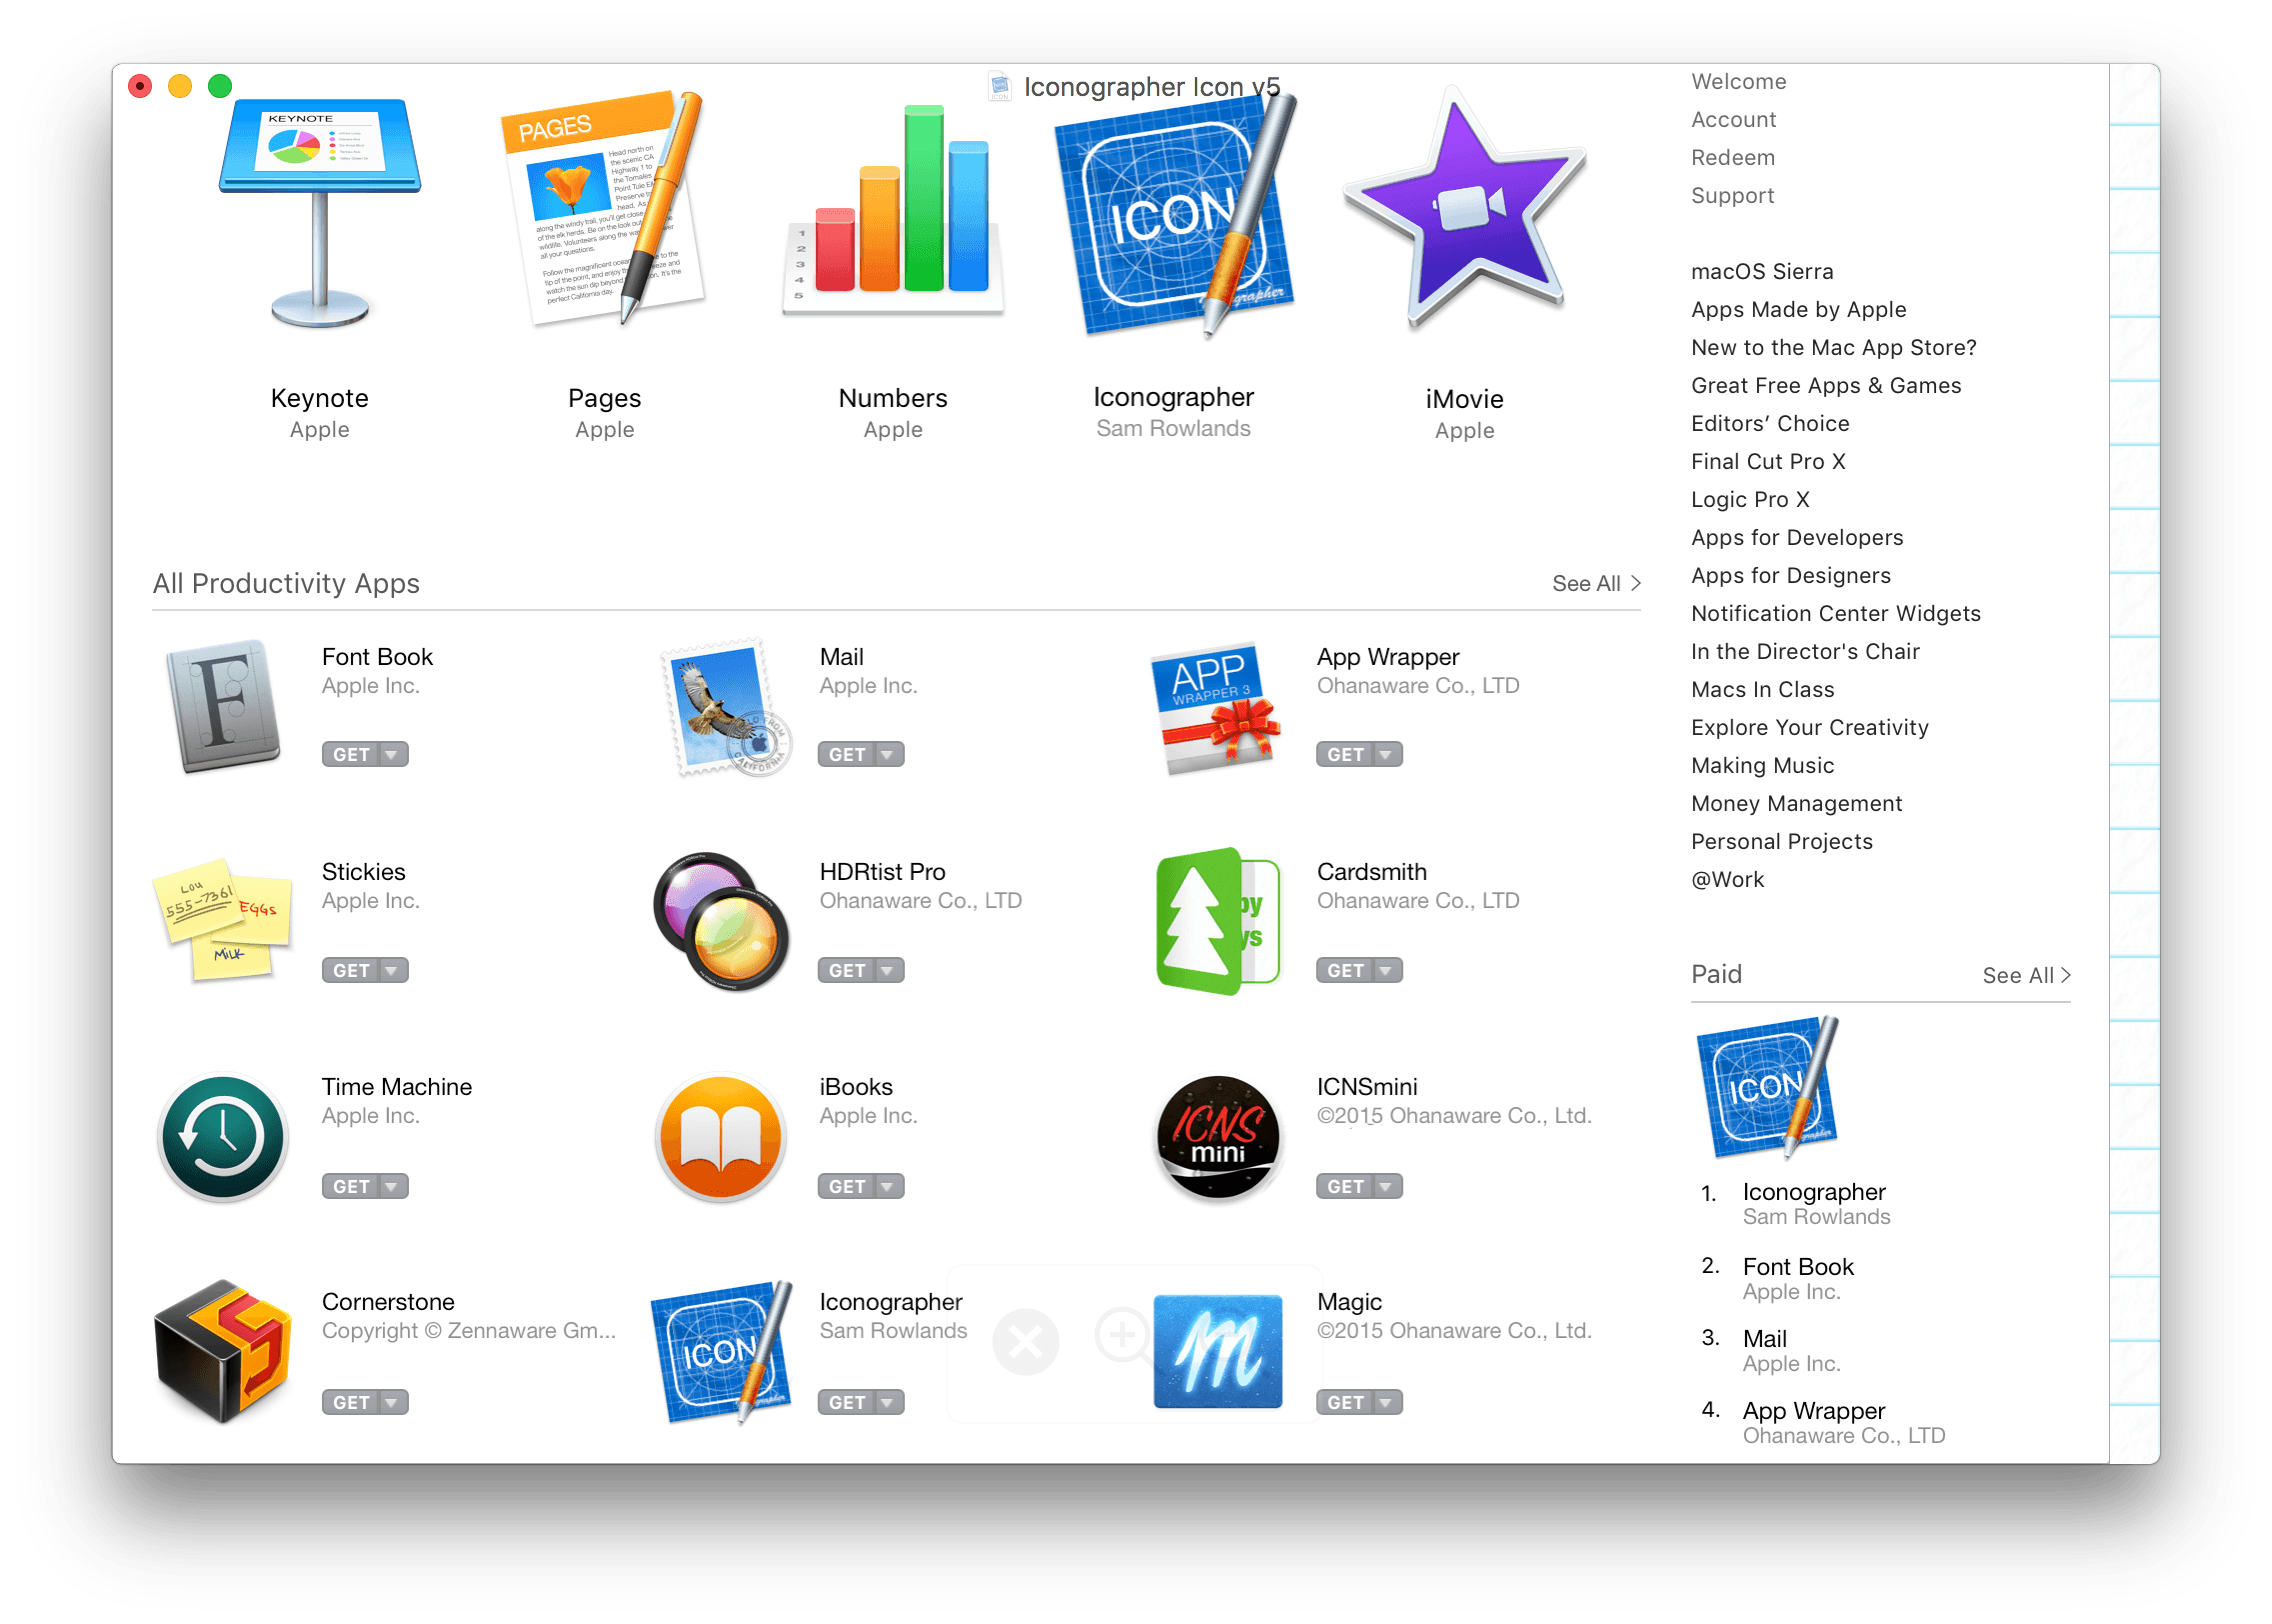
Before we begin, I just want to see what the icon will look like in the Mac App Store, to do that, I’ll select “Mac App Store” from the “Preview Icon in” menu, from the “Preview” button in the bottom right hand corner of the editor. Note: The preview pulls the other application icons from your applications folder, so this also doubles as a way of comparing with existing apps.
 Clicking on the “Windows” target will change the editor to the Windows application icon. From here I chose the “Windows Tile” style, but it doesn’t look anything that I might like. Note: part of this is how I chose to build the Iconographer icon.
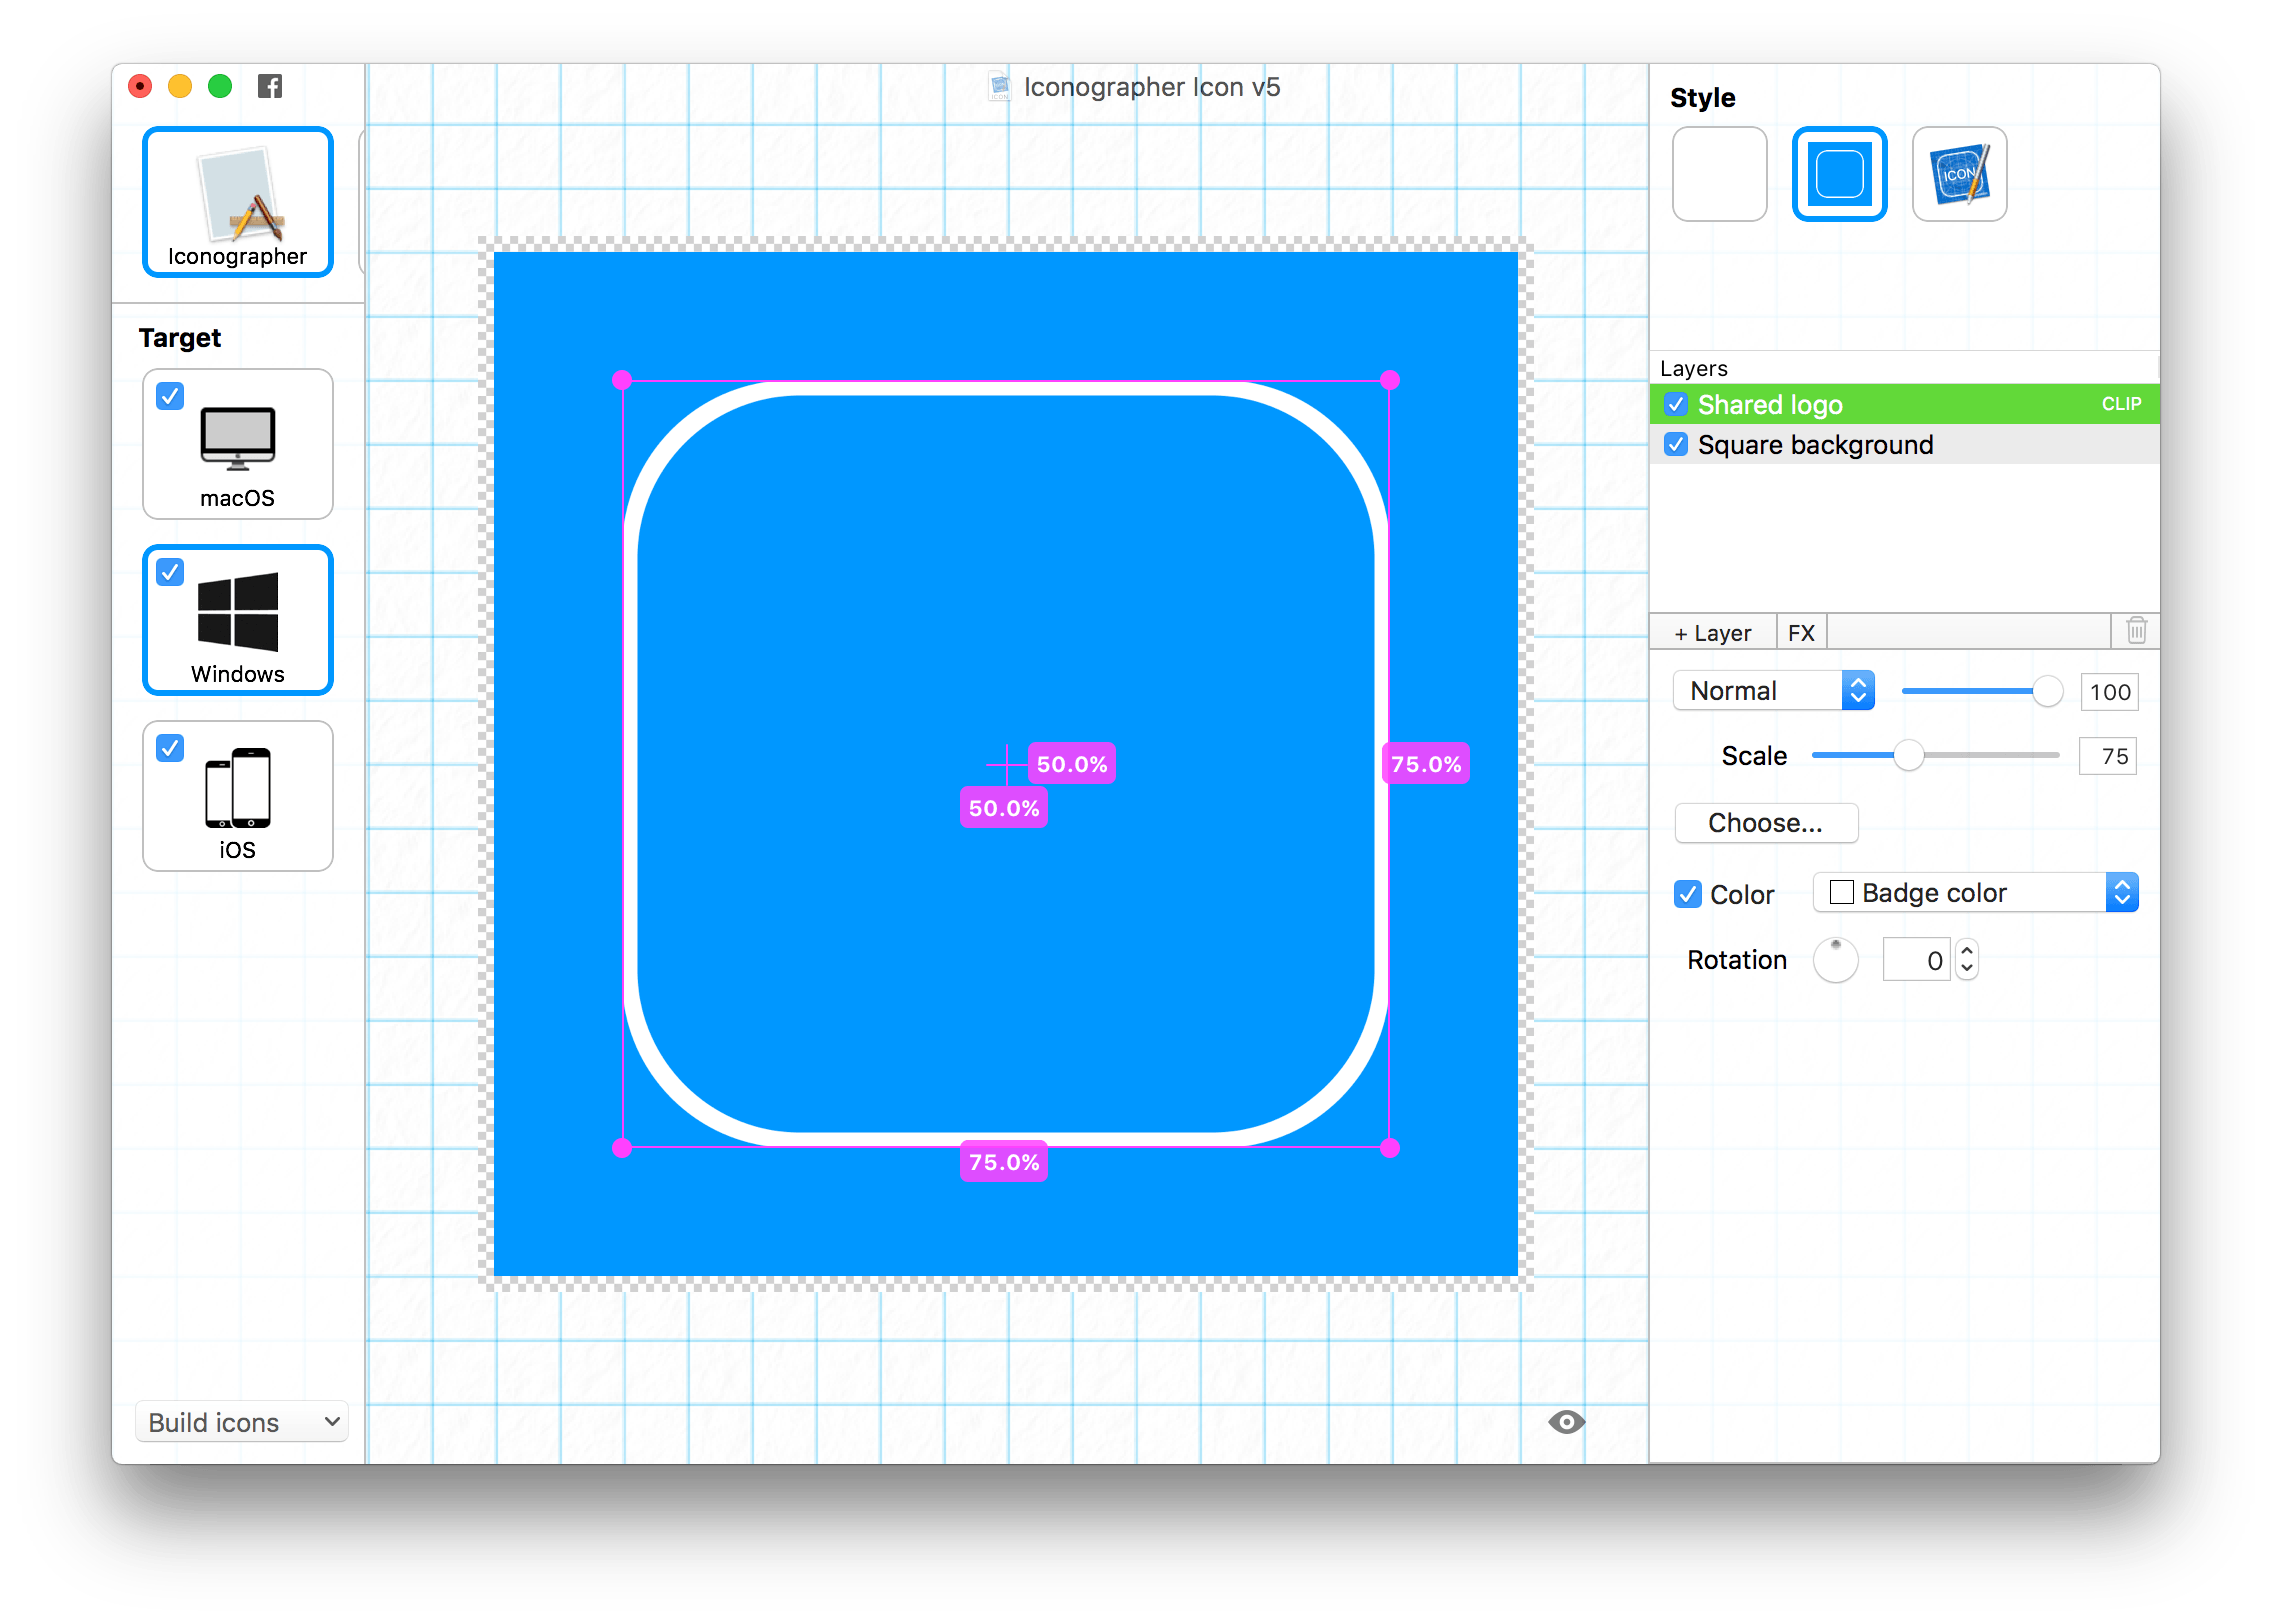 There’s only two layers for this icon, I need to import the rest. Simply clicking on the “+ Layer” button, I can select and add in the shared graphics and the shared label.
Now you can see that the layers list has more layers and all the elements are loaded, but it looks like a mess. I’ll start by re-arranging the layers to get a more pleasing layout.
That’s a bit more like it, now the layout looks more pleasing, I’ve tweaked the font & size of
the text, also enabled “All Caps” so it automatically displays in capital letters. Still one problem…
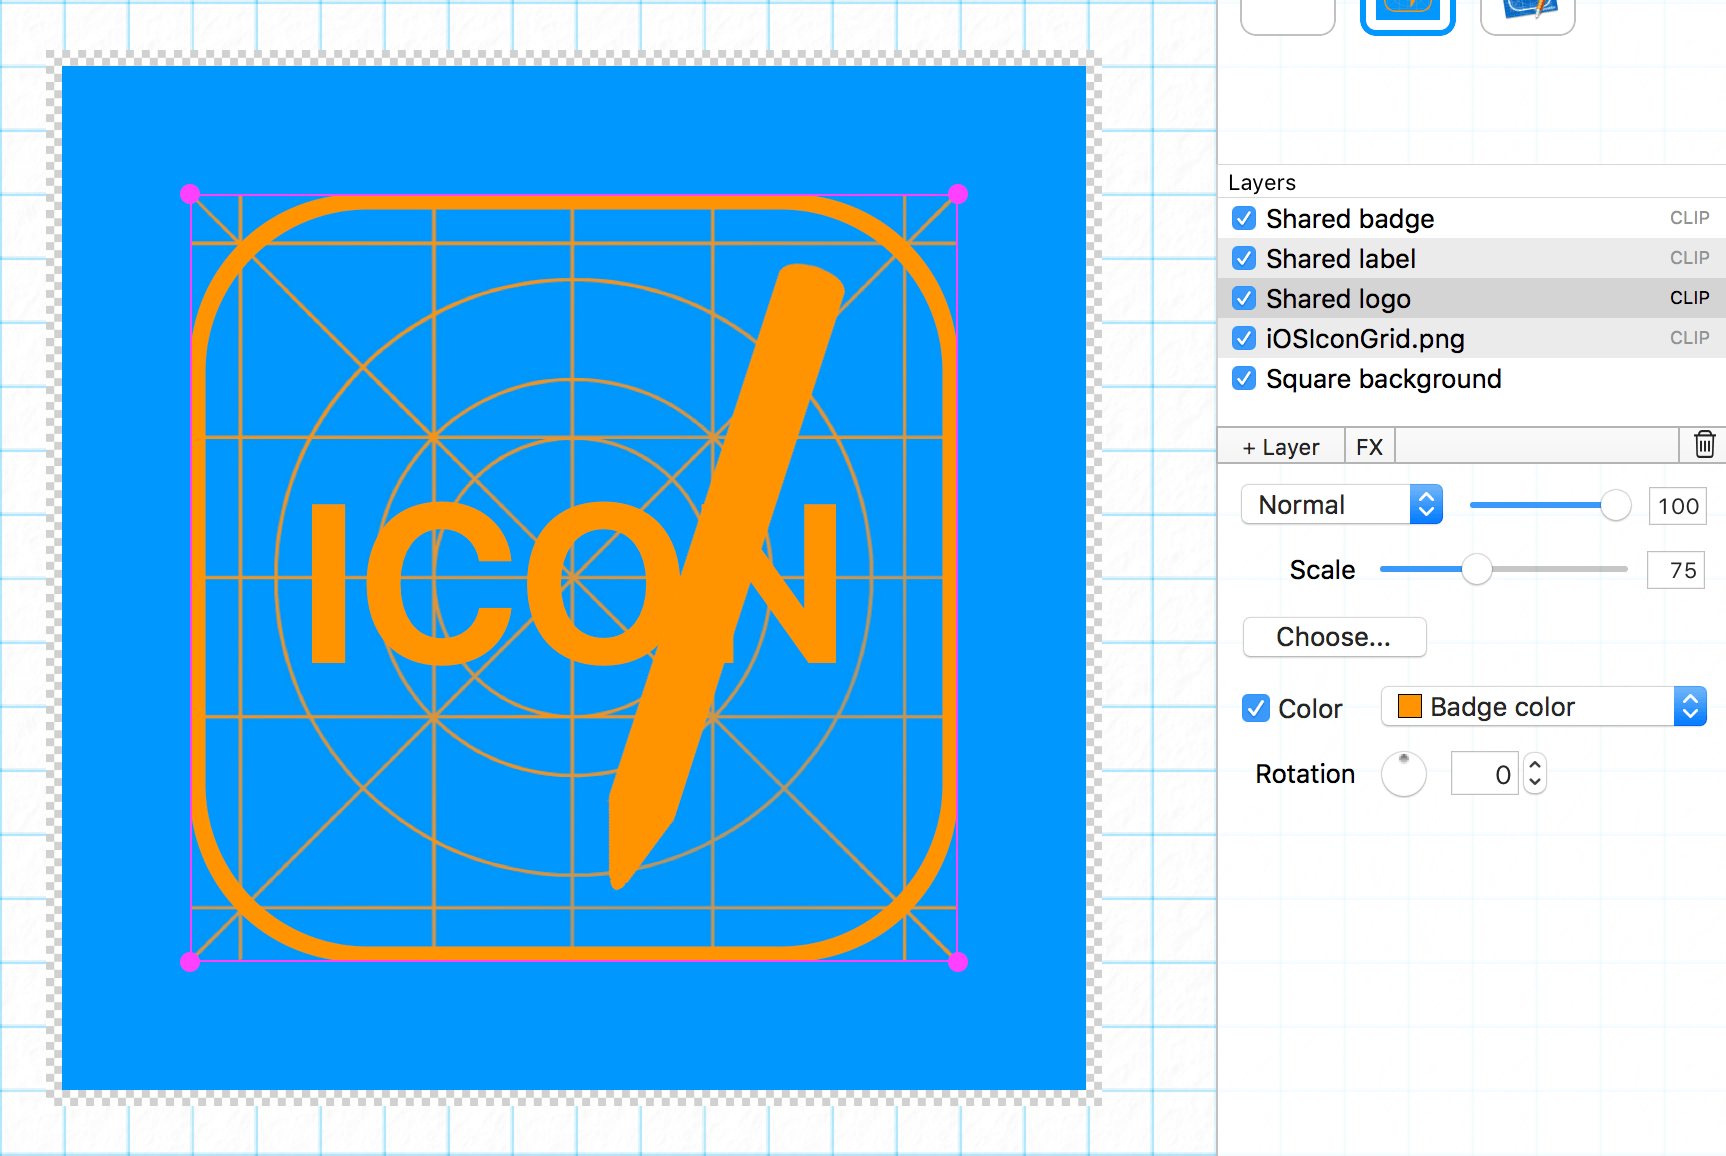
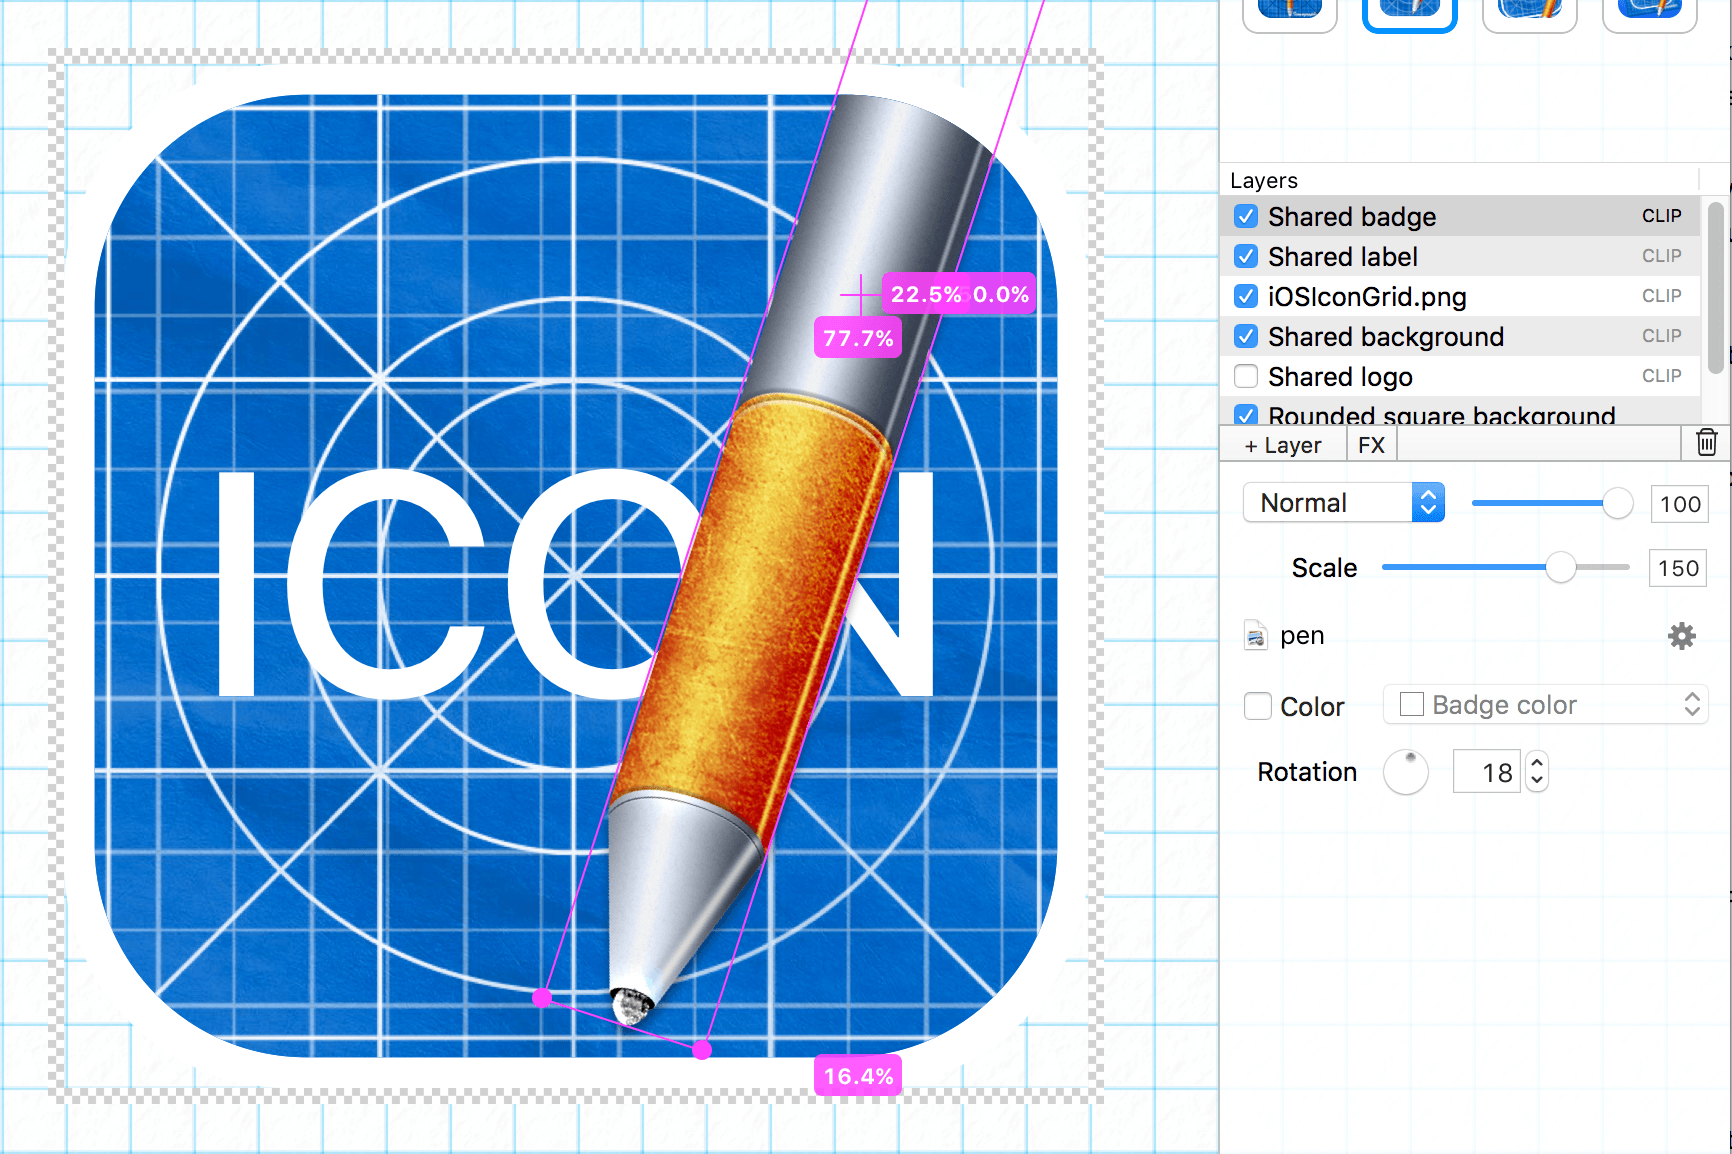
Much better; Windows 10 icons are white silhouettes on a plain colored background. Iconographer features a really nifty “Color” function where it will replace the colors of an icon with either a chosen solid color or a gradient. In this case we’re using the Badge color. Iconographer uses shared colors (as well as shared graphics and shared labels), when you adjust a color in one icon, it updates all your icons. If I set the “Badge Color” to be orange, all the elements using the Badge color get updated.
Clicking on the “Preview” button again (the one in the bottom right hand corner), and selecting “Contact Sheet”, will show a contact sheet with the various sizes that a Windows icon can feature.
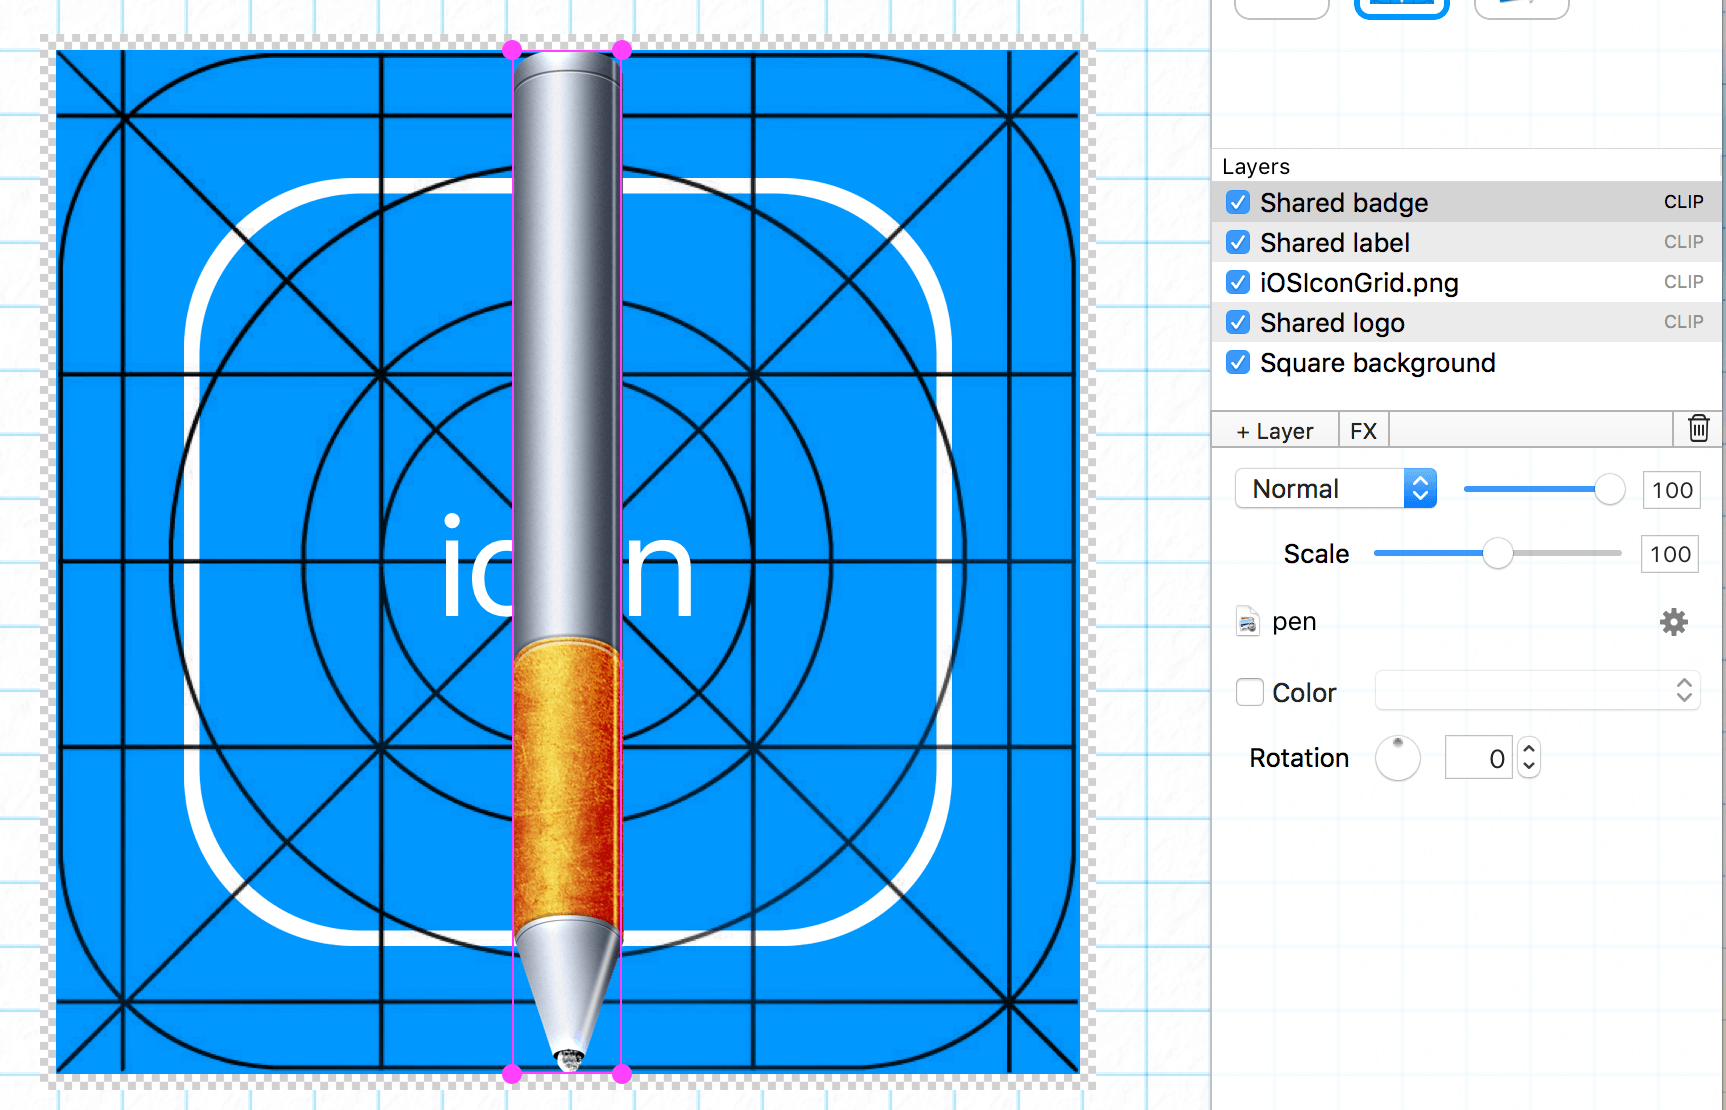
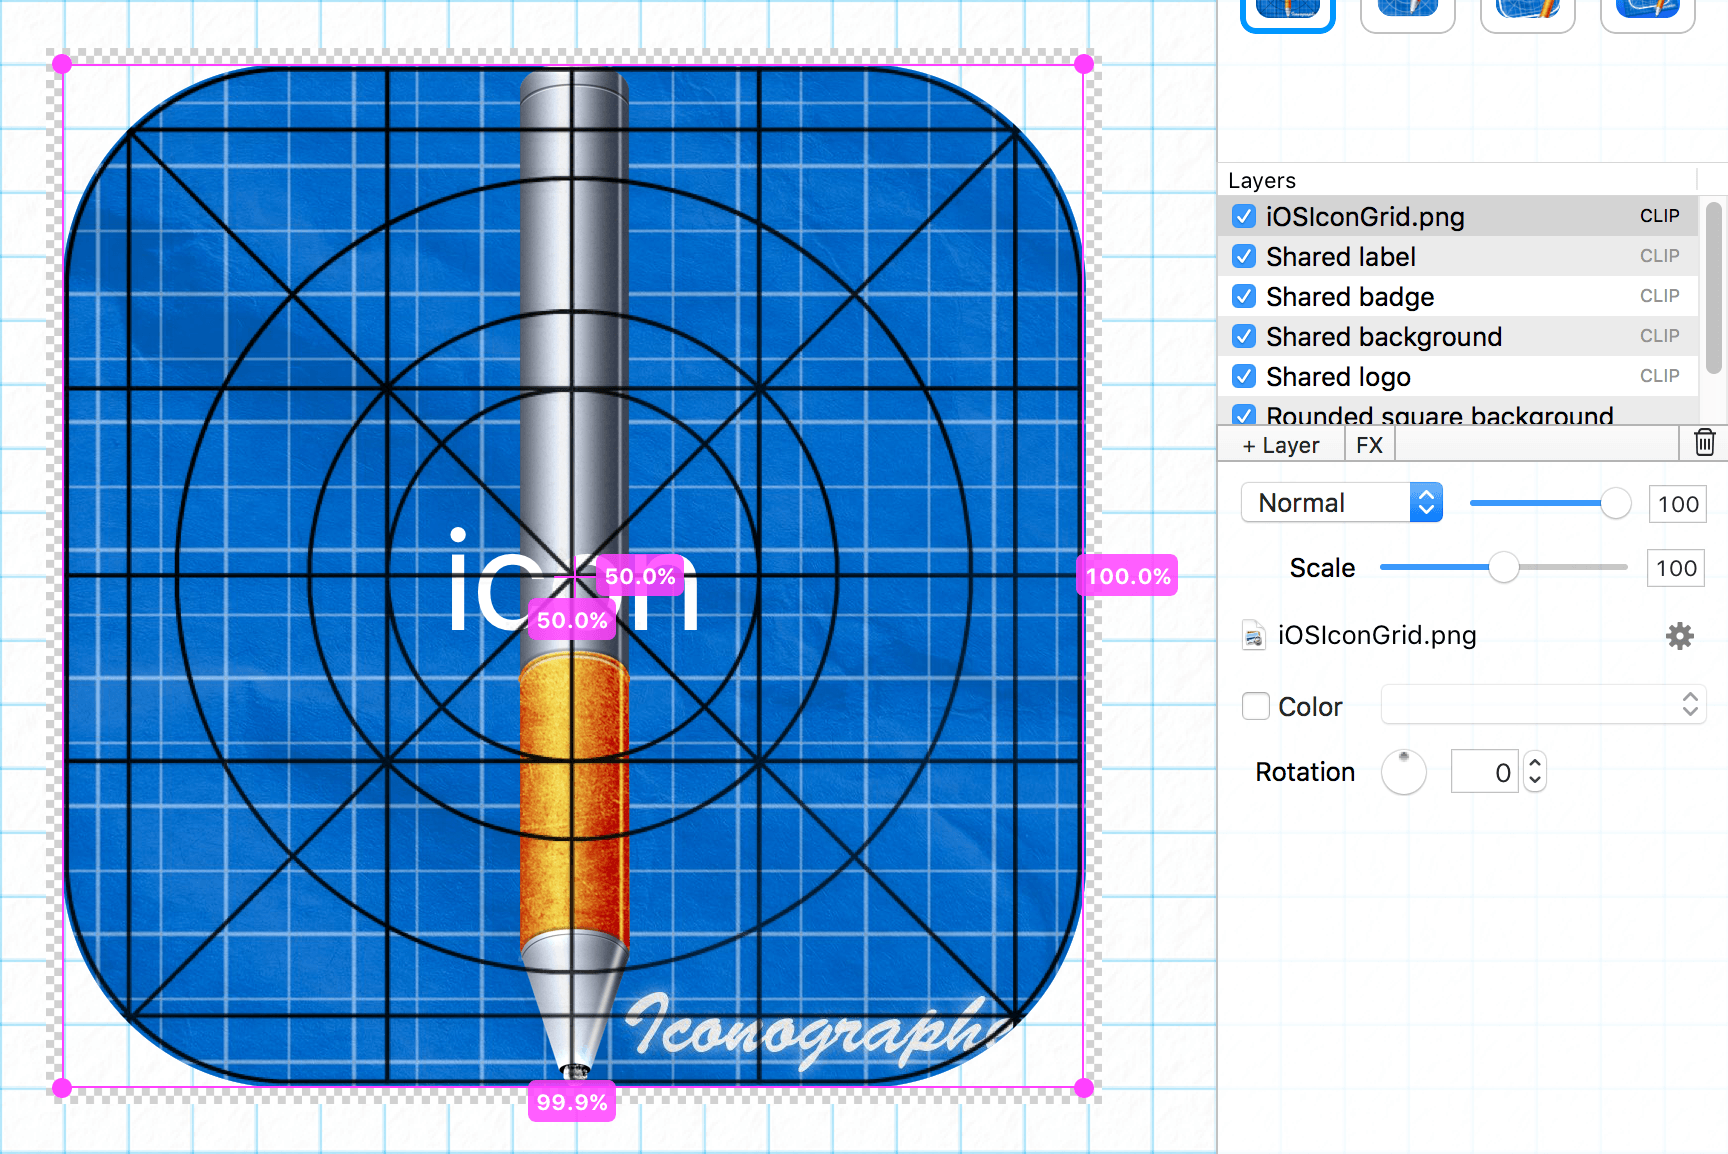
 Sort out the iOS icon. Clicking on the “iOS” target icon in the left hand column, shows me the following icon. I should point out that your default will vary, mine is very weird because of the elements I’ve used to create the Iconographer icon.
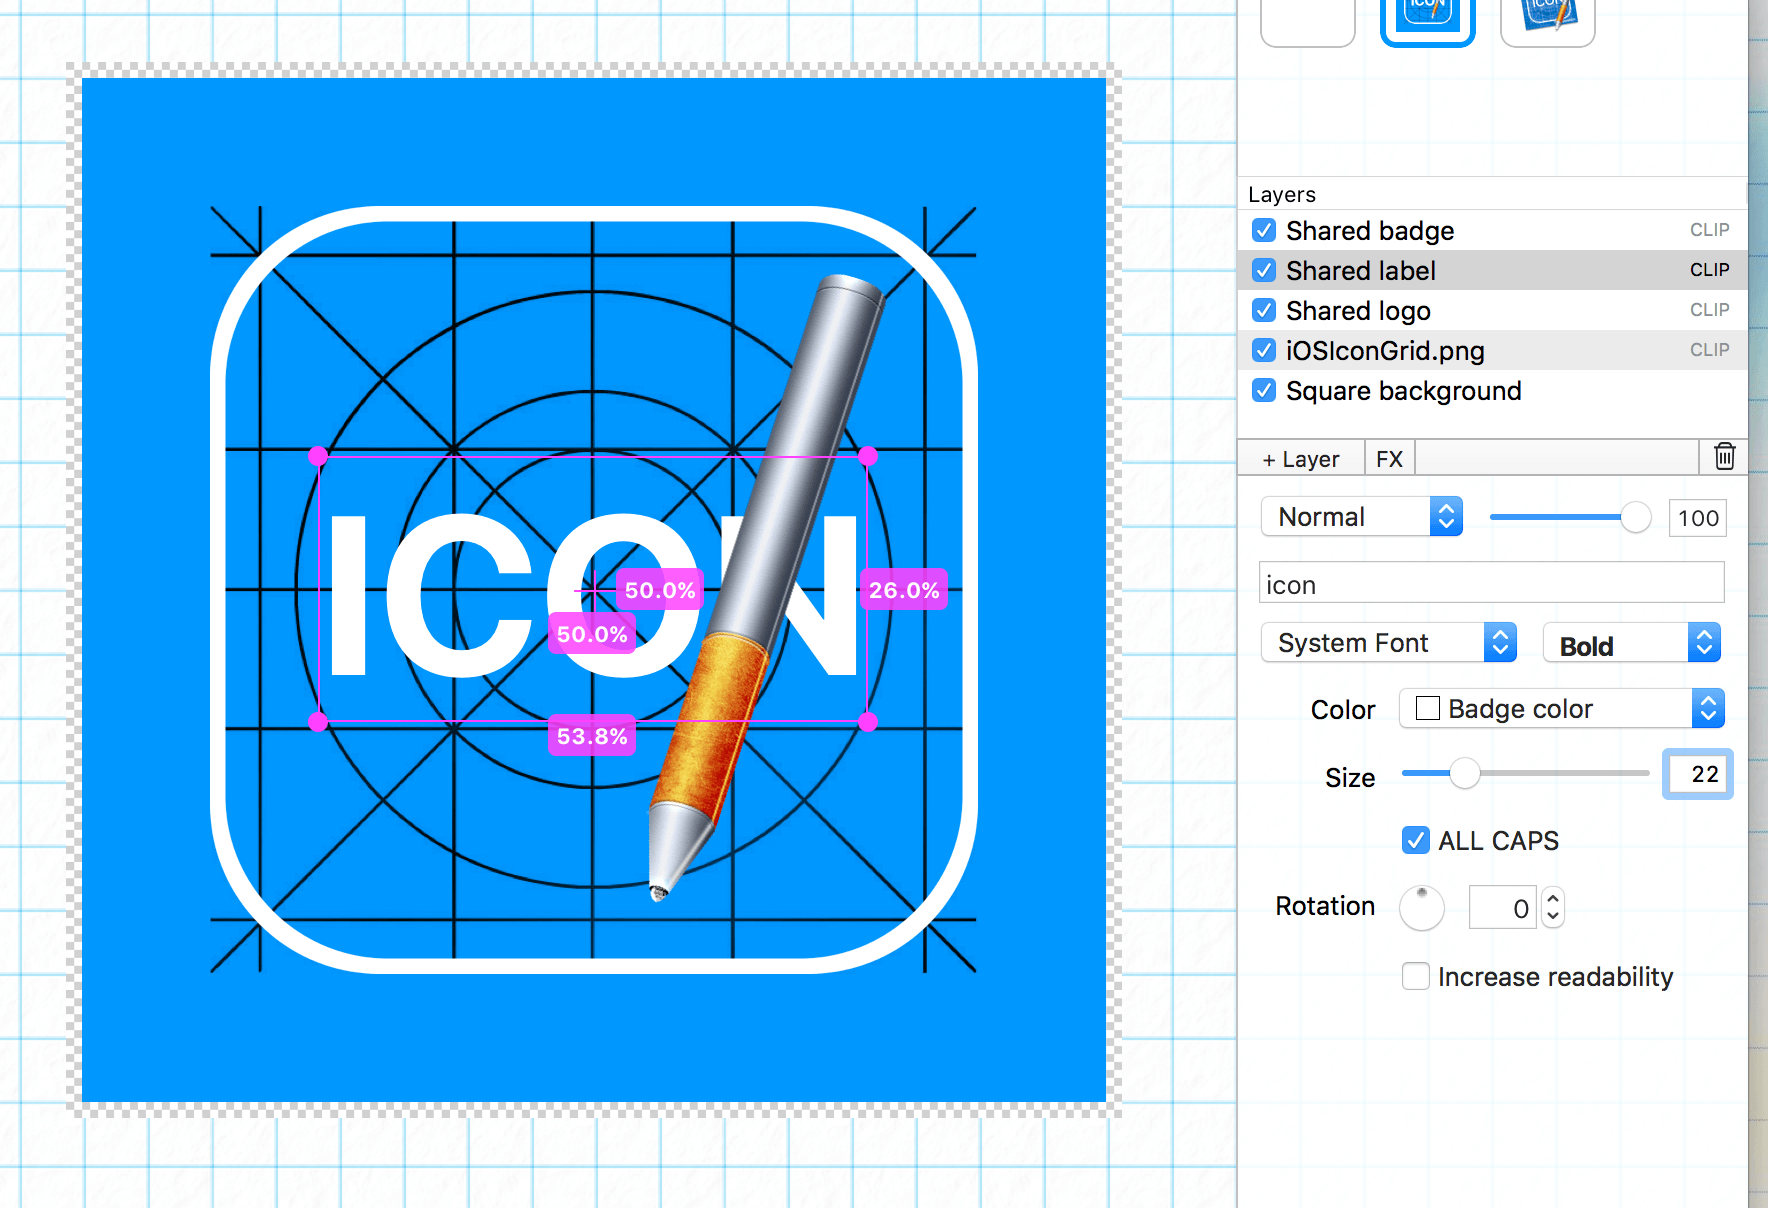
Again, once all the layers have been added, like it was done for Windows, it starts to resemble more of what we’d like.
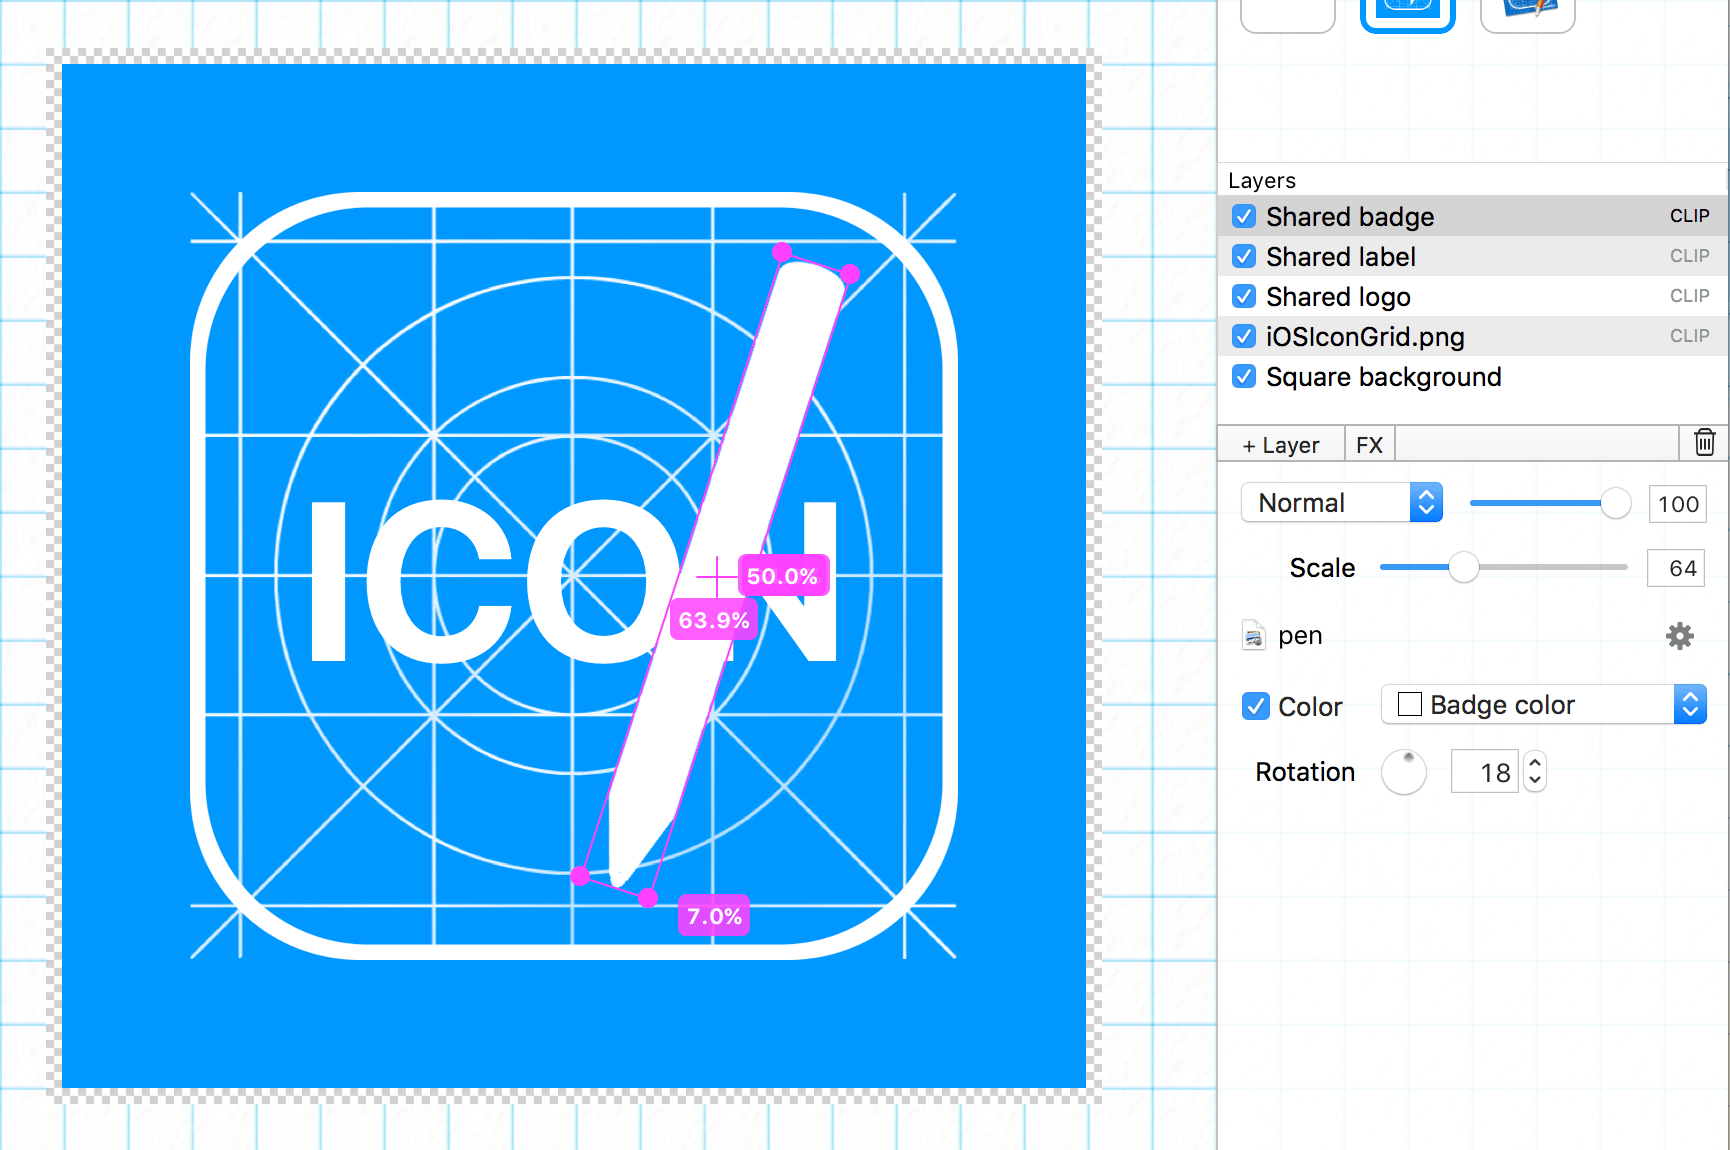
Getting there, rearranging the layers, colorizing some and fixing the text, gives a far more pleasing result.
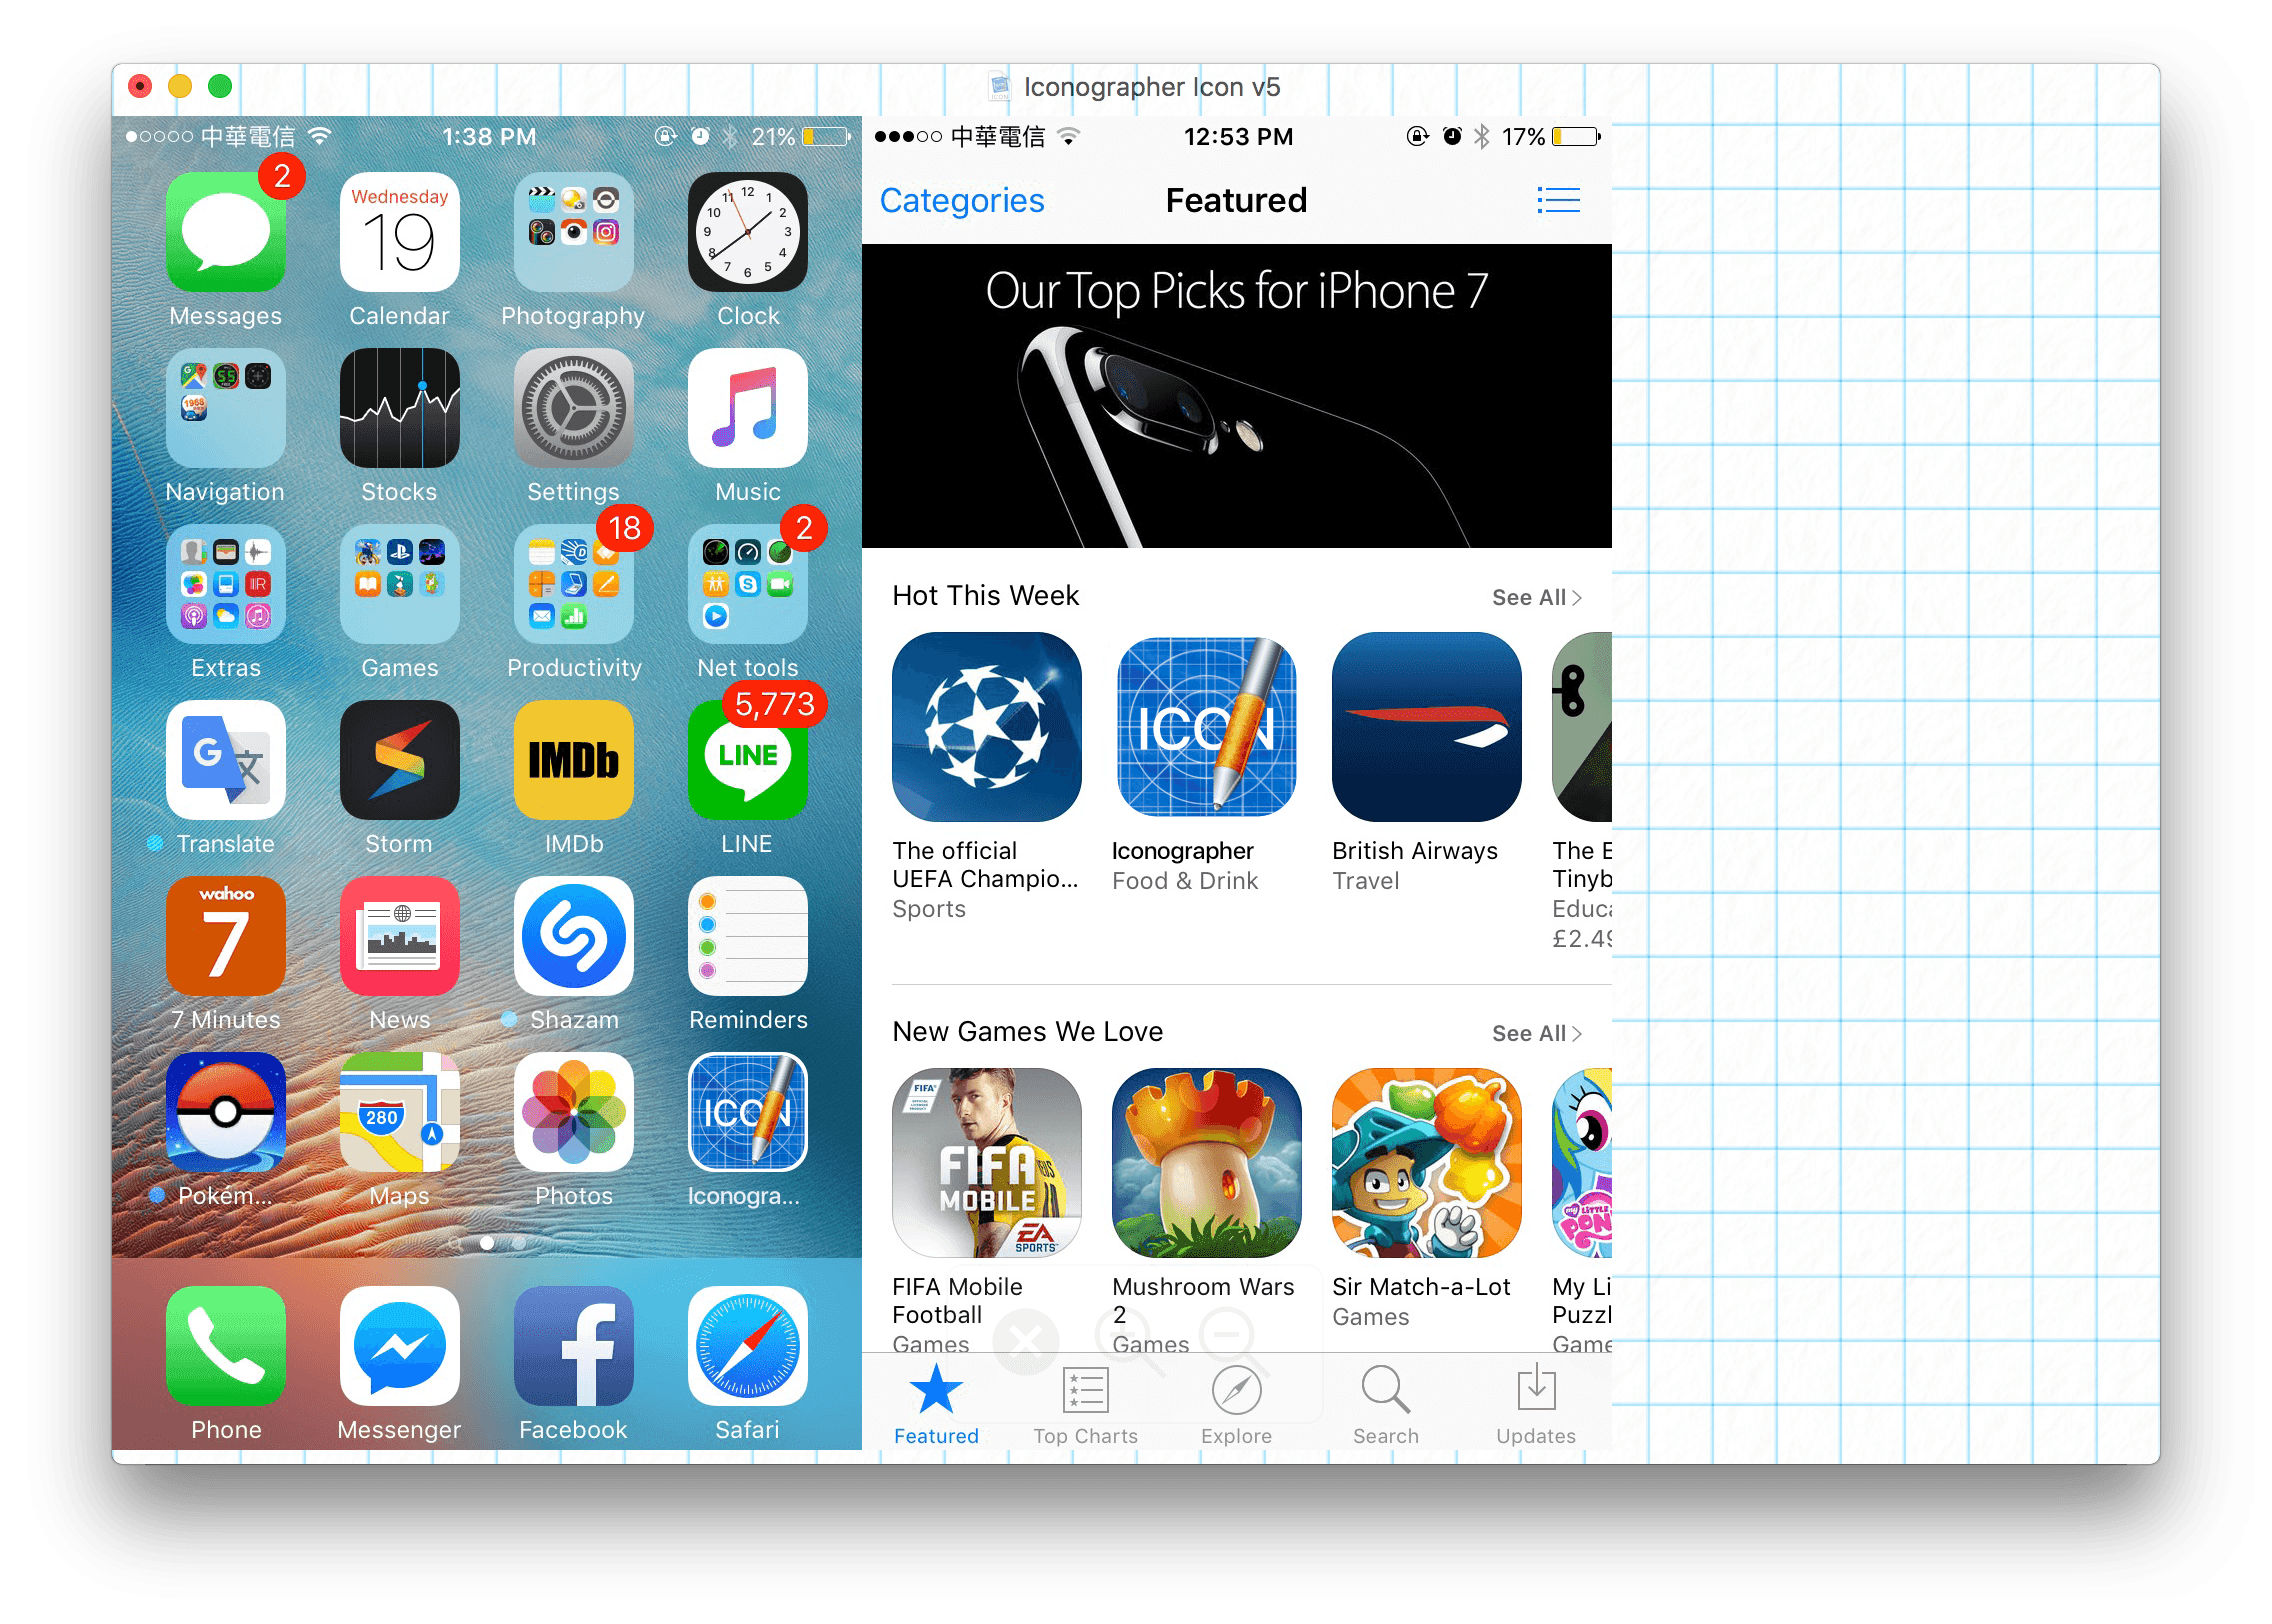
Now if we check out the “Preview” menu, we can even see what it will look like on the home screen of an iPhone or iPad and the App Store.
 Next, I simply select “Build all selected icons…” from the “Build Icon” button in the bottom left hand corner, choose a folder and let Iconographer do its job. It’s important to note that each icon can be customized as to what elements are included and some targets even have a file format option.
Wait… That’s not all Iconographer can do…
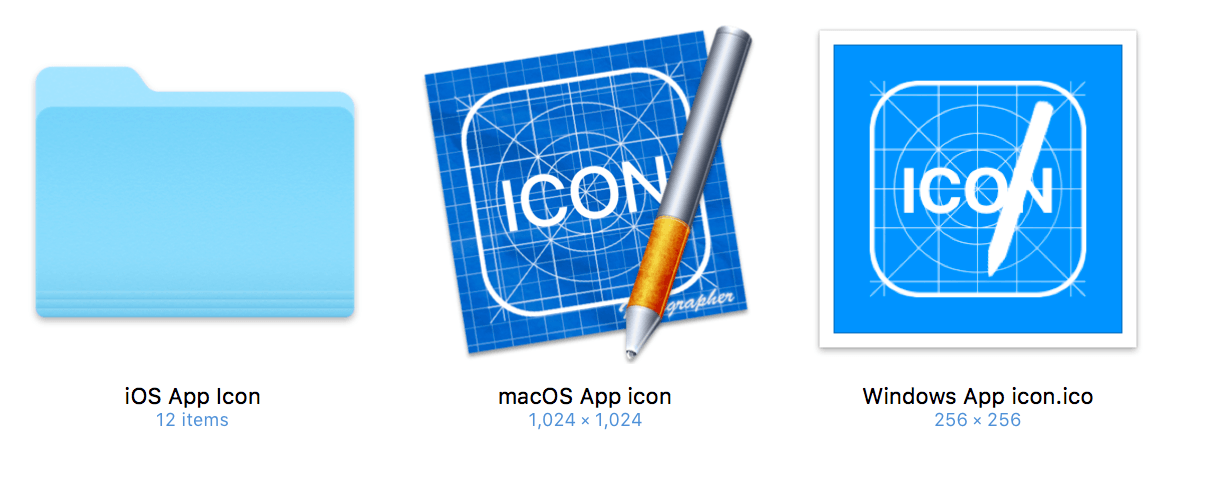
By selecting “Document” from the icon selector in the top left, there’s a perfect document file icon just waiting for me to export. If I change to Windows, there’s one there too and the Windows one is automatically using the Windows icon we adapted earlier.
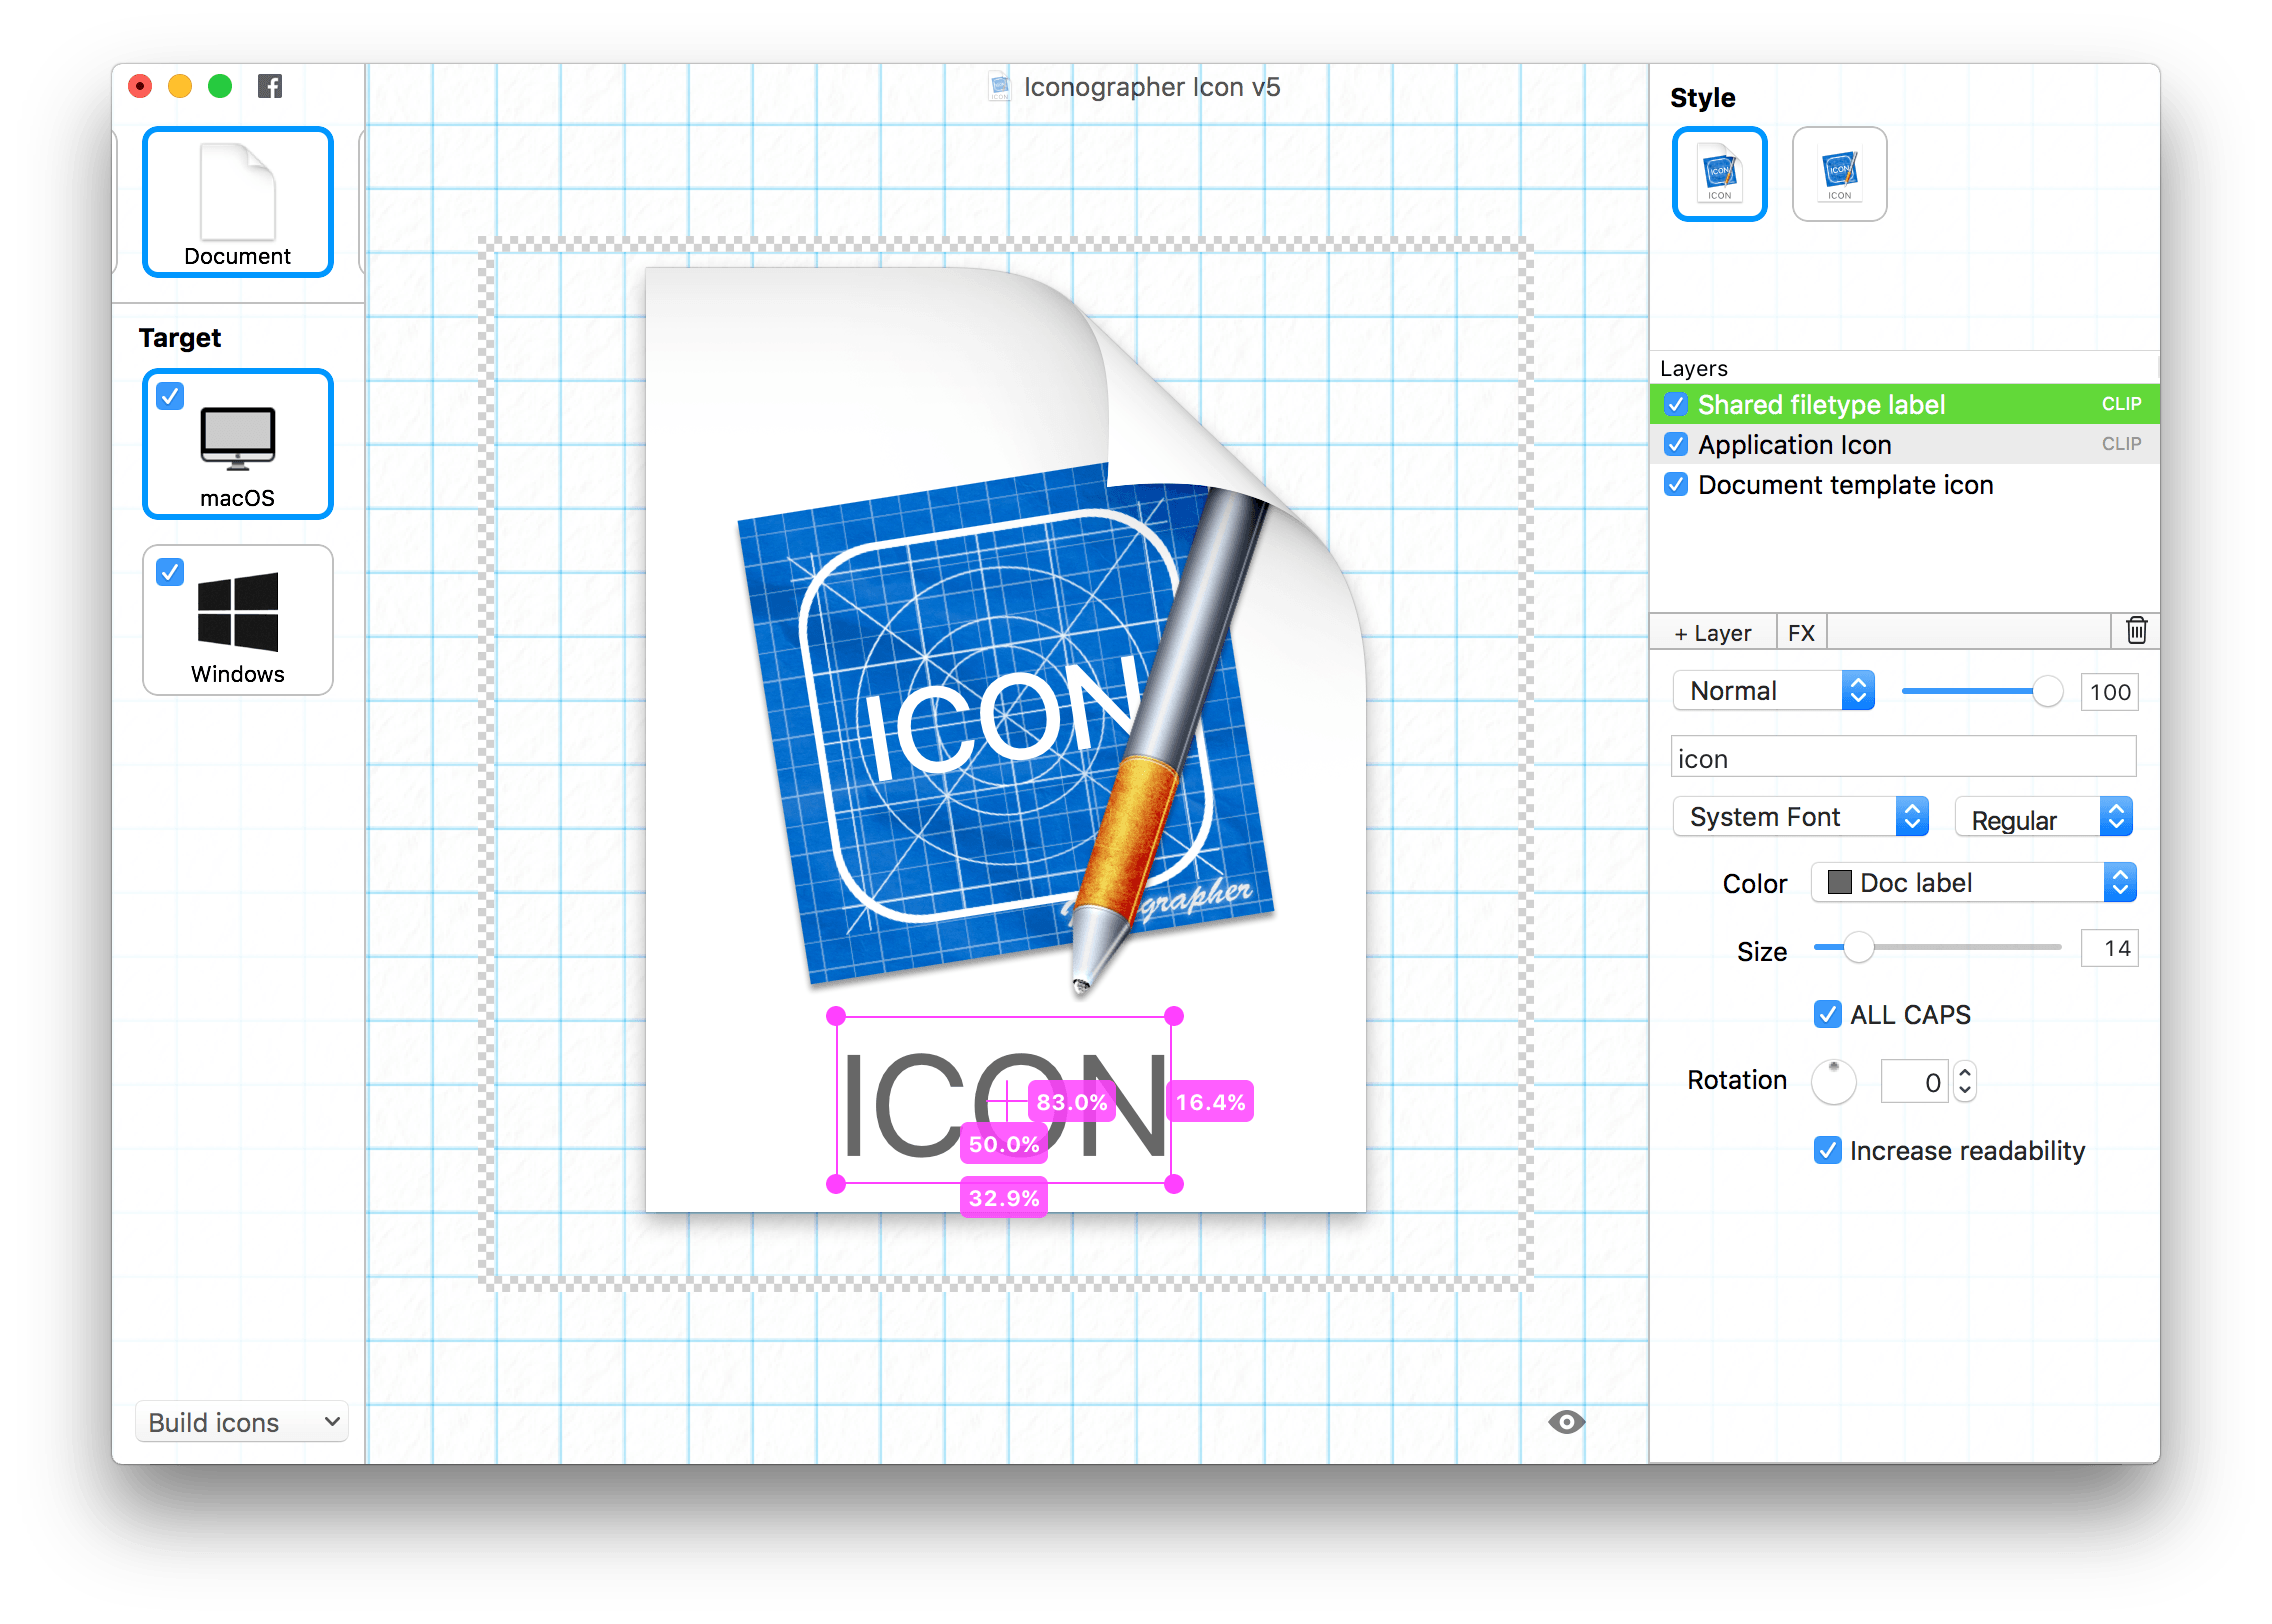 If you study the screenshot, you’ll notice an option on the Label called “Increase readability”, we use a number of different options to make the text more readable as it gets smaller. It doesn’t work in all cases, but it is perfect for the label on a document file icon.
One more thing…
Clicking on the “Web icon” from the Icon selector, will allow you to create “Favicon.ico”, PNG versions and the Apple Touch variations.
I want to make the favicon.ico similar to the Windows icon as I think that will work better at smaller sizes. First; I go to the Windows application icon and select “Copy” from the “Edit” menu, then I go back to the Favicon target under the “Web Icon” and select “Paste icon style” from the “Editor menu. Since the favicon is tiny, I’ll also select “Overview” from the “View” menu, then click on the action icon in the “Overview” section and choose “16 x 16”.
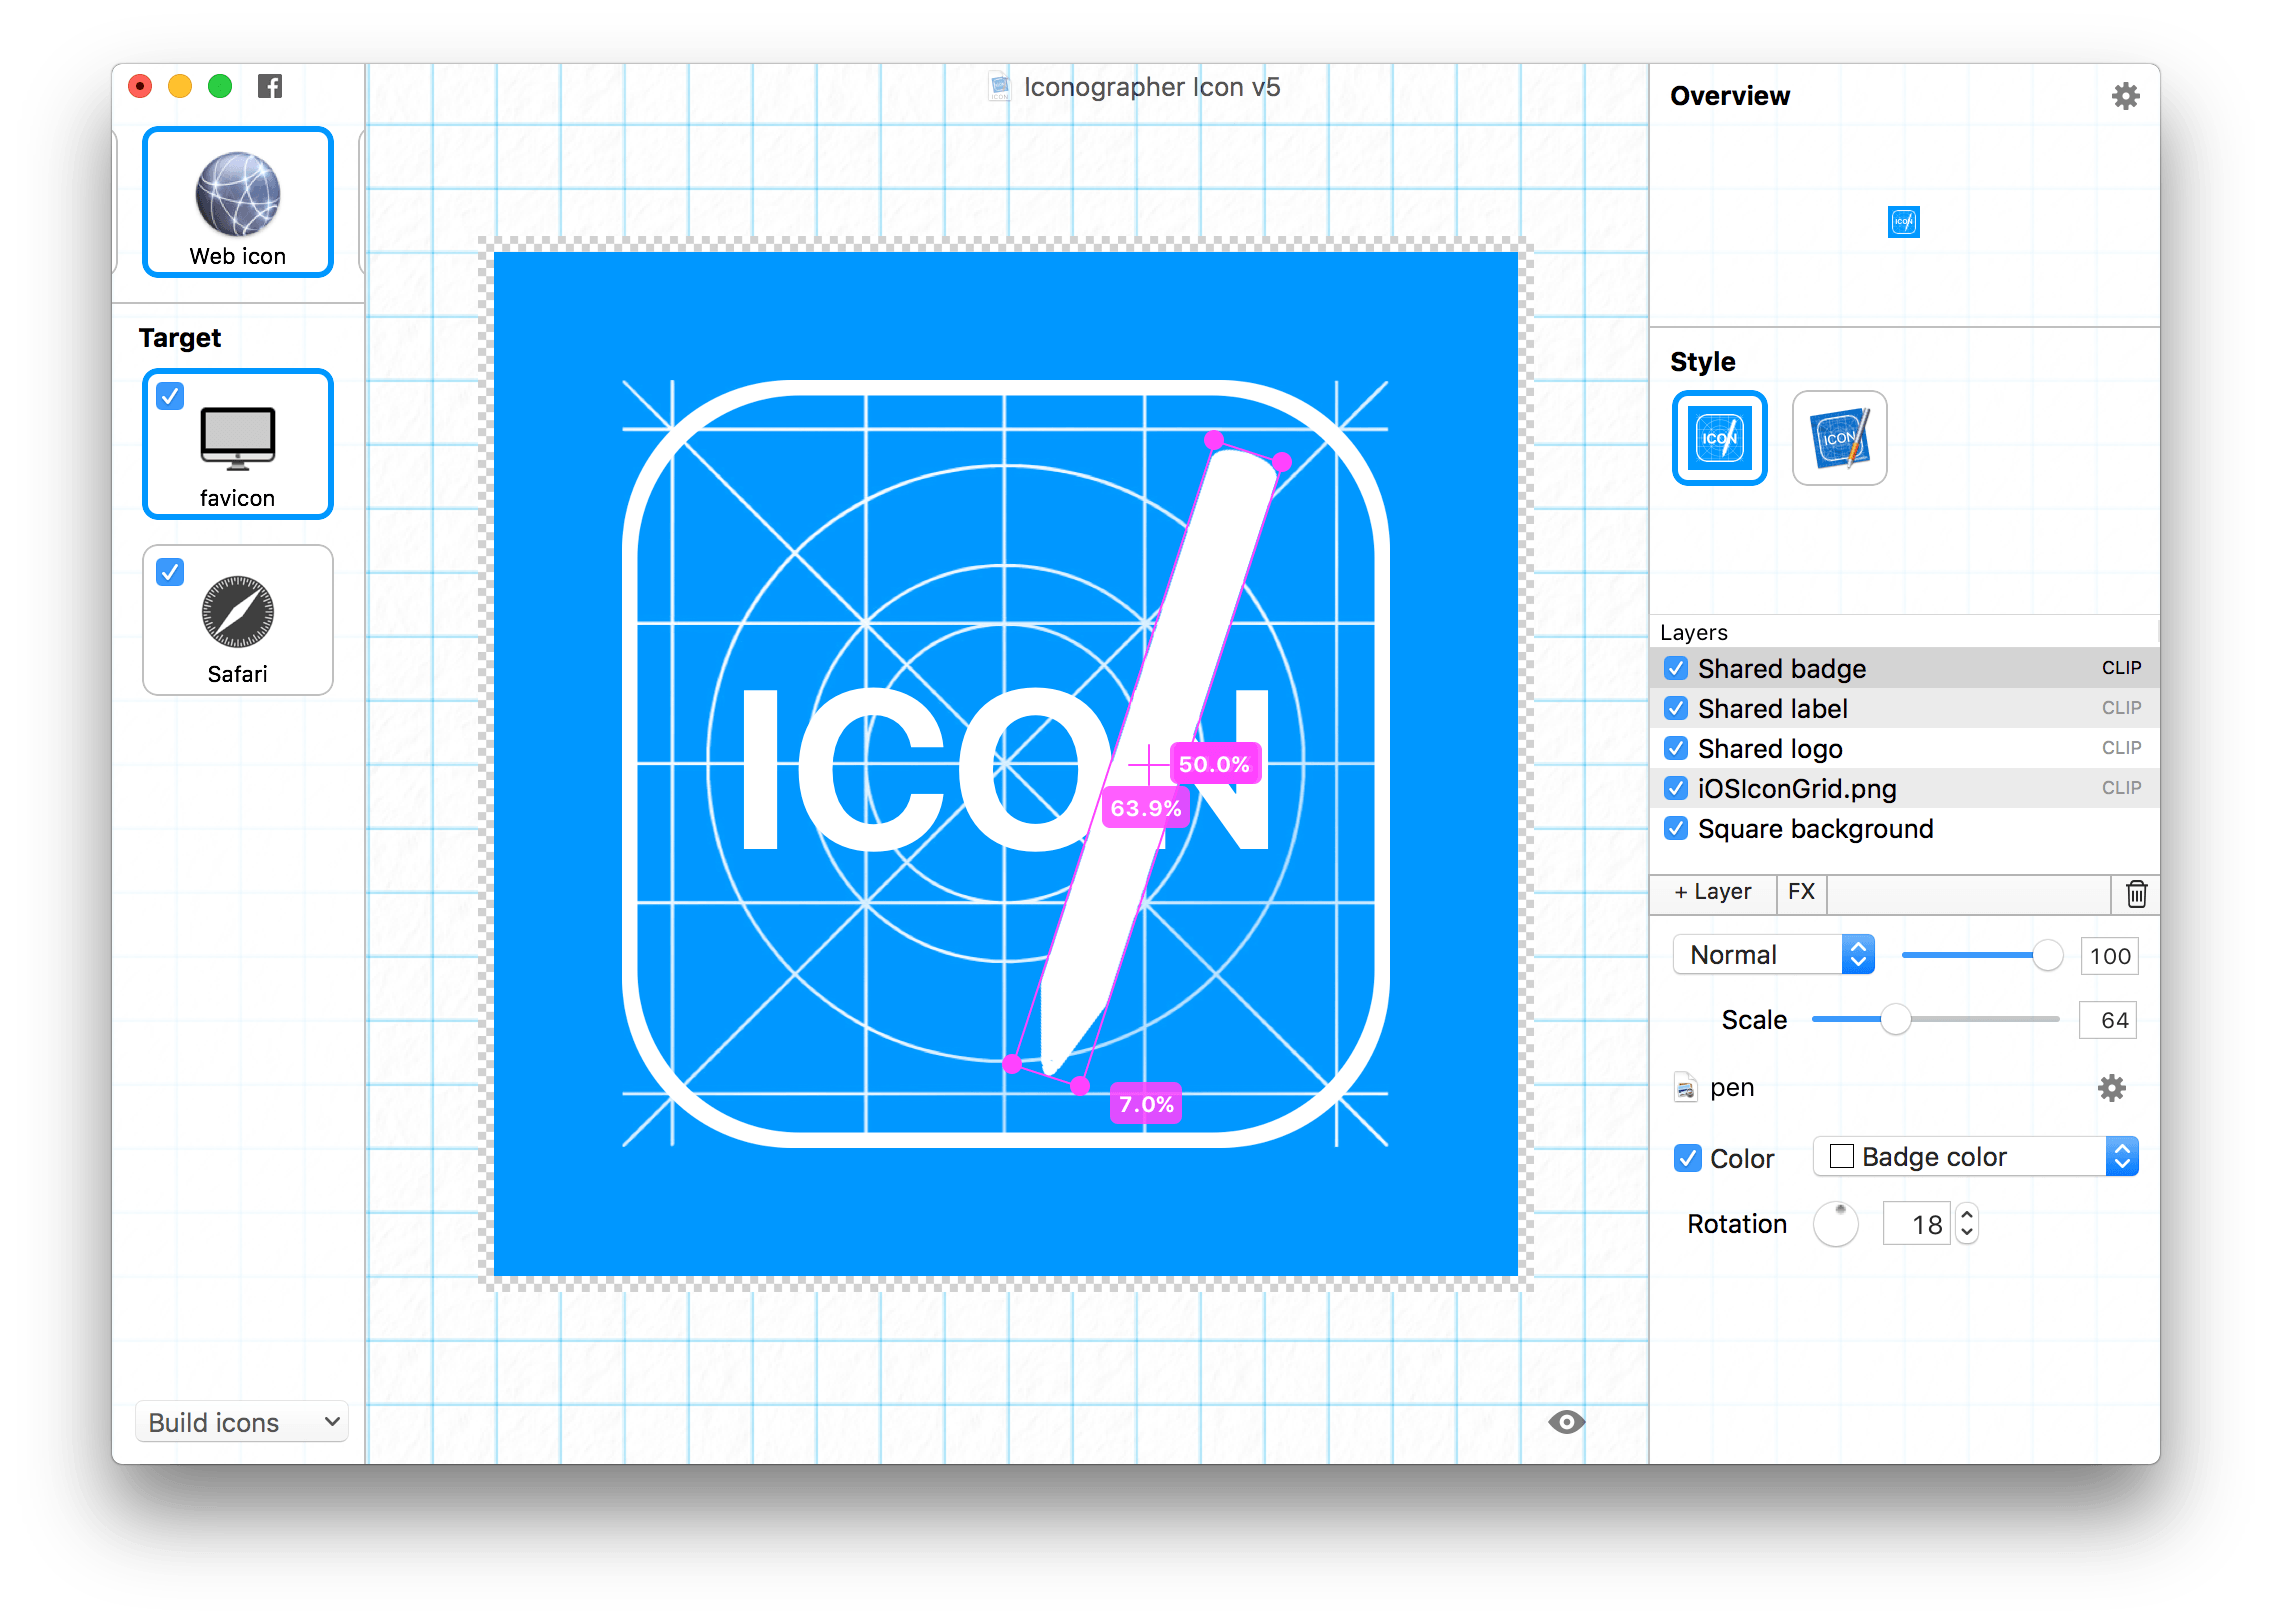 After some tweaking of the sizes, changing the elements to use “Doc Label” color instead of “Badge Color” and even removing some layers, I’m happy with this icon as my favIcon. Very simple and clean.
For the Apple Touch Icon, I’m going to wimp out and cheat. I select the third style and choose “iOS” as the icon. That’s right, I’ve remapped it to use the iOS icon, any changes I make to the iOS icon will also get updated here.
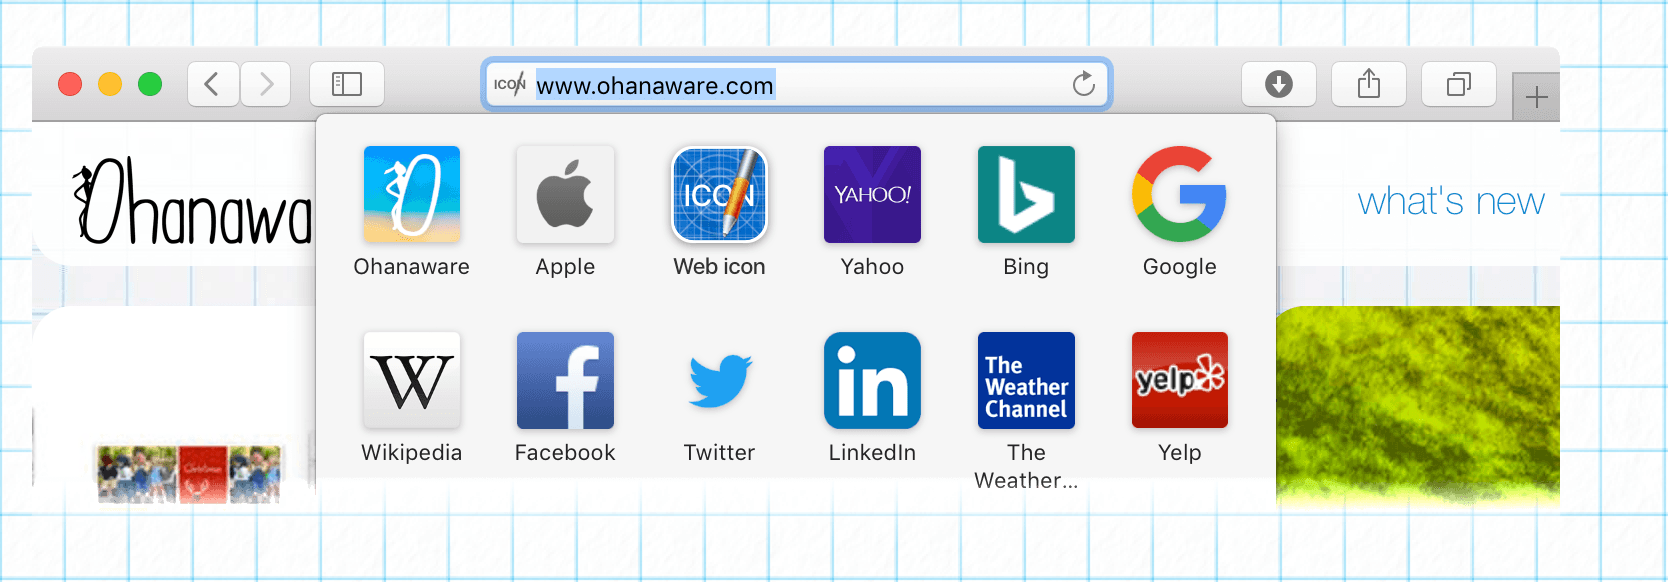
Select “Safari” from the preview icon in the bottom right hand corner, and there we go, we get a Safari preview where you can see the favicon and the Apple Touch Icons in action.
To export these icons, simply select “Build all selected icons…” from the “Build icons” button.
There you have it, a quick walkthrough on how we took our Mac Iconographer icon and not only converted the icon for other targets, but we also made document icons and more in just a few minutes.
Give it a try yourself, get the trial version.