

This tutorial provides a step-by-step guide to deploying Xojo web apps on a Linux server. We will use Ubuntu 20.4 (64-bit) running on a remote server (VPS) in this example, but this tutorial should work on other Linux distros with minimal change, for example CentOS.
First, in order to deploy a web app you’ll need a way to access the remote server using the Terminal (macOS) or through the Command line, also a way to create and/or modify several files, and to copy files from your local computer to the remote server using (S)FTP.
Note: While we are using the “root” user for all the operations to keep the tutorial as short as possible, including files/folders/directories creation/edition and also for launching the web app, you’ll probably want to create a specific user with the proper privileges/group configuration for this. As we all know, you don’t usually want to run anything as the root user!
Though this tutorial is focused on the deployment aspects of a web app, we’ll first create a very simple web app in Xojo. Feel free to use a web app of your own. At the end of this tutorial, you’ll find deployment of more complex web apps can follow the same basic principles.
1. The Web App
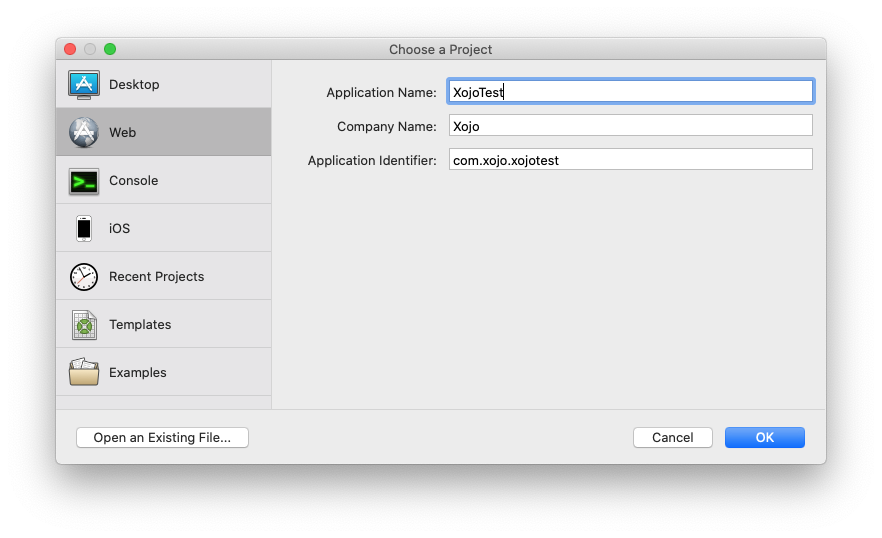
This very simple app will display a message when the button is clicked. Start the Xojo IDE and choose Web from the Project Selector window:
Click on the WebPage1 item displayed in the Navigator to access the webpage Layout Editor.
Next, drag a button from the Library panel and drop it anywhere on the Layout Editor.

With the button still selected, add the Pressed Event Handler and type this line of code in the Code Editor:
MessageBox "Hola Mundo"
The classic “Hello World” en español, this is everything the web app will do.
2. Setting the Deployment Options
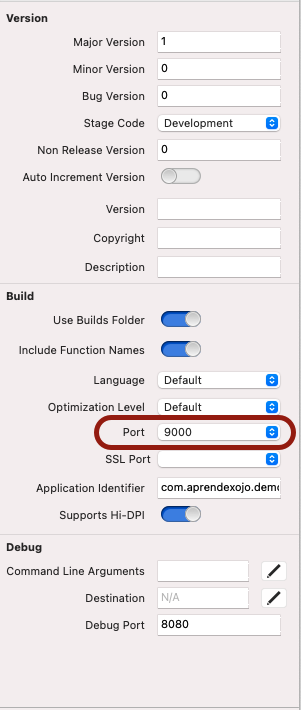
Click on the Shared option found under the Build Settings section in the Navigator. Next, enter 9000 as the port under the Build Settings section in the Inspector Panel.
Note: Adding the port is not required at this time because the port can be assigned when running the app once it is deployed to the server.
3. Compile the Web App
Make sure to choose the Linux checkbox in Build Settings. Then, select X86 64 bit from the Build popup menu in the Inspector Panel.

Next, click on the Build button in Xojo’s IDE toolbar. Once the app is compiled, you’ll get a Folder/Directory with the following items inside:

This is the folder you will copy to the server. I’m using the Cyberduck app on macOS but you can choose any method you like.
4. Copying the App Folder to the Server
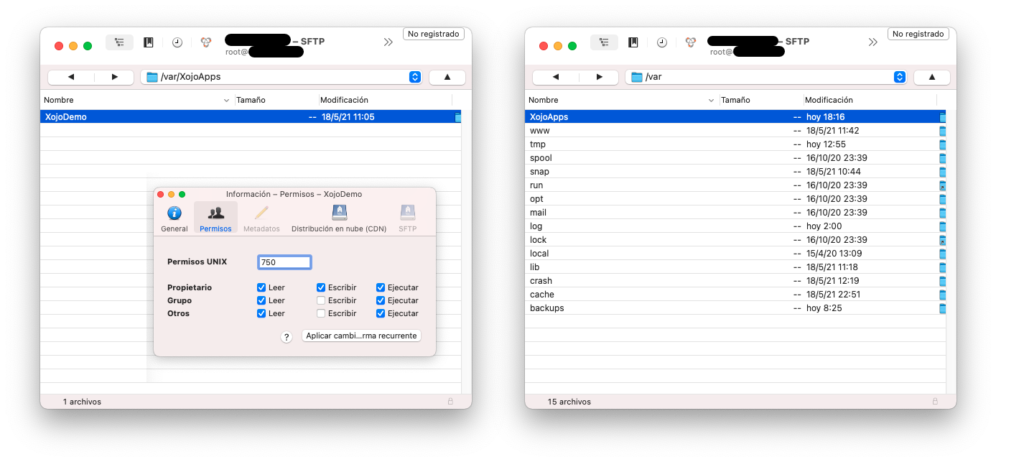
Make sure to copy the folder with the compiled app to the /var/XojoApps path on the server (you’ll need to create that folder/directory first). Once all the files have been copied, make sure to set 750 as the privileges value for the folder and files (choose the option to apply these recursively to all of them).
5. Installing Nginx
If the server doesn’t have Nginx already installed, install it now. Nginx is a light web server which provides more performance when compared with Apache (that is, it is able to serve more requests per second, among other improvements).
To install Nginx, access the remote server using SSH:
> SSH root@xxx.xxx.xxx.xxx
Once the new session is open, type the following commands to install Nginx:
$ sudo apt update
$ sudo apt install nginx
6. (Really) Basic Firewall Configuration
Let’s tackle the firewall. It will need to accept incoming connections from Nginx. Nginx registers itself as a ufw service during its installation. In order to simplify the deployment example, use the most restrictive option allowing only web traffic from port 80:
$ sudo ufw allow 'Nginx HTTP'
Type the following command to verify the changes:
$ sudo ufw status
The output should be similar to this (in my case access from SSH and 8080 ports are also enabled).

Note: This tutorial does not discuss web security which in the overwhelming majority of cases should be a paramount issue and not ignored. Securing a server is a very complicated process which is why we take care of the for you with Xojo Cloud.
7. Creating a New Nginx “block”
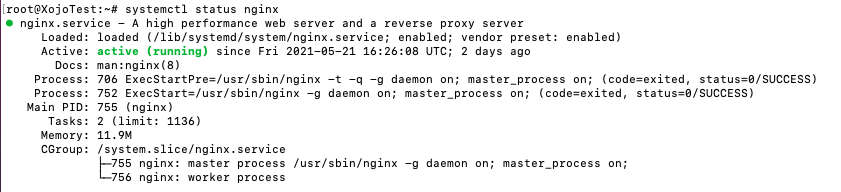
Once Nginx is installed, Ubuntu automatically starts this process, so the web server should be active already. Test this by typing:
$ systemctl status nginx
The output should be similar to this:
Once the server is running, create a new server block. Think about this block like the virtual hosts on Apache. They will encapsulate the configuration details and will allow hosting of more than one domain on the same server.
Nginx loads these configuration files from the /etc/nginx/sites-available path. Create a new file using the nano editor:
$ sudo nano /etc/nginx/sites-available/XojoDemo
Next type the following block in the resulting new document:
server	{
listen 80;
listen [::]:80;
root /var/XojoApps/XojoDemo;
index index.html index.htm index.nginx-debian.html;

server_name xxx.xxx.xxx.xxx;

location / {
proxy_set_header X-Forwarded-For $proxy_add_x_forwarded_for;
proxy_set_header X-Forwarded-Proto $scheme;
proxy_set_header X-Real-IP $remote_addr;
proxy_set_header Host $http_host;
proxy_pass http://127.0.0.1:9000;
}
}
Replace xxx.xxx.xxx.xxx with your server IP address or the server domain (DNS record, if you have one pointing to it). We are instructing Nginx to redirect the traffic from port 80 to 9000 where our web app will be listening.
Save the file and exit nano. Next, enable the file by creating a link from the file to the sites-enabled directory where Nginx reads the configuration files:
$ sudo ln -s /etc/nginx/sites-available/XojoDemo /etc/nginx/sites-enabled/
Finally, check for syntax errors in the Nginx configuration files:
$ sudo nginx -t
![]()
If everything is Ok, then reload Nginx so it reads the configuration files again and applies the changes:
$ sudo systemctl restart nginx
8. Executing the Xojo Web App
It’s time to start our Xojo web app and test the access from the web browser of your choice. Change the current path to the one where you copied the web app. In this example:
$ cd /var/XojoApps/XojoDemo
Next, start the app by issuing the following command:
$ ./XojoDemo --port=9000
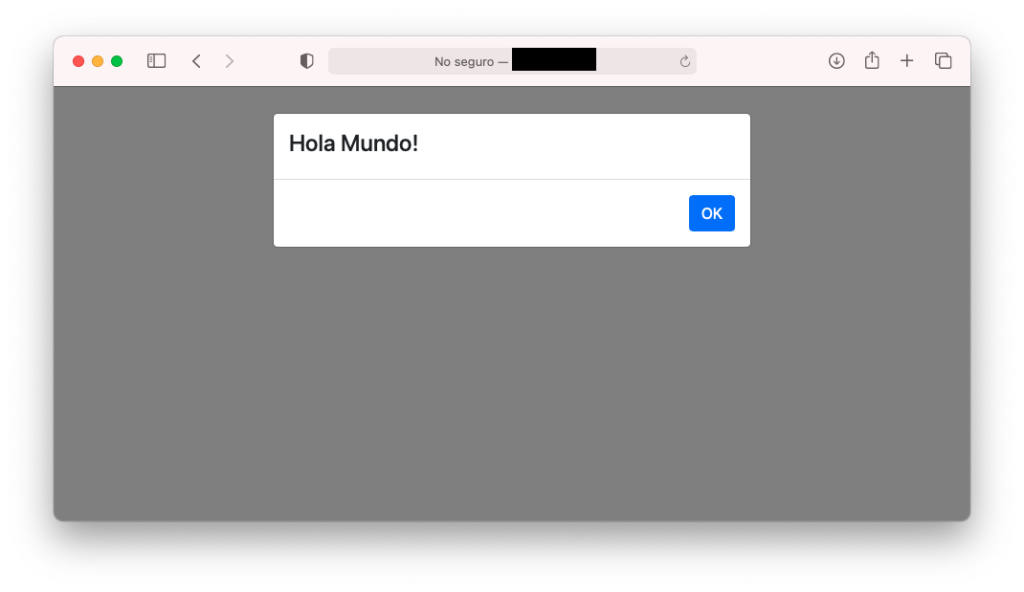
Open a new window/tab in the web browser and enter the IP address/web domain pointing to the web server. There is the web app up and running:
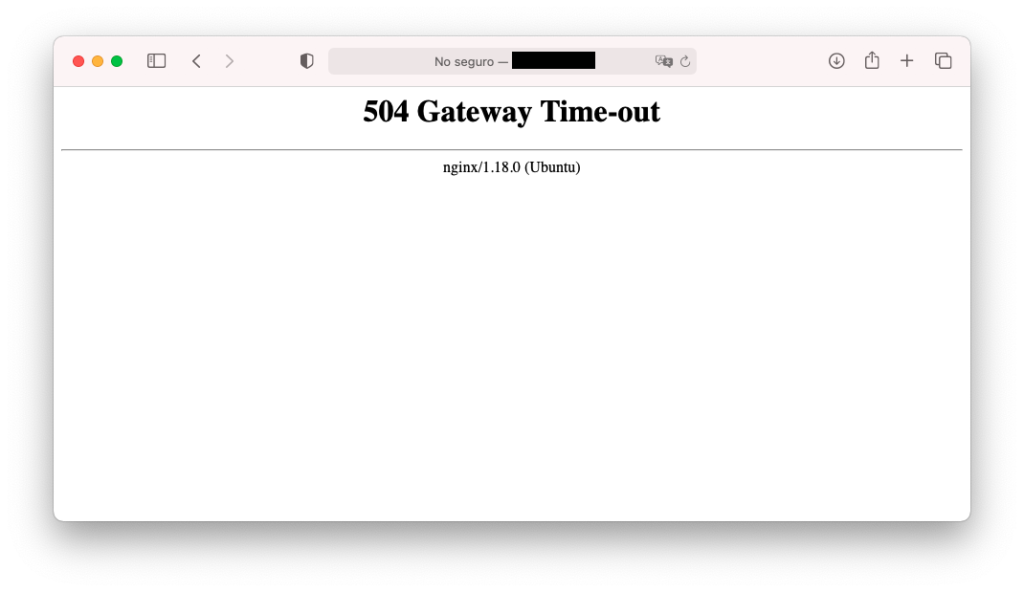
Congrats! Now for the harsh truth. This way of executing web apps is not ideal. Because it started from the SSH session on the server, if we exit or interrupt the SSH connection, the web app will exit and won’t be accessible anymore for anyone. This problem also results in a 504 Gateway Time-Out page served by Nginx:
In order to fix this problem, create a Service. A service will allow the app to run without any intervention, even if there is a server interruption, for example, if the server is restarted or the app crashes.
9. Creating a Service
Type the following in the current SSH session:
$ sudo nano /lib/systemd/XojoDemoApp.service
Next, type the following snippet of text in the new, opened document (make sure to save the changes once you exit nano).
[Service]
Type=simple
Restart=always
RestartSec=3
User=root
ExecStart=/var/XojoApps/XojoDemo/XojoDemo --port=9000
[Install]
WantedBy=multi-user.target
Now that you have exited nano, and with the new service created, activate it with the following commands:
$ sudo systemctl enable /lib/systemd/XojoDemoApp.service
$ sudo systemctl start XojoDemoApp.service
Get the service status by typing the following command:
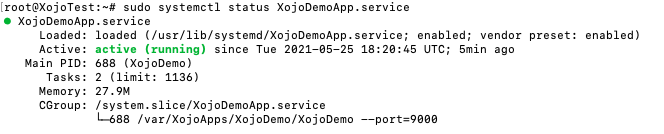
$ sudo systemctl status XojoDemoApp.service
You should get an output similar to this:
Now, you can be confident that the Xojo web app will be running even if you close the current SSH connection with the remote server and that it will restart even if the remote server is restarted or the app crashes.
If all of this seems more complex than you care to manage, Xojo Cloud is the easy, powerful and secure way to deploy web apps. Xojo does not provide support for configuring your web server for use with Xojo web apps. To read more about deploying Xojo web apps, visit the Xojo Docs Web Deployment Overview and the Web Deployment Details pages.