
Xojo 2022r4 opens the door for running projects on 64-bit Raspberry Pi ARM boards. Console, Desktop and Web are supported.
Xojo Web is an excellent way to expose the features of your electronics projects without having to attach any screen to them. It’s never been easier to build a Web GUI for your smart clocks, drones, POS, domotics, robots or just some automation services. Thinking about building a solar powered server to automate your tweets? Why not!
If you prefer, you can just expose a Web API instead that can be remotely consumed from another device.
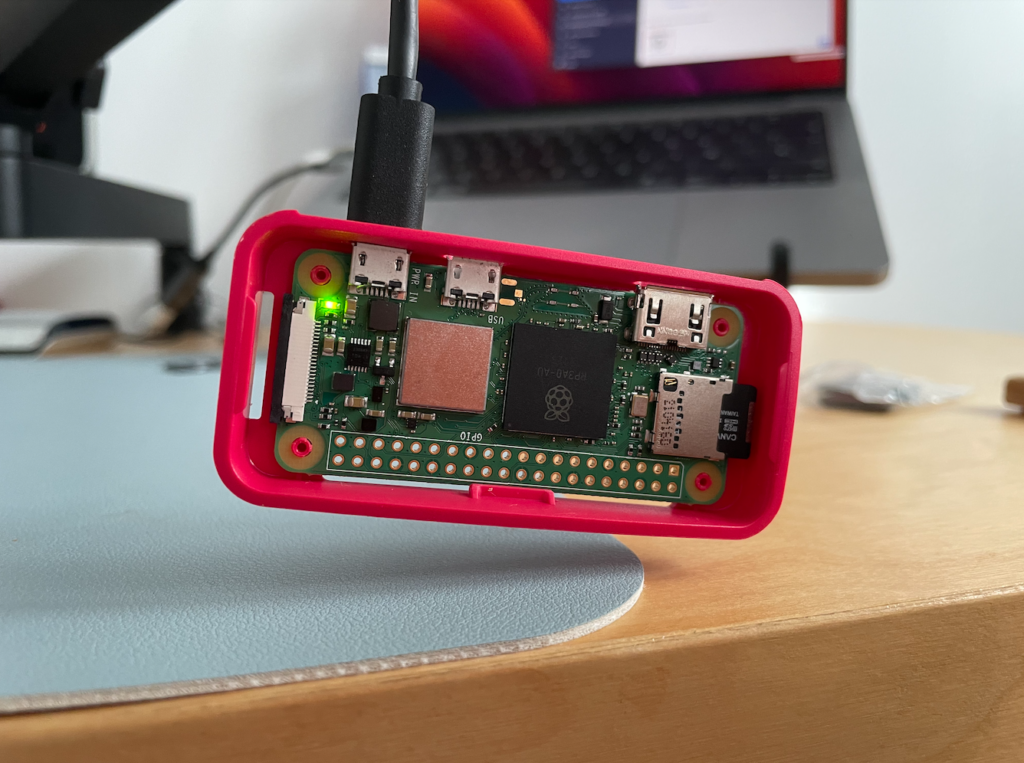
What Raspberry Pi boards support ARM 64-bit Linux OS?
- Raspberry Pi Zero 2
- Raspberry Pi 3
- Raspberry Pi 4
- Raspberry Pi 400
Preparing your Raspberry Pi
The easiest way to get your operating system ready is by using the Raspberry Pi Imager.
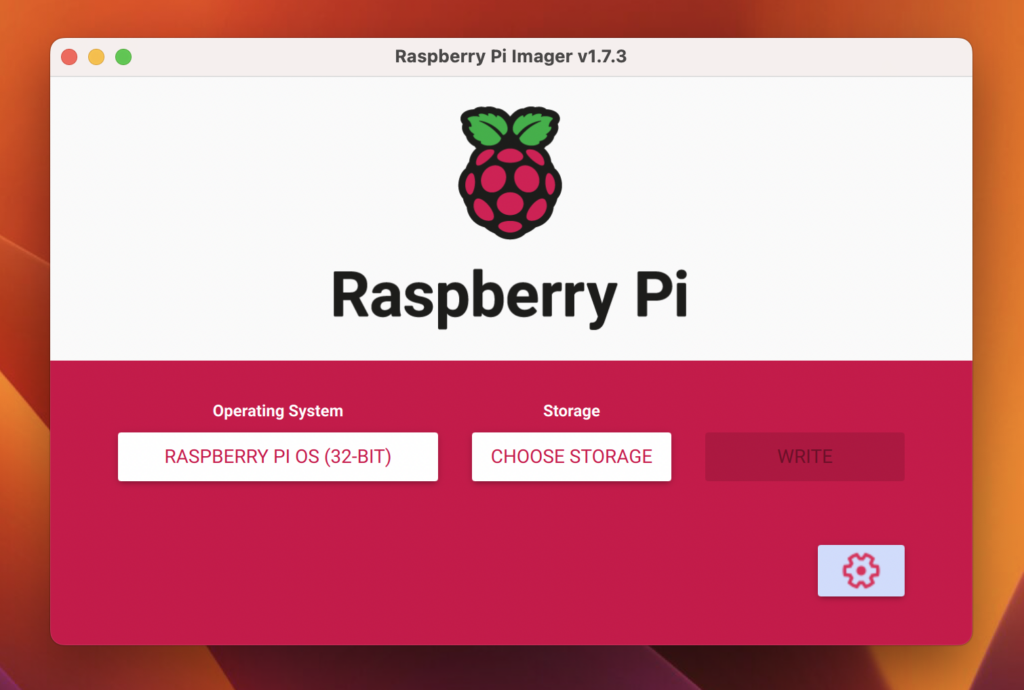
At the moment of writing this article, it selects the 32-bit flavor by default. If you have one of the supported boards, go ahead and try Raspberry Pi OS (64-bit) or Raspberry Pi OS Lite (64-bit). The later won’t include any desktop environment, you’ll have to access by SSH.
Select your SD Card storage and press on Write. Optionally, if you want to set a hostname for your board, enable SSH, or even configure your Wifi, press on the gears icon.
In just a few minutes you will have a ready to boot SD card for your Raspberry Pi.
Remotely debugging your projects
This is one of my favorite features of Xojo.
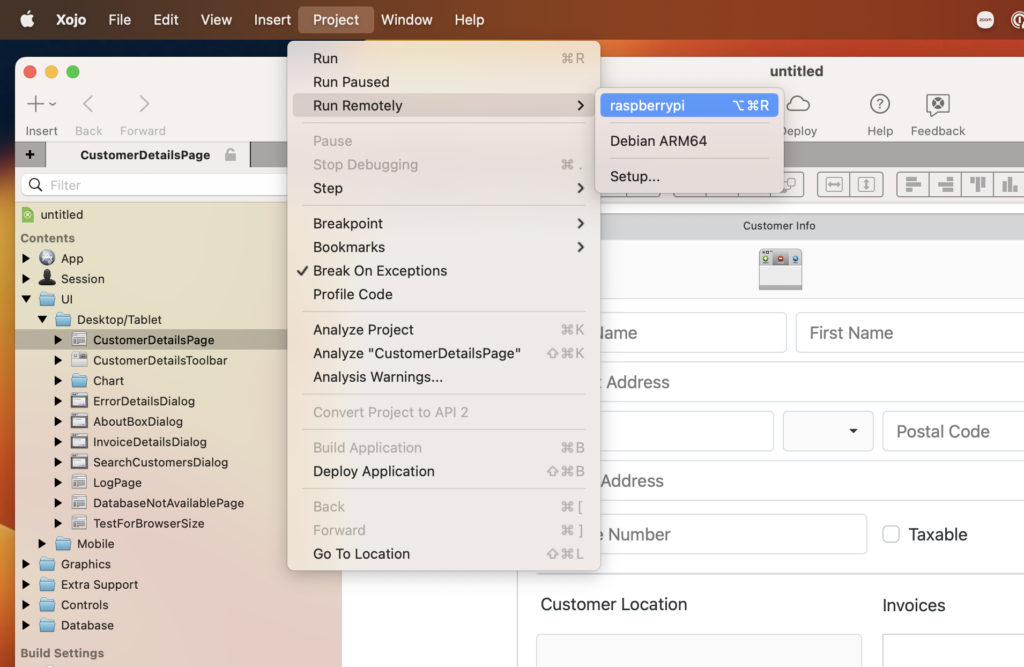
In your Xojo installation Extras folder, you will find a “Remote Debugger Console” and “Remote Debugger Desktop”, that also works for your Linux 64-bit OS.
Depending on which flavor of Linux you’ve selected in the previous step, send the Console or Desktop ZIP to your board, run it and configure the settings.
Inside Xojo, go to Preferences and press on the Debugging tab.
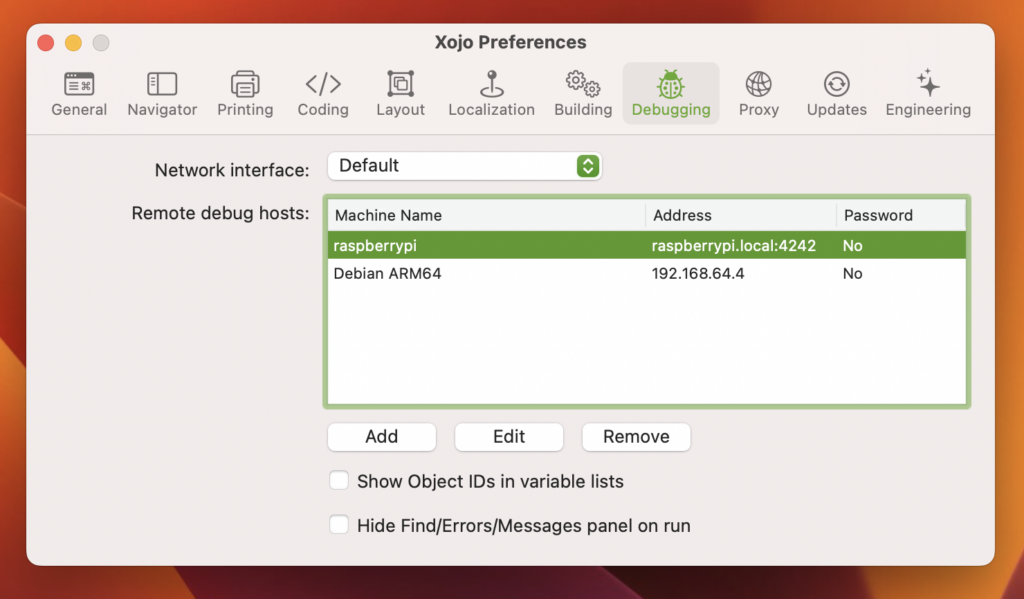
That’s it. Now you will be able to remotely run and debug your applications. Add a few breakpoints and the execution will stop as soon as it reaches it, allowing you to explore the current state.
Deploying the final version
Once you’re ready to build the final version of your application, all the wires attached and components soldered, the last step is to “Deploy” your application.
There is a tutorial covering this step in detail: Deploying Web Apps on Linux.
If you create a Raspberry Pi project, please make sure you open a Forum thread. The Xojo community loves seeing this kind of projects!
What will you build?
Ricardo has always been curious about how things work. Growing up surrounded by computers he became interested in web technologies in the dial-up connections era. Xojo has been his secret weapon and language of preference since 2018. When he’s not online, chances are he will be scuba diving … or crocheting amigurumis. Find Ricardo on Twitter @piradoiv.