
There are some situations where you may need a range of numbers that is equally spaced. For example, when given a minimum and a maximum value within which a set of numbers that need to be equally spaced. This is useful if you are designing an UI control displaying “ticks” or for the axis of a graphic chart displaying cartesian values. Continue reading to see a technique to do just this.
This technique is strongly based in the NiceLabels algorithm that can be found in StackOverflow ported to several programming languages, so… why not to Xojo too? In fact, it was a piece of cake porting it from JavaScript to Xojo due to the similarities of both languages,
Of course, if you just want to jump into the class itself, you can download the project from this link.
Let’s start creating the class itself. I’ve named it NiceScale with all the required properties. To begin, add a new Class to a Xojo project. Then, with the class selected in the Navigator, add the following properties:
- MaxPoint As Double, setting the Scope to Protected
- MinPoint As Double, setting the Scope to Protected
- Spacing As Double, setting the Scope to Public
- NiceMaximum As Double, setting the Scope to Public
- NiceMinimum As Double
Next, add the methods starting with the Constructor.
- Method Name: Constructor
- Parameters: min As Double, max As Double
- Scope: Public
And type the following snippet of code in the associated Code Editor:
If Min = Max Then Max = Min + 1

Self.MinPoint = Min(Min, Max)
Self.MaxPoint = Max(Max, Min)
Self.Calculate
As you can see here, the Constructor calls the Calculate method; so let’s add that one:
- Method Name: Calculate
- Scope: Protected
And type this code in the associated Code Editor:
Var range As Double

range = niceNum(MaxPoint - MinPoint, False)

Spacing = niceNum(range / 9, True)

NiceMinimum = Floor(MinPoint / Spacing) * Spacing
NiceMaximum = Ceiling(MaxPoint / Spacing) * Spacing
Once again, this method is calling the NiceNum method, so let’s add that one to the
NiceScale class:
- Method Name: NiceNum
- Parameters: range As Double, round As Boolean
- Return Type: Double
- Scope: Protected
And type the following snippet in the associated Code Editor:
Var exponent As Double
Var fraction As Double
Var niceFraction As Double

exponent = Floor(Log(range) / Log(10))
fraction = range / Pow(10, exponent)

If (round) Then
  If (fraction < 1.5) Then
    niceFraction = 1
  ElseIf (fraction < 3) Then
    niceFraction = 2
  ElseIf (fraction < 7) Then
    niceFraction = 5
  Else
    niceFraction = 10
  End If
Else
  If (fraction <= 1) Then
    niceFraction = 1
  ElseIf (fraction <= 2) Then
    niceFraction = 2
  ElseIf (fraction <= 5) Then
    niceFraction = 5
  Else
    niceFraction = 10
  End If
End If

Return niceFraction * Pow(10, exponent)
Lastly, let’s add a couple of useful methods for the class: GetValues and SetMinMaxPoints. The first one will let us get the Array of the already equally spaced Double values, while the second one will let us set a new pair of minimum and maximum values without needing to create a new instance of the class:
- Method Name: GetValues
- Return Type: Double()
- Scope: Public
Typing the following snippet in the associated Code Editor:
Var values() As Double

For n As Double = Self._NiceMinimum To Self._NiceMaximum Step Self._mSpacing
  values.add n
Next

If values(0) > 0 Then
  While values(0) <> 0
    values.AddAt(0, values(0) - Self._mSpacing)
  Wend
End If

Return values- Method Name: SetMinMaxPoints
- Parameters: min As Double, max As Double
- Scope: Public
And type these lines of code in the associated Code Editor:
If Min = Max Then Max = Min + 1

MinPoint = Min(Min, Max)
MaxPoint = Max(Max, Min)
Calculate
NiceScale in Practice
Let’s create the UI for a Desktop project so we can put our NiceScale class in practice; and because we are going to need some custom drawing, drag a Canvas from the Library to the project Navigator. That will create a canvas subclass. With the just added Canvas subclass selected in the Navigator use the associated Inspector Panel to set the following values:
- Name: ScaleDrawing
Then, add the following property to it:
- Name: range
- Type: NiceScale
- Scope: Private
Add a new Method to our ScaleDrawing subclass using the following values:
- Method Name: Constructor
And typing these lines of code in the associated Code Editor:
Super.Constructor
Self.range = New NiceScale(0, 1)
Then, add a second method using the following values:
- Method Name: Redraw
- Parameters: minValue As Double, maxValue As Double
And typing these two lines of code in the associated Code Editor:
range.SetMinMaxPoints(minValue, maxValue)

Self.Refresh
After that, let’s do the drawing itself! So we need to add the Paint event to our ScaleDrawing class. When done, add the following lines of code to the associated Code Editor:
g.DrawRectangle(0, 0, g.Width, g.Height)

Var values() As Double = range.GetValues
Var offset As Double = (( g.Width ) / values.LastIndex) - 10
Var x As Double = 20
Var y As Double = g.Height / 2 - 5
Var tx As Double
Var Val As Double

For n As Integer = 0 To values.LastIndex
  Val = values(n)

  g.DrawLine( x, y, x, y + 10 )

  tx = x - g.TextWidth(values(n).ToString) / 2

  g.DrawText(values(n).ToString, tx, y + 10 + g.FontAscent)

  x = x + offset
Next

g.DrawLine(20, y, x - offset, y)
Creating the NiceScale Example UI
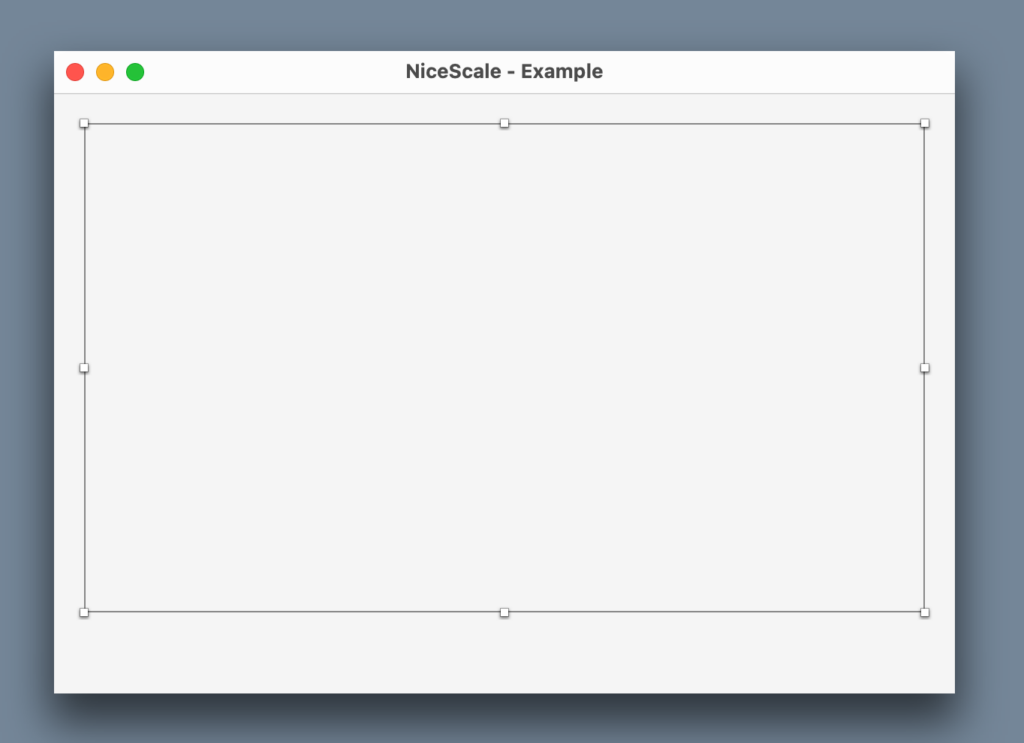
Select the Window1 window in the Navigator so it is displayed in the Layout Editor. Next drag the ScaleDrawing class from the Navigator and drop it into the Layout Editor so it looks like like this (locking the four locks for ScaleDrawing1 in the Inspector Panel):
Next, add a couple of Labels, two TextFields and a Button below ScaleDrawing1 in the Layout Editor so our final UI looks like this:
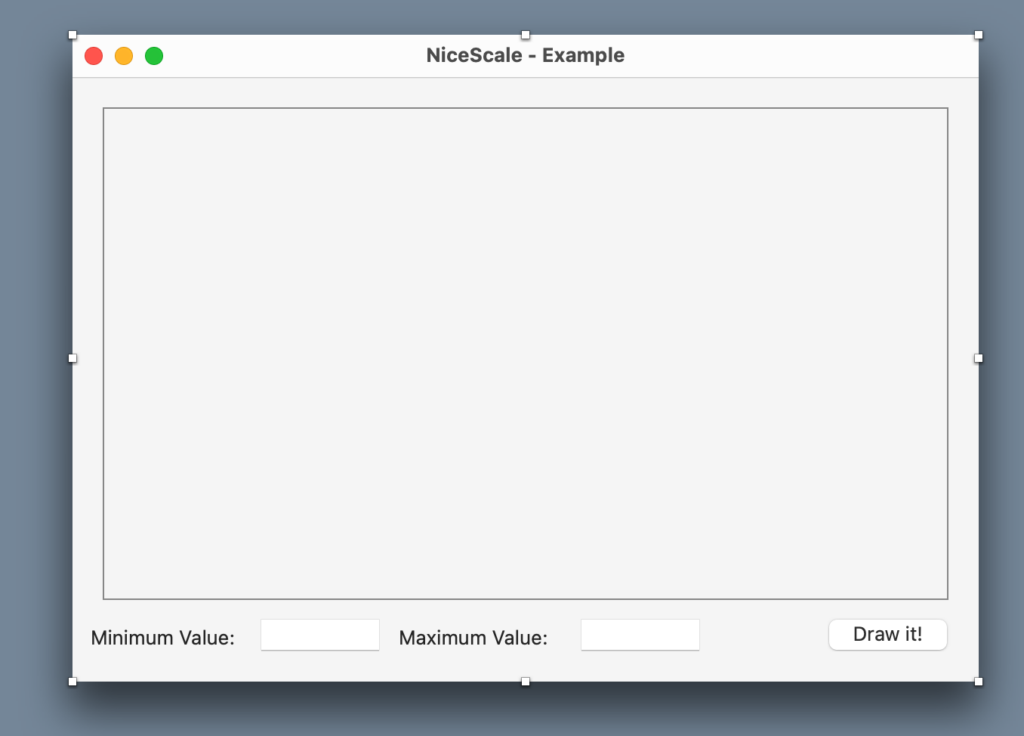
Rename Label1 as MinimumLabel, Label2 as MaximumLabel, TextField1 as MinimumTF, TextField2 as MaximumTF, and Button1 as DrawBT. Then, add the Pressed event to DrawBT and type the following code in the associated Code Editor:
ScaleDrawing1.Redraw(MinimumTF.Text.ToDouble, maximumtf.Text.ToDouble)That’s all!
Running the app!
Everything is in place, so run the app and put some values in the Minimum and Maximum textfields, clicking the button to refresh the drawing. These are some examples you will get for the following range values:
- By Default:

- Minimum: 12, Maximum: 112

- Minimum: -345, Maximum: 835

- Minimum: -816, Maximum: 25

As you can see, having these classes in your developer bag is a good thing if you need to draw this kind of scale! Use the ScaleDrawing class as a start point for your own needs.
Javier Menendez is an engineer at Xojo and has been using Xojo since 1998. He lives in Castellón, Spain and hosts regular Xojo hangouts en español. Ask Javier questions on Twitter at @XojoES or on the Xojo Forum.