
Do you need to display all the font family members (styles and weights) available in your Windows computer? There is a simple way to do it using the RegistryItem class! Continue reading and I’ll show you how.
As you may know, when you use the System.FontCount and System.FontAt functions on macOS they retrieve the total number of fonts and every style available for the app. Though this is not the case when both functions are used on Windows, there is a simple way for you to retrieve all the fonts and styles available on Windows, including the underlying font file where a particular font style is stored.
Building the WindowsFonts Class
In order to do this, create a new Desktop project on Xojo and add a new Class named WindowsFonts.
Select the WindowsFonts class in the Navigator and add a new Method to it using the following values in the Inspector panel:
- Method Name: Constructor
- Scope: Private
Then add the following snippet of code in the associated Code Editor:
availableFonts = New Dictionary
Var rFonts As New RegistryItem("HKEY_LOCAL_MACHINE\SOFTWARE\Microsoft\Windows NT\CurrentVersion\Fonts")

If rFonts <> Nil Then
    Var Max As Integer = rFonts.KeyCount-1
    For n As Integer = 0 To Max
        availableFonts.Value(rFonts.name(n).NthField("(",1).Trim) = rFonts.Value(n)
    Next
End If
Now add the availableFonts property to the class using the following data in the Inspector Panel:
- Property Name: availableFonts
- Type: Dictionary
Next, create the Shared Methods that the class will expose to the user. The first one will be the one responsible of creating the shared instance for the class. Add a new Shared Method and use the following data in the Inspector Panel:
- Method Name: Init
- Scope: Private
Next, enter the following line in the associated Code Editor:
sharedInstance = new WindowsFonts
Now add a second Shared Method to the class using the following data in the Inspector Panel:
- Method Name: fonts
- Return Type: String()
- Scope: Public
Type the following snippet of code in the associated Code Editor:
If sharedInstance = Nil Then init
Var fonts() As String
For Each item As Variant In sharedInstance.availableFonts.Keys
    fonts.add item.StringValue
Next item
Return fonts
The last shared method will be responsible for returning the name of the backing file for a particular font style. Add a third Shared Method using the following data in the Inspector Panel:
- Method Name: FileNameForFont
- Parameters: fontName As String
- Return Type: String
- Scope: Public
And type these two lines of code in the resulting Code Editor:
If sharedInstance = Nil Then Init
If sharedInstance.availableFonts.HasKey(fontName) Then Return sharedInstance.availableFonts.Value(fontName)
The last thing we need to do is add a Shared Property to the class. This property will store a reference to the shared WindowsFont class instance. Add a new Shared Property using the following values in the Inspector Panel:
- Property Name: sharedInstance
- Type: WindowsFonts
- Scope: Protected
That’s all. Now, let’s create a simple user interface to test it.
Testing the WindowsFonts Class
Select the Windows1 window in the Navigator so it is displayed in the Layout Editor. Next, drag a DesktopPopupMenu from the Library and drop it near to the top-left corner of the window in the Layout (use the alignment guides to help you know where to drop it, leaving enough space at the top and left margins of the Window1 window).
With PopupMenu1 selected in the Layout Editor, drag the middle-right resizing handler to make the width enough to display the font names. In addition, change the Name in the associated Inspector Panel to “FontSelector”.
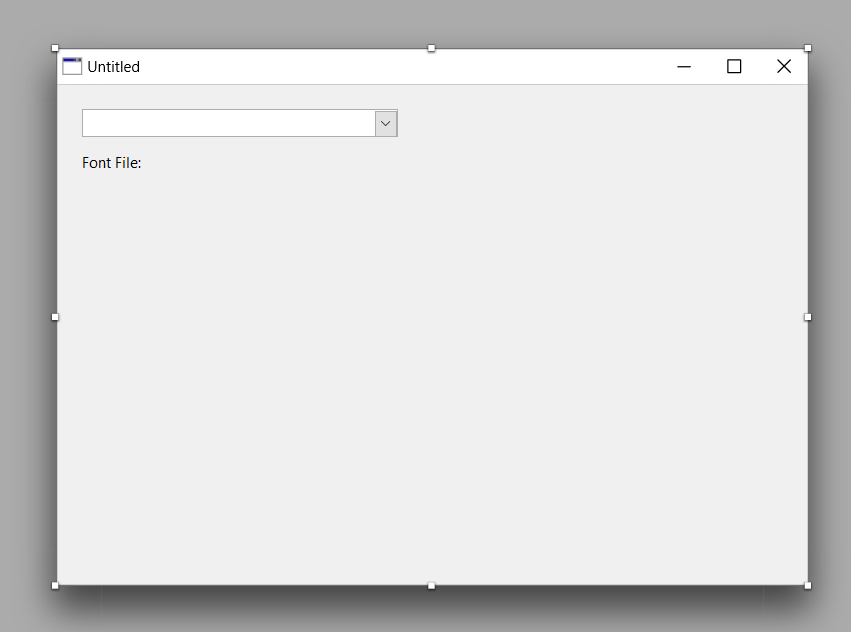
Drag a DesktopLabel from the Library and drop it in the Layout Editor below the FontSelector PopupMenu. Next, change the Text property in the associated Inspector Panel to “Font File:”, and use the resizing handlers in the Layout Editor so it is wide enough to display the text in the label.
Drag a second DesktopLabel from the Library and drop it to the right of the previous one. This is the label we will be using to display the name of the selected font in the PopupMenu. Use the resizing handlers to make it wide enough and change the Text property to an empty string.
The user interface layout should look like the one displayed in this image:
Select the FontSelector item in the Layout Editor and double-click on it in order to display the Add Handler Event Dialog Box. Here we want to select the Opening and SelectionChanged Event Handlers. Once selected, click the “OK” button so these are added to the FontSelector item in the Navigator.
Select the just added Opening Event Handler in the Navigator under FontSelector to access the associated Code Editor and type the following line of code:
Me.AddAllRows WindowsFonts.Fonts
Next, select the SelectionChanged Event Handler entry under FontSelector in the Navigator and type the following line of code:
FontFileLabel.Text = WindowsFonts.FileNameForFont(item.Text)
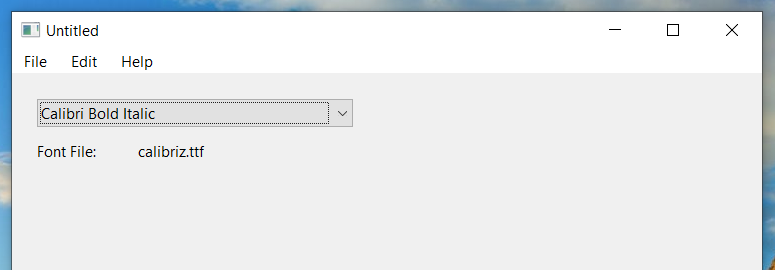
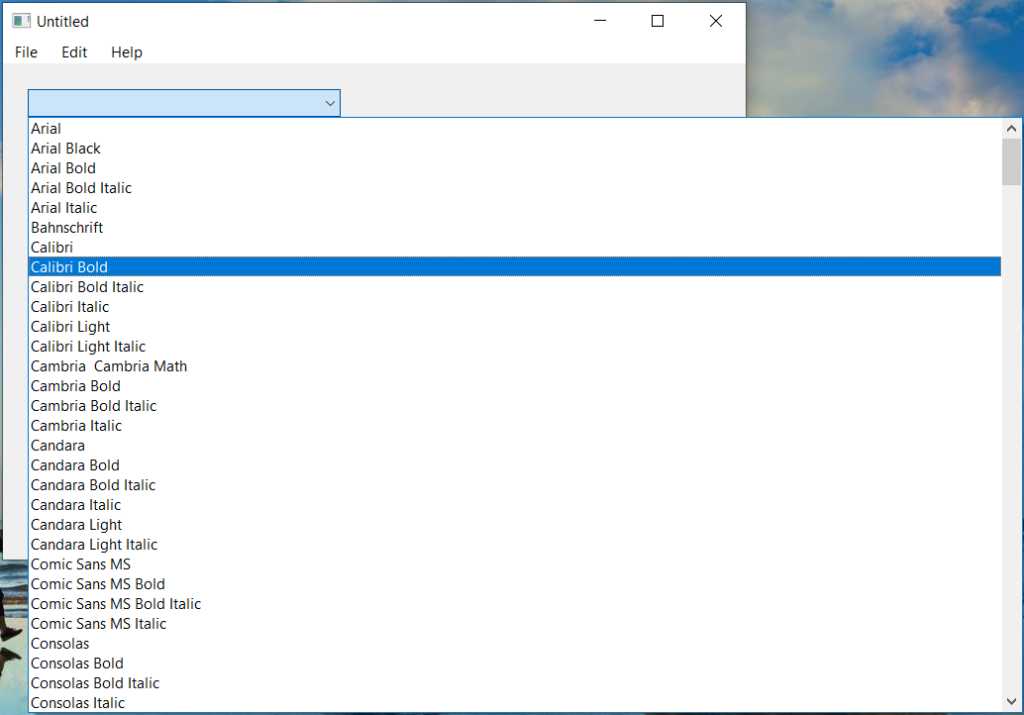
That’s all. Run the test app, and you’ll see all the fonts, styles and widths of those fonts that are available on your Windows computer. Change the selected entry in the PopupMenu and you’ll see the associated font file name reflected in the label below it.
Paul learned to program in BASIC at age 13 and has programmed in more languages than he remembers, with Xojo being an obvious favorite. When not working on Xojo, you can find him talking about retrocomputing at Goto 10 and on Mastodon @lefebvre@hachyderm.io.