
Would you like to automate the build processes of Xojo built applications with GitHub Actions? With no user interaction the whole process can be performed: Build all Targets, CodeSign Windows executables, create and sign the installers, package the macOS app in a .dmg and notarize the app, and for Linux create a .tgz package.
What are GitHub Actions?
If you want to read all about it – head over to their documentation. To get started, you should at least know about the following terms:
Workflow
A workflow is a configurable automated process that will run one or more jobs. Workflows are defined by a YAML file checked in to your repository.
Job
A job is a set of steps in a workflow that execute on the same runner. Each step is either a shell script that will be executed, or an action that will be run.
Runner
A runner is a machine that runs your workflows when they’re triggered. GitHub provides ready to use runners as preconfigured virtual machines. And of course you can host your own runners.
A GitHub Actions workflow can be configured to be triggered when an event occurs in the repository. So how to leverage that? Let’s talk about the Git Branching strategy that I’m going to use in this example first.
Git Branching Strategy
Using GitHub obviously means the one is using Git as Source Control. There are quite a few common strategies and workflows to use Git. For this example I’ll be using the following:
- Default Branch: main
I want to make sure that all code in the main branch can be compiled at all times. Every push (or Pull Request against the main branch) should automatically build a Beta Version of the app.
At some time I want to use the latest commit to build a final version of the application. - Feature branches: feature/xyz
To start working on a new feature or bug fix, I’ll create a feature branch. As I often commit I don’t want to build every single commit. There might be commits with “work in progress” which won’t even compile.
Once ready: I create a Pull Request against the main branch. - Pull Request (against main branch)
This means a feature or bug fix is ready. So a GitHub Action should kick in and build the app. If that fails it simply means the feature isn’t ready for the main branch. The built Beta Version can be downloaded to do some more manual tests before merging into the main branch.
Once the Pull Request is merged (always using a squash commit), this will result in a single commit to the main branch (of the whole new feature). Same procedure: a Beta of the app is automatically built and ready for to download and test. - Release a Final Build
After adding couple of new features and bug fixes I want to release a final version.
Whenever I feel ready, a GitHub Actions Workflow can be started manually. That will build a Final Version, create a Release in the GitHub Repository and upload all Builds to the Release as Assets.
A bit of information before starting to write the GitHub Actions Workflows:
About Workflows
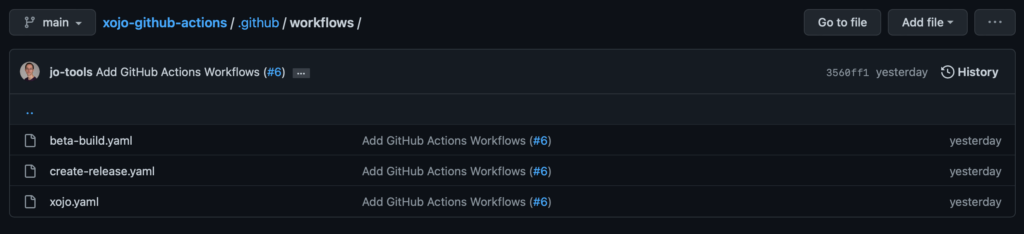
Workflows are defined by a YAML file checked in to the repository in the .github/workflows directory.
YAML files
A word of precaution when writing and editing YAML files:
- Indentation is done by spaces (not by tabs!)
- Indentation has to be exact, or expect to get syntax errors
Xojo GitHub Actions Workflows
According to the Git Branching Strategy I want to build Beta Releases (on Pull Requests and on Push to the main branch), and I want to manually create a Release with a Final Build.
This means that there will be two Workflows:
- Beta Build
- Create Release
They have something in common. Both need to build the Xojo project and execute the postbuild steps. To avoid duplication I’m going to write a reusable workflow:
- Xojo (Build and PostBuild)
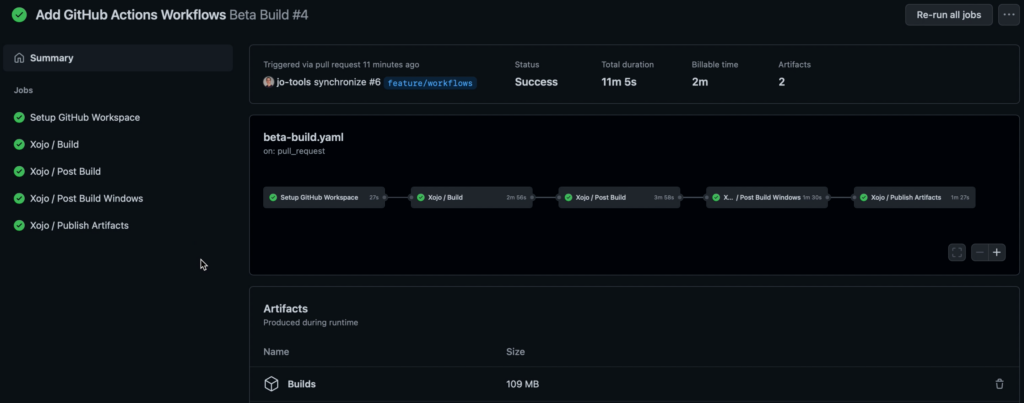
A workflow (Beta Build | Create Release) that uses another workflow (Xojo Build and PostBuild) is referred to as a “caller” workflow. The reusable workflow is a “called” workflow.
This ScreenShot shows the Beta Build workflow which calls the reusable Xojo workflow:
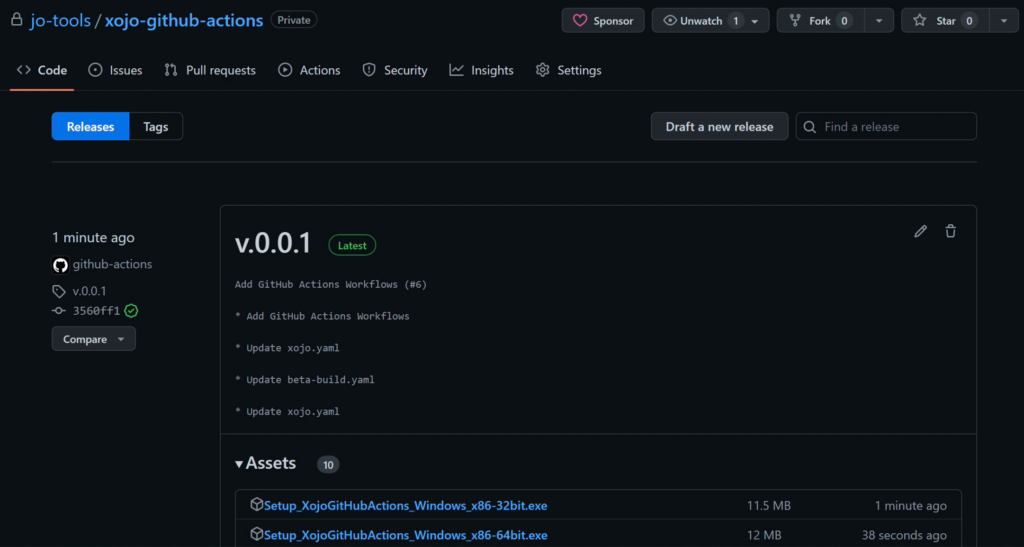
The Create Release workflow looks similar during it’s run. It can be started manually on GitHub.

Once finished, a new Release is available in the GitHub repository:
The Set Up
There is quite a bit to do:
- Set up a Build Mac
A Mac of our own is needed. The reason for that is that Xojo isn’t set up on GitHub’s virtual macOS machines (one would need to download and install it every single time). And even if it were, we would need to setup and register Xojo with a License. And Xojo Licenses take a seat on every machine – so no good idea for a fresh virtual machine on every build. - Create a Xojo IDE Communicator
Build Automation with Xojo requires to communicate with the Xojo IDE. I’m going to use the project that Xojo ships in the examples, but modify it a bit. - Configure the GitHub Repository Settings
There are settings to enforce the chosen Git Branching Strategy. And there are some settings for GitHub Actions that need to be set up. - Set up a self-hosted GitHub runner
Install the GitHub runner on the Build Mac and link it to the repository. - Xojo Project and Post Build Scripts
I’m going to add a PreBuild Xojo Script. And of course all Post Build Scripts regarding CodeSigning, Installer creation, packaging, Notarization. - GitHub Actions: Secrets
CodeSigning means certificates and passwords. They get their safe place in the repository Secrets. - GitHub Actions: Workflows
Once everything is in place… one can finally start writing the actual workflows.
As you can imagine, guiding you through all these steps is going to be quite a lengthy article.
Source Code & Documentation
Should you consider using GitHub Actions with your own Xojo projects, then have a look at this repository: GitHub: jo-tools/xojo-github-actions
It contains the full documentation, the source of the modified Xojo IDE Communicator, an Example Xojo Project – and of course all the GitHub Actions Workflows.
I hope this gives you a lot of helpful hints, ideas and approaches so that you get a head start to get your Xojo Projects built using GitHub Actions Workflows.
That’s all Folks!
I hope this brief introduction of how Build Automation for Xojo built Application can be used with GitHub Actions Workflows has been helpful to some, food for thought to others.
Jürg Otter is a long term user of Xojo and working for CM Informatik AG. Their Application CMI LehrerOffice is a Xojo Design Award Winner 2018. In his leisure time Jürg provides some bits and pieces for Xojo Developers.