
In previous articles, I’ve written about how Xojo is often much, much easier to use and more capable than Visual Studio for Mac for creating Mac and cross-platform desktop apps.
Visual Studio can also create web apps and as it would turn out, you may find that Xojo is a better option for web apps.
Technically, Visual Studio for Mac can create ASP.NET Core Web Apps. These type of web apps use the ASP.NET framework, but do not provide a form (layout editor) for your app’s user interface. Instead you’ll have to create everything in code, including mapping UI actions to corresponding code. ASP.NET Core also requires you to use the MVC (model-view-controller) design pattern, which can be a bit daunting for beginners.
I was not able to find a concise tutorial on how to use ASP.NET Core with Visual Studio for Mac. The primary tutorial on the Microsoft Doc site, Building your first ASP.NET Core MVC app with Visual Studio, shows you how to make a simple web app to show movies from a movies database but it consists of 10 separate sections, each rather lengthy, and it is not specific to Visual Studio for Mac but is instead for Visual Studio for Windows.
So to demonstrate something a bit simpler, here is how you can create a Xojo web app that works like the “Hello” app shown in the native Mac and cross-platform desktop app posts.
A Simple Xojo Web App
Start by downloading and installing Xojo.
- Launch Xojo and select “Web” from the Project Chooser. Enter an Application Name of “HelloWeb” and click OK. You’ll see the structure for a Xojo web app with these parts: App, Session, and WebPage1. Since WebPage1 is selected you’ll also see the Layout Editor, something not available in Visual Studio for Mac.
- In the Layout Editor, you can drag and drop controls to create the UI for your web app. Drag a Button control and a Label control on to the layout so that it looks like this:
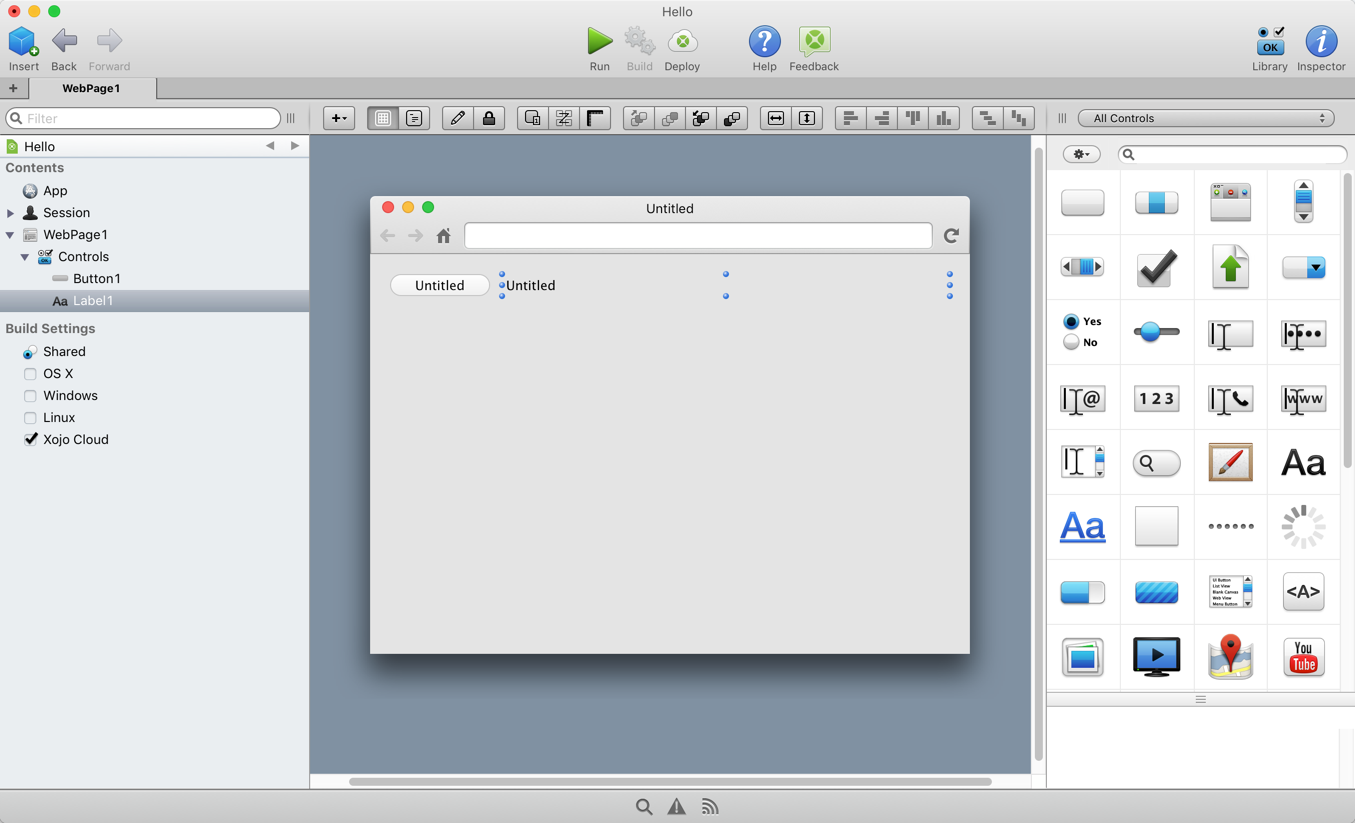
- Click on the Button and then select “Inspector” in the toolbar. Change the Name property from “Button1” to “ClickButton” and change the Caption property from “Untitled” to “Click Me”.
- Now click on the Label and change its Name property to “ClickLabel” and its Text property to “The button has not yet been clicked”.
You are done with the layout and can move on to the code.
- To track the number of clicks you’ll want to add a property. Click the “+” button on the Layout Editor command bar and select Property. Give it the name “NumberOfTimesClicked”. Leave the Type as Integer.
- The last thing to add is the code to increase the clicks and display them in the label. Click on WebPage1 to go back to the layout and double-click on ClickButton to show the Event Handler window. Click on Action and then OK. This displays a blank Code Editor. Here you’ll put the code to run when the button is clicked. This is the code:
NumberOfTimesClicked = NumberOfTimesClicked + 1

Dim buttonText As Text = "The button has been clicked {0} time{1}."
buttonText = buttonText.Replace("{0}", NumberOfTimesClicked.ToText)
buttonText = buttonText.Replace("{1}", If(NumberOfTimesClicked > 1, "s", ""))
ClickLabel.Text = buttonText
If you read the native Mac app post or the cross-platform desktop app post you’ll notice something. The steps and code are exactly the same when creating a Xojo web app as when you are making a Xojo desktop app, at least for this simple example.
You should now save your project.
Testing
To test your project, just click the big Run button on the toolbar. This starts the web app in your default browser. Click the button to see the label get updated.
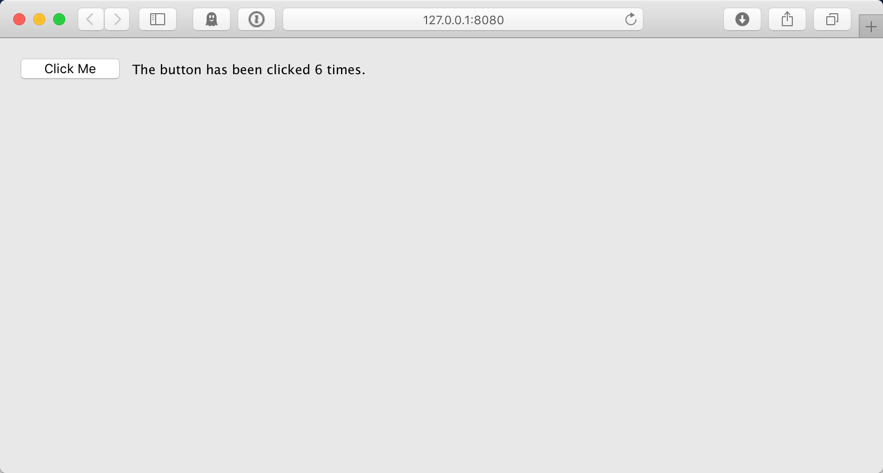
Indeed this is a ridiculously simple app and is really designed just to give you a quick feel for the development environment. But it should be pretty obvious that Xojo is much, much simpler to use for creating web apps than Visual Studio for Mac.
But Xojo has one other huge advantage when it comes to web apps: deployment.
If you need the fastest possible way to deploy your Xojo web apps, you can sign up for Xojo Cloud and then with just a single click of the “Deploy” button on the toolbar your app is built and uploaded to your server for use by anyone.
If you would rather use your own servers you also have the option of deploying a Xojo web app as a single executable file with a built-in web server (Linux, Windows and Mac servers are supported). Or you can use deploy your Xojo web app so it uses a CGI interface to connect to your own Apache web server.
Visit the Xojo Dev Center to learn more about Xojo Web App Deployment.