
At one time or another we all experienced it. The app you created works beautifully and your users heap praise upon it. Then, a particular user reports that some part of the app (or the entire app) doesn’t work on their computer. Other users with the same type of computer, same OS version, etc., do not experience the same issue. After scratching your head and thinking to yourself that the fault perhaps lies with the user, you create a special version of your app just for that user with MessageBox commands and/or various points in the code logged to a text file. This will give you the answer as to why your app is failing just for that one user. Alas, your digital spelunking reveals nothing. If only you could run your app in debug mode on their computer.
Remote Debugger
With Xojo, you can. Let’s talk about Xojo’s aptly named Remote Debugger. In the instance above, that particular user can install Xojo’s Remote Debugger app on their computer. You and your users can find the app included in the Extras folder of the Xojo download. After your user installs, launches and sets the Options in the Remote Debugger app, you can connect to that user’s computer by adding a connection to it in the Debugging pane of the Settings dialog box in the Xojo IDE on your computer.
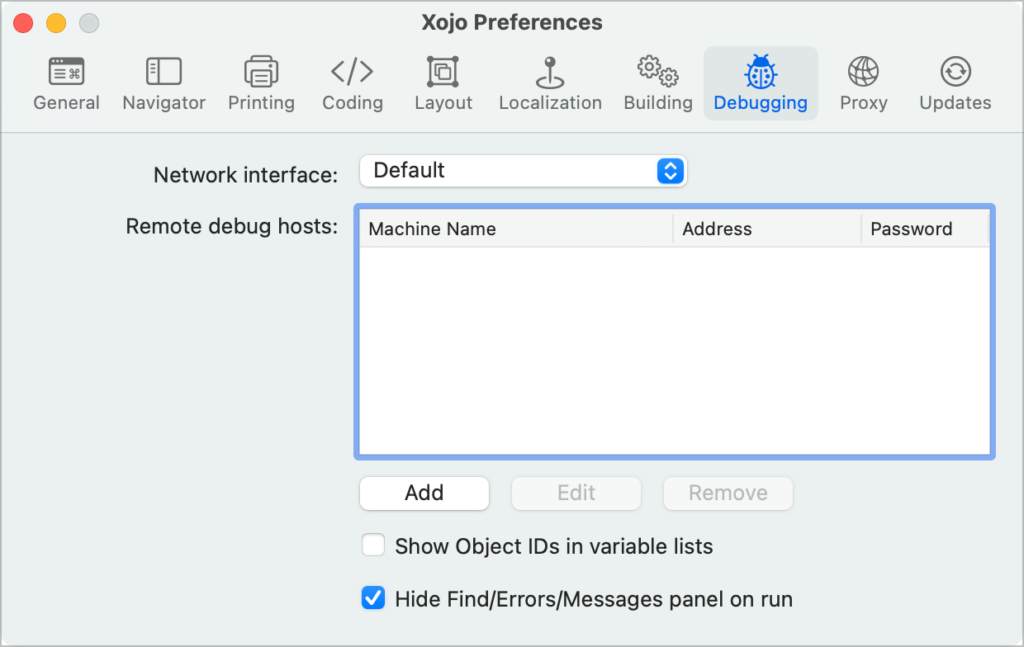
Press the Add button, choose a name, add the user’s IP address and the password they created for the Remote Debugger app. If the user is just barely remote (on your local network for example), the Add dialog that appears will show local Remote Debuggers, making the process even easier. If this is the case, you can click on the user’s machine from the list without having to ask them for the their IP address.
It gets a bit complicated if you and the user are not on the same network. That’s because their router has to be configured to allow the connection to get through to their computer. That can be complex and potentially not allowed by their network administrator. The easiest solution in these cases is to use a service such as ZeroTier or Tailscale that creates a secure, private network which effectively puts you both on the same network making it a breeze to connect. (Both of ZeroTier and Tailscale have a service tier that is free.)
Once you’ve added the remote debug host, you can choose Project > Run Remotely and then choose that host to begin the connection. When you do this, your computer will compile a debug version for the computer and OS running on that remote user’s computer. It will then send that build to their computer and launch it. The app will then connect back to your Xojo IDE’s Debugger! You can then debug just as you normally would. Have the user try various functions as you watch what they are doing using screen sharing of some kind. When it drops in to the Debugger, you can step through the code, look at the values of variables and properties, etc., just as you do when debugging on your local computer. In cases like this, it can take a frustrating, painful debugging experience and make it nearly stress-free. In minutes you’ll be staring at the line of code that just wasn’t expecting the user to do what they did.
Also, the remote computer doesn’t have to actually be remote. For example, the Remote Debugger is handy for debugging on local virtual machines or other computers on your desk. It lets you keep your project where it belongs (where you keep it on your computer) while debugging in an OS running somewhere else.
So the next time you wish you could just debug on another computer or virtual machine, remember Xojo’s Remote Debugger! Watch a 13 minute video on Xojo’s Remote Debugger to learn more.