Since Xojo 2024r4 the IDE includes the ability to automatically compile macOS apps with Sandboxing, Hardened Runtime and Notarization. Continue reading to learn that extra step in order to submit the created bundle directly to the App Store Connect website!
There is a Xojo-made tool out there that can simplify the process, and if that’s your route, check out AppWrapper from Ohanaware. But if you are the kind of developer that enjoys “how things work under the hood”, then follow these steps to do it manually from the command line (or convert these instructions into Xojo Scripts that can be executed as part of the build process itself from the Xojo project).
There are some requirements for all of this to work, but you took care of them already if you already followed our previous post about how to apply Sandboxing, Hardened Runtime and Notarize manually to your Xojo macOS builds. Perhaps, the most important one is that this requires a paid Apple Developer Program membership (around US $99/yr). Additionally, Xcode needs to be installed on your Mac in order to use its included altool and productbuild command line tools. Create an app-specific password in order to execute the notarytool command line tool, which is also required when using the altool command line. You likely created one already for the notarytool command line tool which you can use as the password required by the altool command line tool.
If distributing your macOS apps from your website, these need to be signed using the “Apple Development” Certificate, but if you are compiling a macOS app for distribution through the Mac App Store, you need to sign it using the “Apple Distribution” certificate. So make sure to fill-in the macOS > Signing > Developer ID field properly.
Also important, in order to upload the app to App Store Connect, you need to create a package file from the app bundle, and that package file (.pkg) needs to be signed using the “3rd Party Mac Developer Installer”. Make sure you have this certificate installed in your Mac Keychain.
First things … First
Before you can upload you .pkg file to the App Store Connect website, there are some things you need to take care of that are required by Apple for apps to be distributed through the Mac App Store.
- The first thing is to register an App ID (or Identifier) in the Apple Developer Portal. When doing it, make sure you are creating an explicit Identifier instead of a wildcard one. Also very important, make sure that the identifier (in the reversed DNS form) is the same one you are using in the field macOS > Build > Bundle Identifier of your Xojo project. If they don’t match, then you can expect errors throughout the process.
- The second thing is to create a new record for the App itself in the App Store Connect website. This is the place where you need to provide all the information requested by Apple for two main things: 1. what will be available as the app information when the users reach your app in the Mac App Store (for example product description, price, images, etc.), and, 2. what is for internal and compliance use. All in all, make sure you create a new macOS app record and go through all the available sections to fill in the requested information.
Once these two steps are completed, we can focus on the command line itself to create the .pkg file and upload it manually (optionally, it is possible to use the Transporter app to select the .pkg file and upload it).
Sing, sing, sing … the re-signing song!
When building the macOS app from the Xojo IDE, it will be correctly signed based on the settings selected in the Build Settings > Sign section. But because of the way Apple requires some entries to be formatted (specifically those for the CFBundleShortVersionString and CFBundleVersion keys), and the fact that it also requires the LSApplicationCategoryType key to be present in the Plist file with the associated value (the app category value among those you can find here), we need to manually edit the generated Info.Plist file for the compiled app.
Yeah, sure we can create an additional text file named Info.Plist file with the appropriate/expected keys and values and drop such file in the IDE navigator for our project so this information gets added/modified, as for example this one:
<?xml version="1.0" encoding="UTF-8"?><!DOCTYPE plist PUBLIC "-//Apple//DTD PLIST 1.0//EN" "https://www.apple.com/DTDs/PropertyList-1.0.dtd">
<plist version="1.0">
<dict>
	<key>CFBundleShortVersionString</key>
	<string>1.0.0</string>
	<key>CFBundleVersion</key>
	<string>1.0.0</string>
	<key>LSApplicationCategoryType</key>
	<string>public.app-category.business</string>
</dict>
</plist>
The bad news is that the value for the CFBundleVersion key will not be replaced with the one from our Info.Plist file.
What’s the downside of manually editing the Info.Plist file for the already compiled app? Well, as soon you make a change and save it, the app bundle signature will be invalidated. But no fear! We know how to do it already, right? If not, I suggest you to take a look to the blog post about Sandboxing, Hardened Runtime and Notarization for macOS apps that I mentioned earlier.
Go ahead, select your compiled app in the Finder, click on its icon and select the option “Show package Contents” from the contextual menu. This action will show the “inner files” of the bundle that composes your app. Inside the Contents folder you will see the Info.Plist file. Click on it and select the option from the contextual menu allowing you to edit it with the text editor of your preference (mine is to use BBEdit from BareBones Software).
- Locate the CFBundleVersion key entry and change its string value so it doesn’t have more than three numbers separated by the dot character (as shown in the previous Plist example file).
- Locate the CFBundleShortVersionString and change its string to make sure it has three version numbers separated by the dot character.
Of course for both of the previous keys, make sure these match your expected version numbers for the app! In the example I used 1.0.0 as it’s typical for the initial release of an app.
Next, add the expected LSApplicationCategoryType key with the value that better fits your app among those available at the Apple Documentation website. In the previous Plist file example I’m using the one for the Business category:
	<key>LSApplicationCategoryType</key>
	<string>public.app-category.business</string>
Save the changes to our modified Info.Plist file. Now it is time to sign it again!
What about the Entitlements?
Heh… wait! Because we need to re-sign our app bundle again, we also need to attach the expected entitlements to it! That means at least one very-important-and-required entitlement: enabling Sandboxing, which needs to be done to any app sent for distribution through the Mac App Store.
While Xojo 2024r4+ is able to do it automatically when building the app, now we also need to do it manually. That means creating our own .entitlements file that will be used when re-signing the app. For example, for a very typical (and bare-bones) app that only needs to read and write files it would look like this:
<?xml version="1.0" encoding="UTF-8"?><!DOCTYPE plist PUBLIC "-//Apple//DTD PLIST 1.0//EN" "https://www.apple.com/DTDs/PropertyList-1.0.dtd">
<plist version="1.0">
<dict>
	<key>com.apple.security.app-sandbox</key>
	<true/>
	<key>com.apple.security.files.user-selected.read-write</key>
	<true/>
</dict>
</plist>
Save it as “myEntitlements.entitlements” to your Mac drive. Of course, if you app requires more entitlements, go ahead and add them to the previous “template” .entitlements file.
We now have our modified .Plist file and the required .Entitlements file… so we have everything we need to re-sign the app bundle again!
Open a Terminal window and type the following command:
codesign --force --timestamp --entitlements path-to-your-myEntitlements.entitlements-file -s "Apple Distribution: whatever-name-you-use (BZXXXXXXX)" path-to-the-bundle-of-the-compiled-app.appLook how we are using the reference to the entitlements file, and the “Apple Distribution” certificate instead of the “Apple Development” certificate.
Packaging Acme
So far so good. We have our app bundle signed again, so we are ready now to create a .pkg file from it! All you need to do is to type the following command from a Terminal window:
productbuild --sign "3rd Party Mac Developer Installer: whatever-name-you-use (BZXXXXXXX)" --component path-to-the-bundle-of-the-compiled-app.app /Applications path-to-the-generated-package-file.pkgAs you can see, we are using the “3rd Party Mac Developer Installer” certificate in order to create the package file.
Uploading it!
With the package file already created, we now have all we need to upload it to the App Store Connect website. At this point you can follow two paths. The first one is to use the Transporter App that you can download from the Mac App Store itself. In that case:
- Open the Transporter app.
- Click on the “+” icon. That action will bring a dialog where you can select the previously created .pkg file.
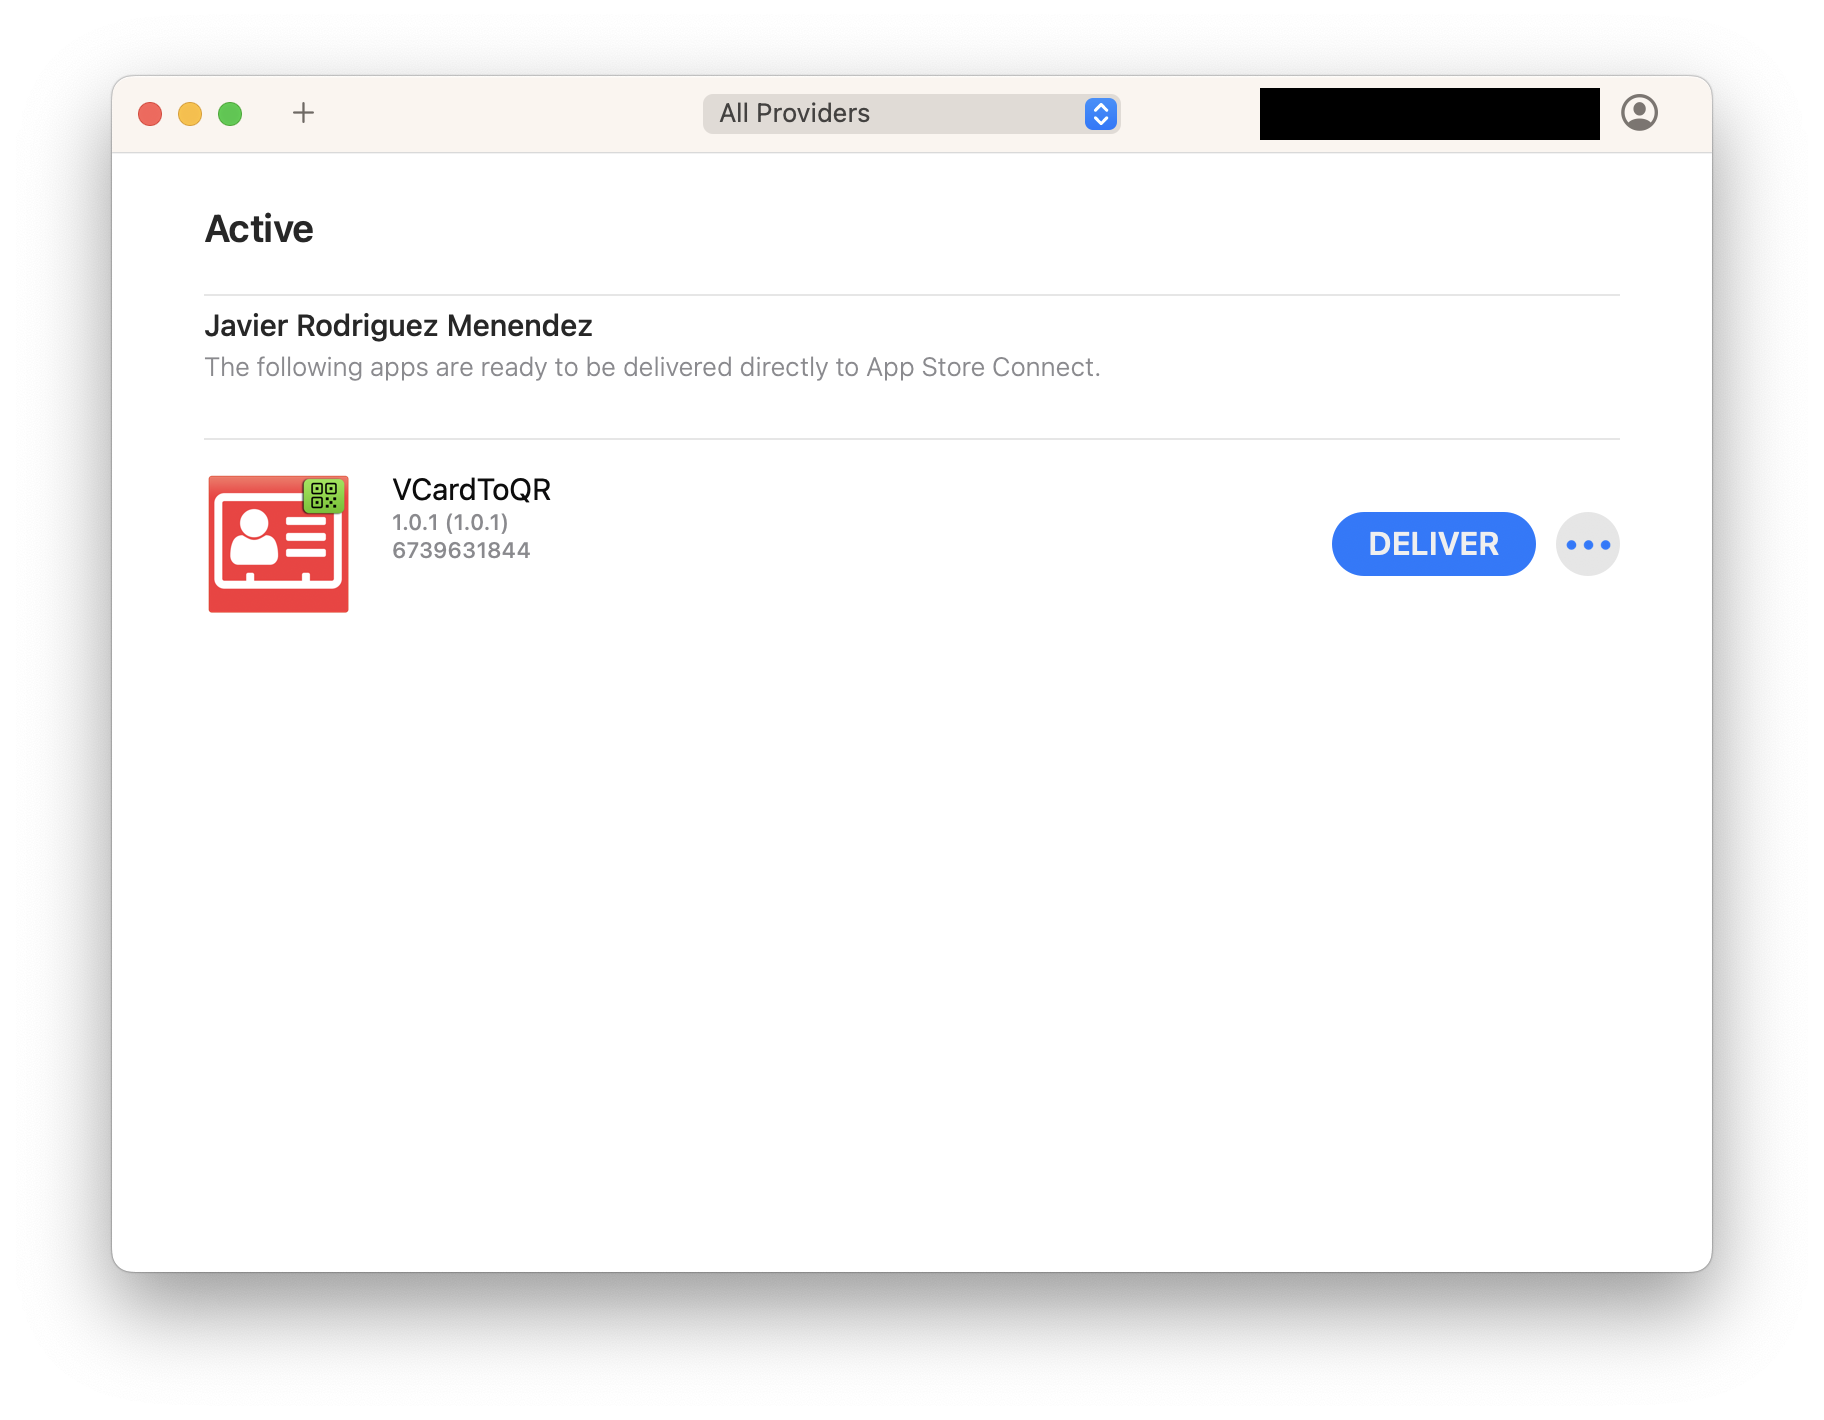
- Once it is added, Transporter will make some early checks on the package contents. If everything goes OK, you should see something like this:

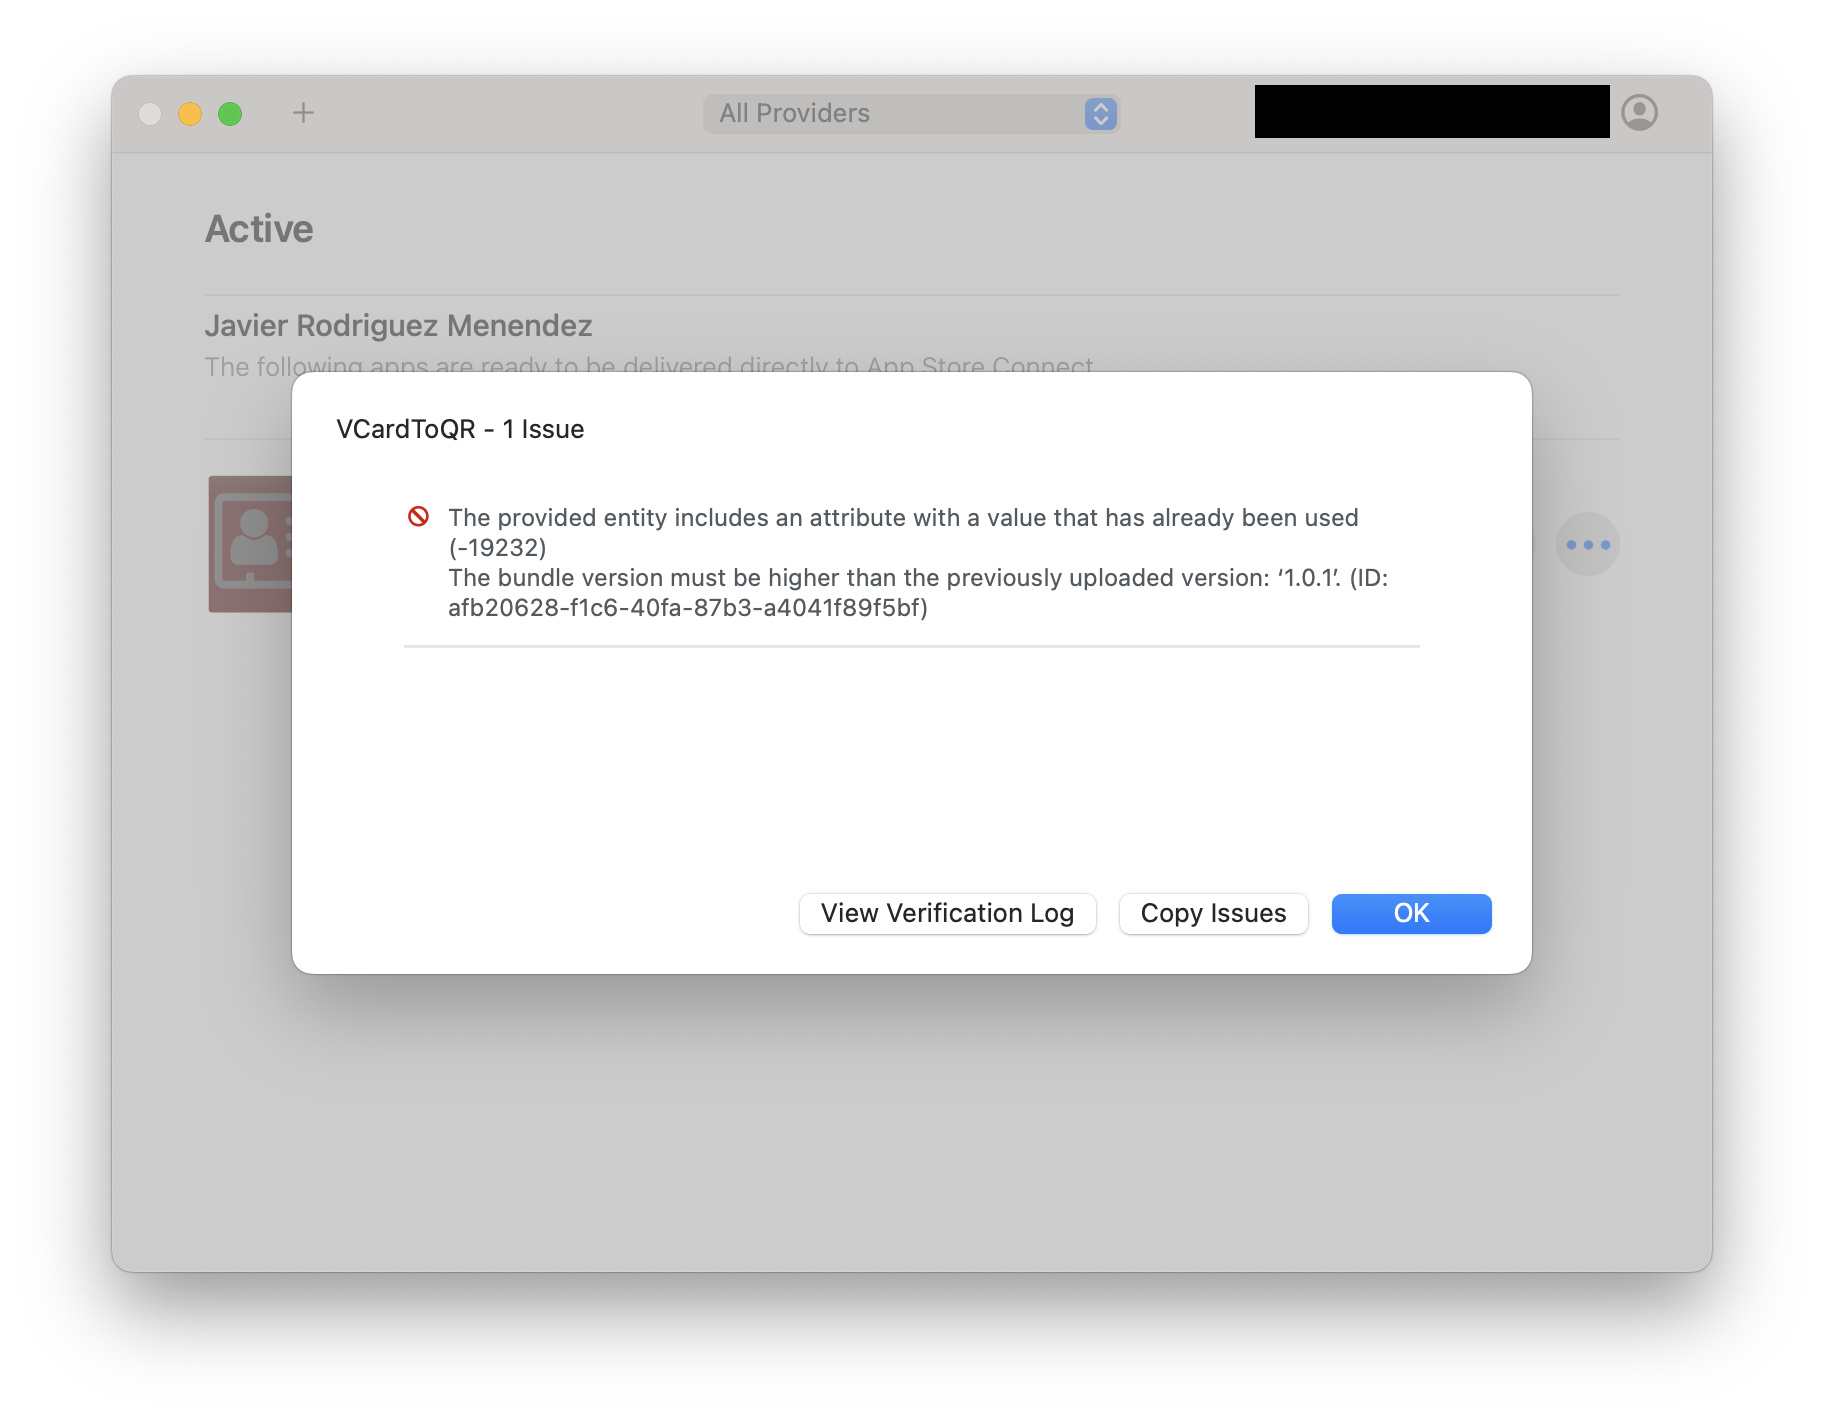
The interesting thing about using Transporter is that you can select the “Verify” option from the associated contextual menu (the one with the three dots icon). That action will start some more deeply checking on the package (and its contents) so you can get some early information about things that need to be fixed prior uploading it to the App Store Connect Website. For example, this error generated when the bundle version is duplicated:

The second option involves using the aforementioned altool command line to automatically upload the package to the App Store Connect website. If you choose this path, all you need to do is to execute the following command from a Terminal window:
xcrun altool --upload-package path-to-the-package-file.pkg -u your-apple-developer-login-id-goes-here -p "your-app-specific-password-goes-here" --type osx -apple-id "6111111111" --bundle-id "com.yourcomany.yourIdentifier" --bundle-short-version-string "1.0.0" --bundle-version "1.0.0" Some considerations about the provided options/values for this command:
- -u: This is the login name you use when accessing the Apple Developer website
- -p: This is the app-specific password you created from scratch following the steps provided in the aforementioned blog post.
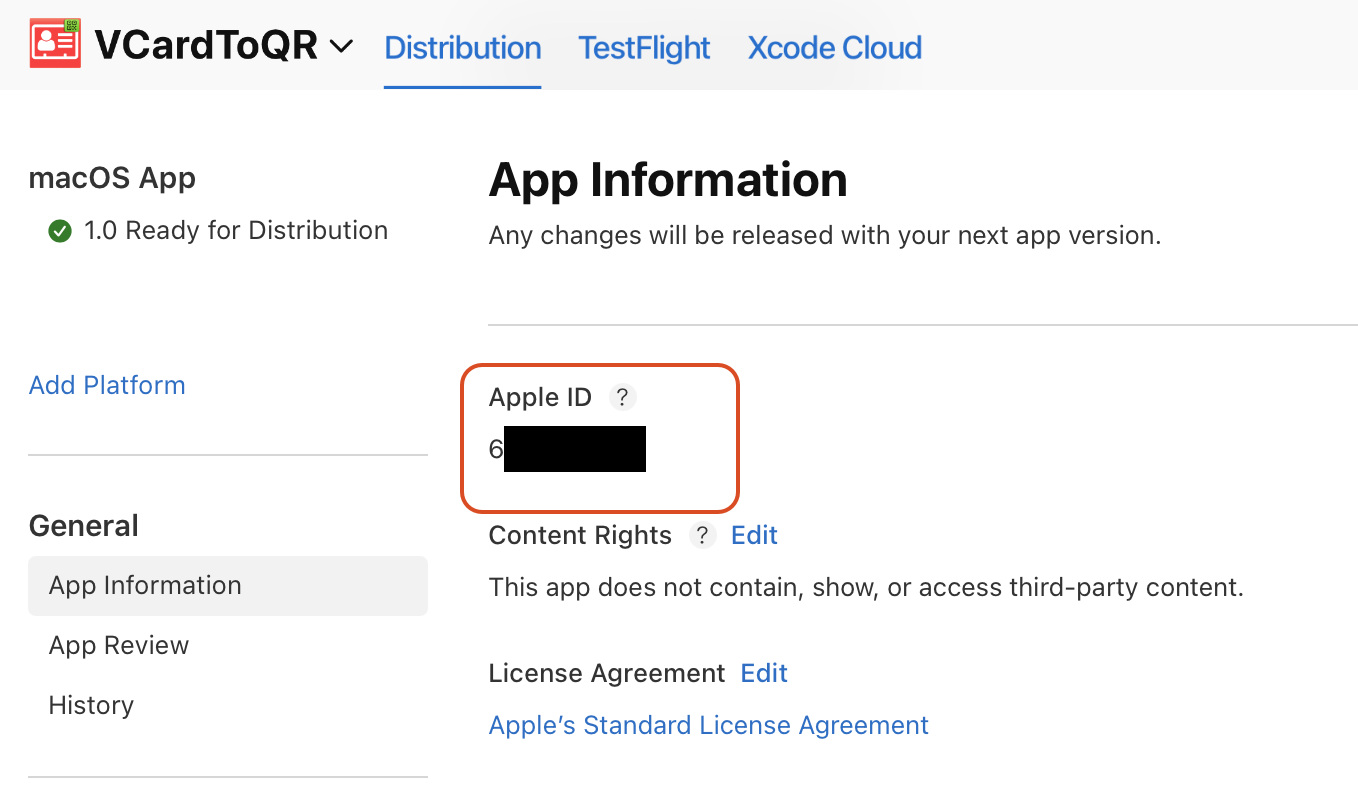
- -apple-id: This is the numeric value you can find under General > App Information at the appstoreconnect.apple.com website for the record created for this app:

This information can also be retrieved using:
xcrun altool --list-apps -u your-apple-developer-login-id-goes-here -p "your-app-specific-password-goes-here" --output-format json
- –bundle-id: Make sure to provide the same value as the one used when creating the Identifier for the App and, thus, the same one used under Build Settings > macOS > Build > Build Identifier field in your Xojo project.
- –bundle-short-version-string: Make sure it’s the same value used for the CFBundleShortVersionString key in the .Plist file.
- –bundle-version: Make sure to provide the same value as the one used for the CFBundleVersion key in the .Plist file.
Once the command is executed, your package file will be uploaded to the App Store Connect website and, once completed, eligible as a new Build to be added to your app record so you can send it to review as part of the Apple reviewing process.
In Summary
There are several details to take care of, but Xojo has simplified the process of covering the “last mile” of sending you compiled app for review at the App Store Connect website.
Javier Menendez is an engineer at Xojo and has been using Xojo since 1998. He lives in Castellón, Spain and hosts regular Xojo hangouts en español. Ask Javier questions on Twitter at @XojoES or on the Xojo Forum.
More in this series on distributing Mac apps:
