
Sometimes we need to rotate a Picture from portrait to landscape and vice versa. Since the introduction of the Graphics methods Translate and Rotate this is pretty simple to do! Continue reading and I will show you how to create a Method Extension for the Picture class that will be able to do that.
This will work on Desktop and iOS projects by only copying and pasting the code, but you will need to make some changes to the example project for the Web version because of the need to convert Picture to WebPicture and back.
Download the Example Project from this link.
As you probably know, Method Extensions need to be created in a Module, so once you have created your new project, add a new Module to it (name it PictureExtensions) and, then, add a new method to the Module using the following signature:
- Method Name: Rotate
- Parameters: Extends SourcePicture As Picture, Optional ClockWise As Boolean = True
- Return Type: Picture
- Scope: Global
Next, type the following snippet of code in the associated Code Editor for the method:
Var p As New Picture(SourcePicture.Height, SourcePicture.Width)
Var g As Graphics = p.Graphics

Var tRotation As Double = (90 * 3.14159 / 180) // 90º in radians
If Not ClockWise Then
  tRotation = -tRotation
  g.Translate(0, g.Height)
Else
  g.Translate(g.Width,0)
End If
g.Rotate(tRotation)

g.DrawPicture(SourcePicture,0,0)

Return p
And that is all!
Testing the Rotation
Now, let’s create the user interface (UI) to test it (in this case, a Desktop Project), but you can follow the same steps for an iOS project.
First, drop into the Navigator any image you want to use as the source. In this example it is named “Test”.
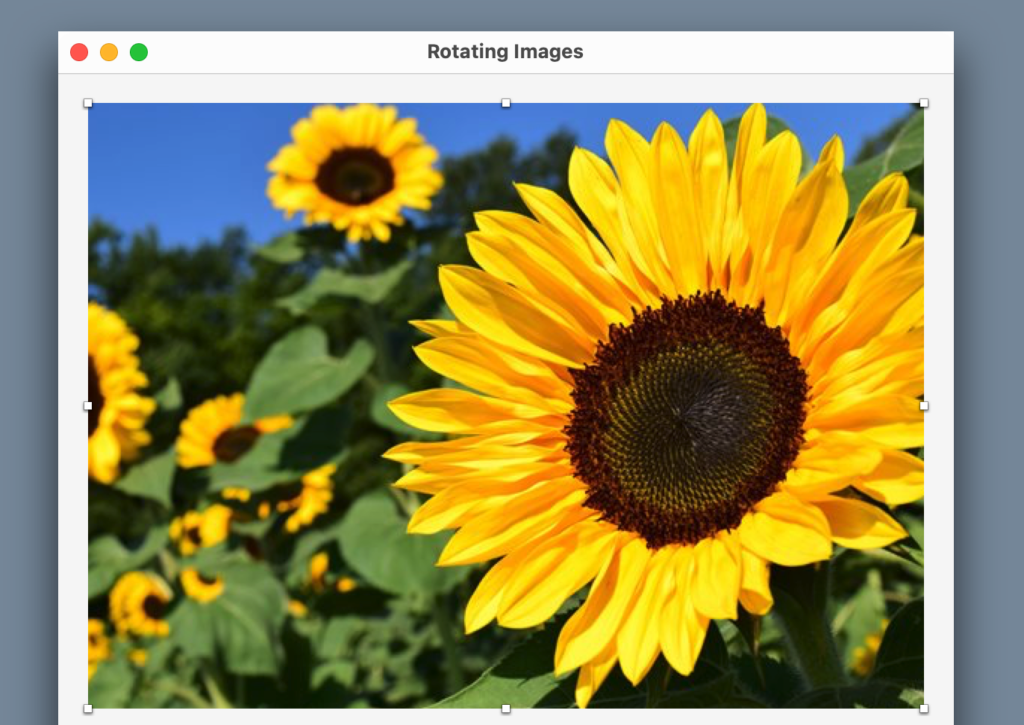
Now, select the Window1 window to access the Layout Editor and drag to it an ImageViewer control from the Library. Use the resizing handles of the ImageViewer added to the Layout Editor so it looks like the one shown in the following screenshot:
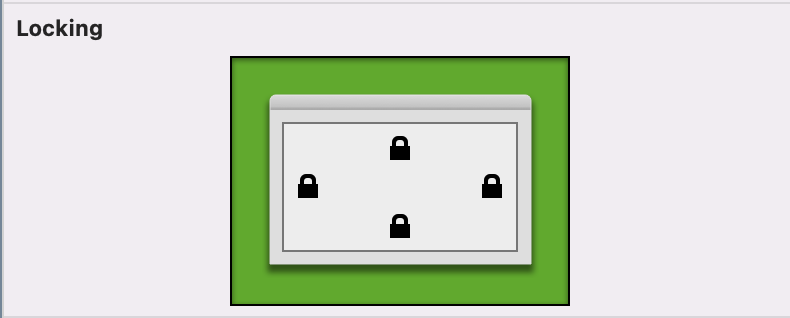
With the ImageViewer still selected in the Layout Editor, change its Name to “PreviewImageViewer” in the associated Inspector Panel, and make sure that the four locks under the Locking section are locked. Also, select the image “Test” as the image to be shown in the Image option found under the Appearance section.
Next, drag two buttons from the Library and drop them below the PreviewImageViewer control. The finished UI should look like the one in the following screenshot:
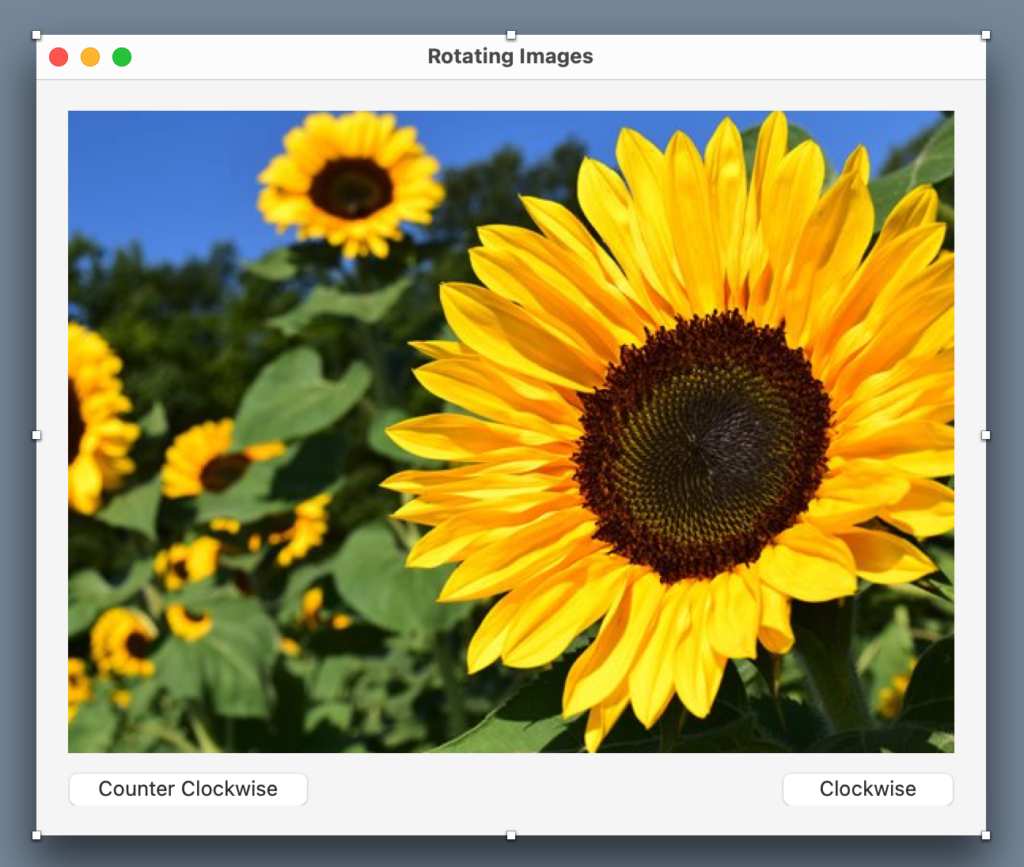
As you can see in the previous image, label the rightmost button as “Clockwise” and the leftmost one as “Counter Clockwise”.
Double click the “Clockwise” button and add the “Pressed” Event Handler to it. Next, add the following line of code to the associated Code Editor:
PreviewImageViewer.Image = PreviewImageViewer.Image.RotateDouble click the “Counter Clockwise” button to add the “Pressed” Event Handler to it. Next, add the following line of code to it in the associated Code Editor:
PreviewImageViewer.Image = PreviewImageViewer.Image.Rotate(False)Running the App
Run the example project and click (or tap) the buttons, you will see how the image rotates 90º clockwise or counter clockwise depending on the button clicked!
As you can see, we only needed a few lines of Xojo code to achieve this and this same code will work both on Desktop and iOS projects!
Javier Menendez is an engineer at Xojo and has been using Xojo since 1998. He lives in Castellón, Spain and hosts regular Xojo hangouts en español. Ask Javier questions on Twitter at @XojoES or on the Xojo Forum.